DIY Plan for building the Outdoor Bench Sundholmen. Classic design with straight lines and a seat made of two boards. Easy difficulty level and approximately one day’s building time. Includes drawing, material list, as well as cutting and assembly instructions.
Level
Easy
Estimated time
1 d
Material
Wood
Units
Imperial (inches)
Included in the build plans
✓ Materials list – everything you need
✓ Cut list and clear cutting diagrams
✓ Step-by-step instructions
✓ Clear build illustrations
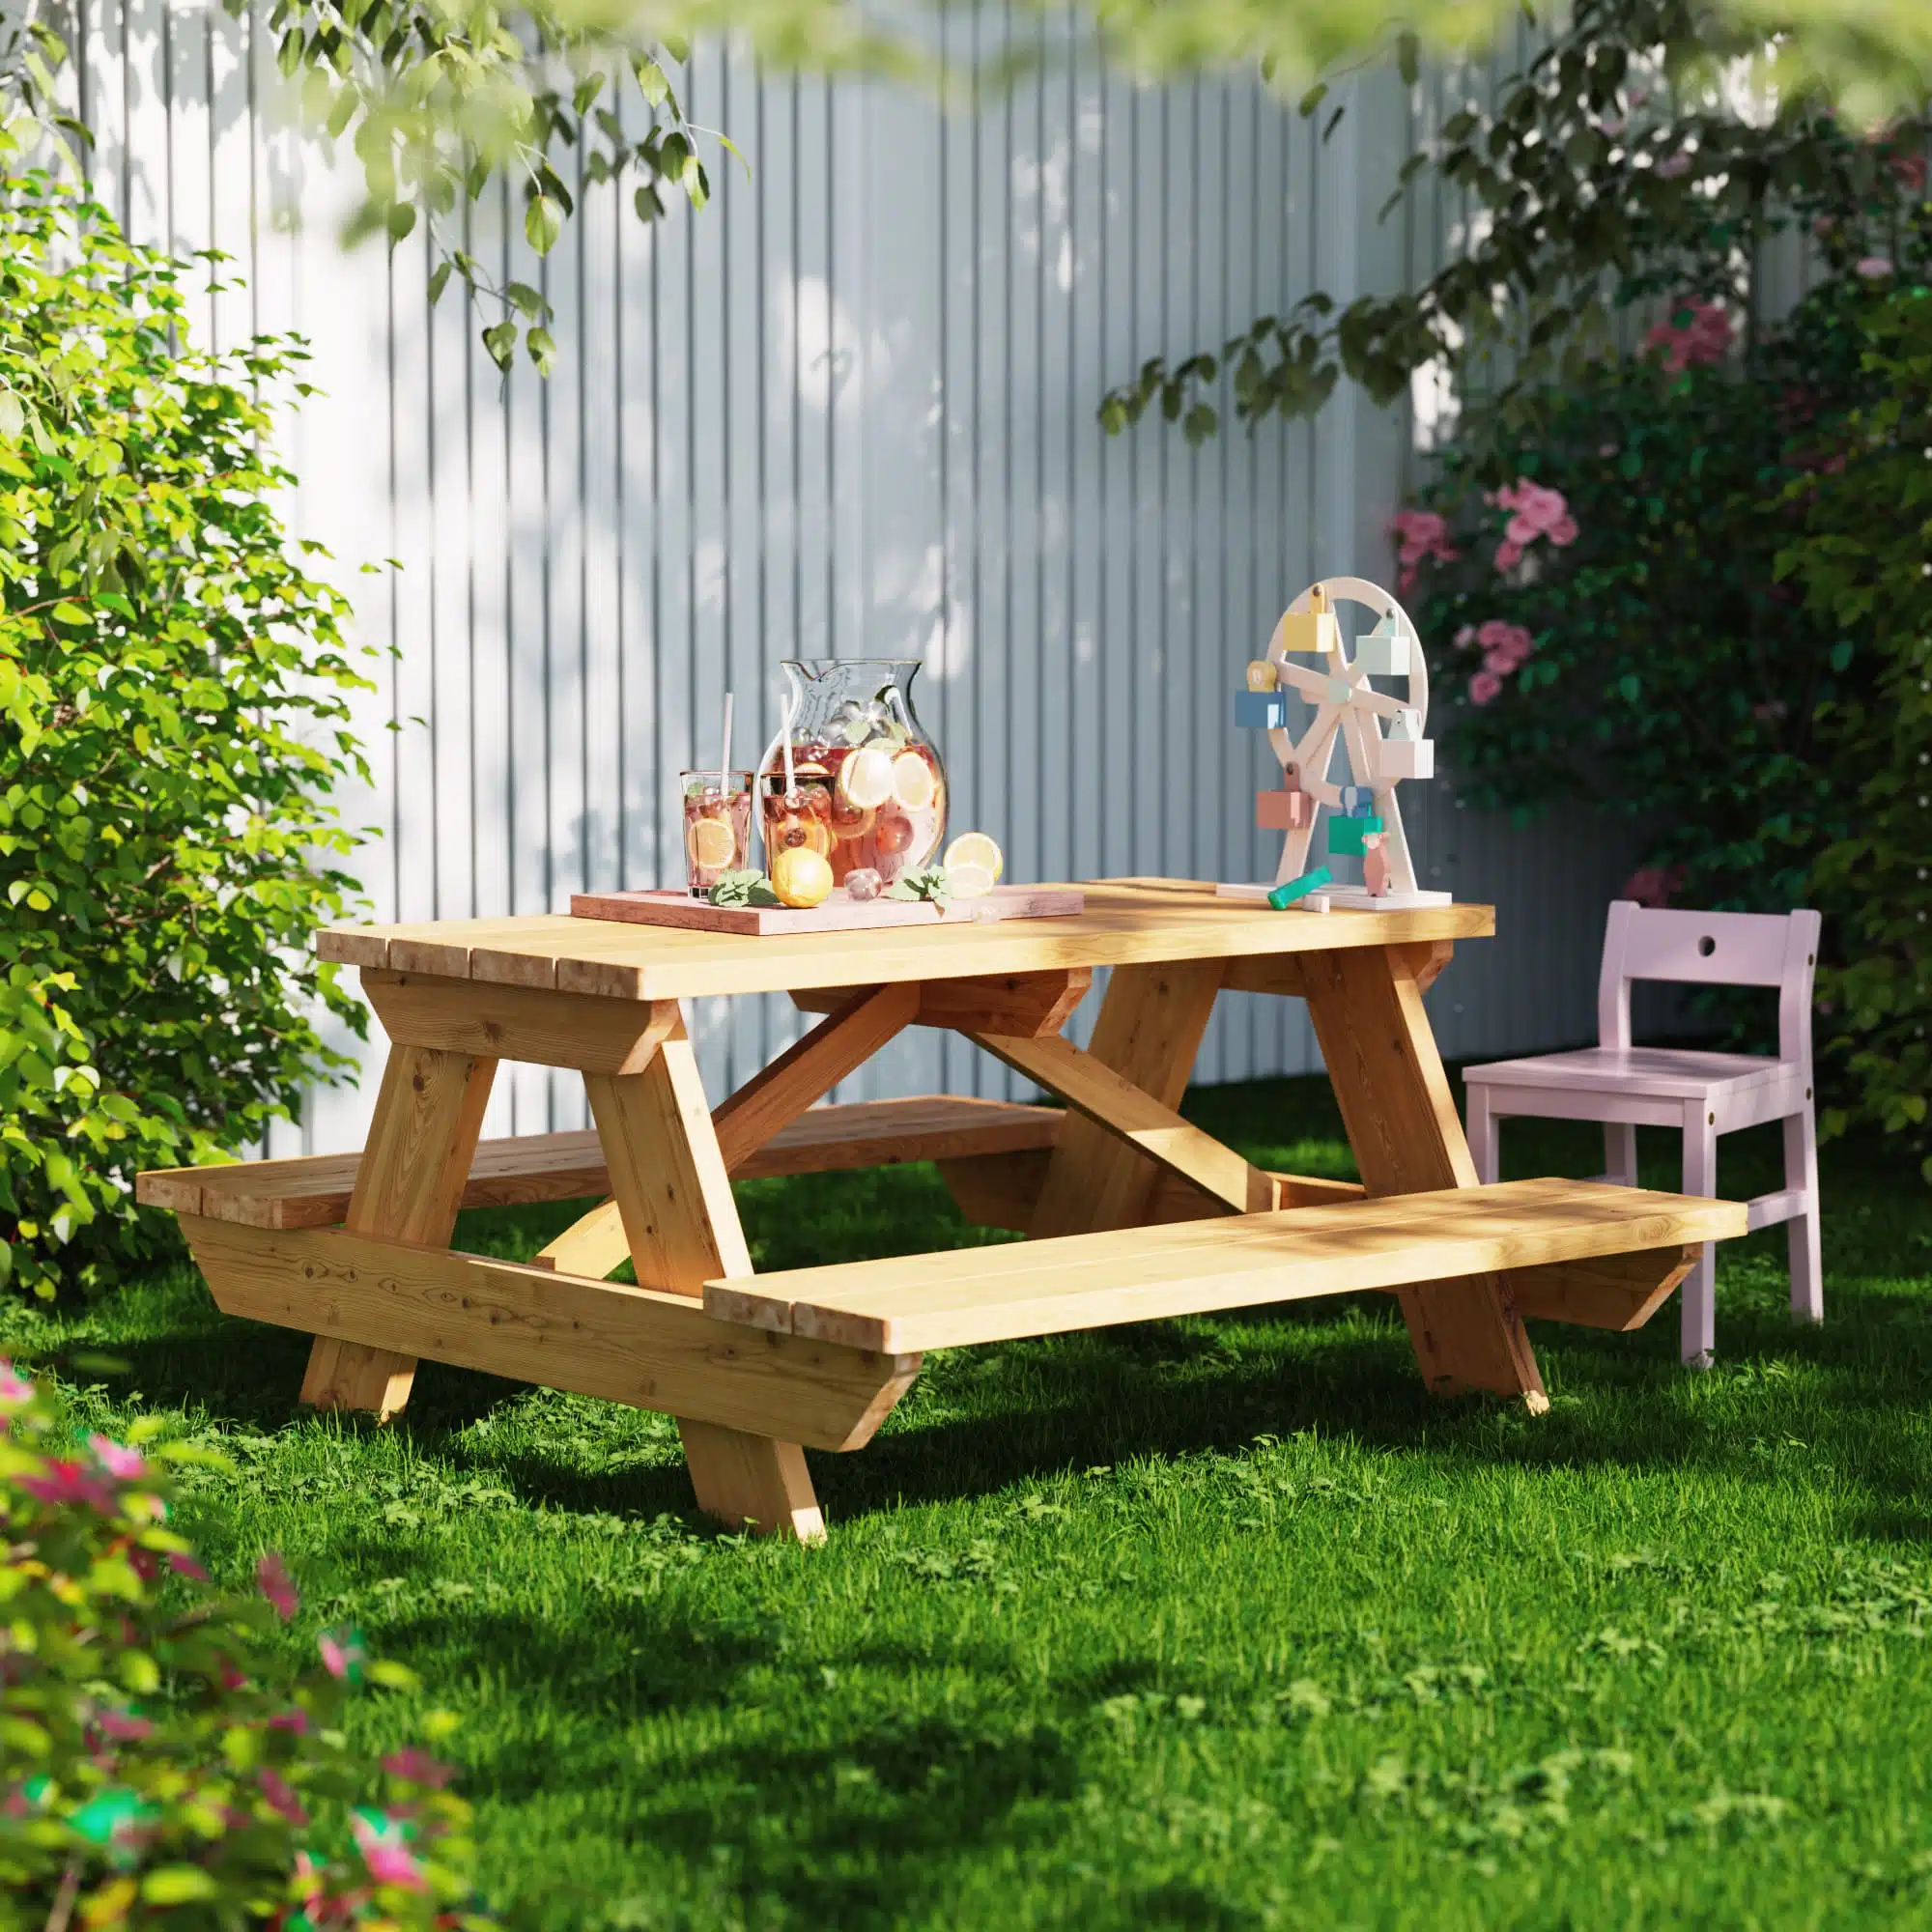
DIY Plan for building the Outdoor Bench Sundholmen. This classic bench with straight lines has a timeless, stripped-down construction that feels natural on the patio, terrace, or in the garden. Two boards form the seat and rest on stable pairs of legs that are connected by a longitudinal beam for high stiffness and a secure seating feel. The expression is clean and functional with proportions that make the bench work both standalone and together with a table. The shape is close to modern Scandinavian simplicity, without unnecessary details, making the model easy to place in many environments.
The area of use is broad: the bench provides extra seating for outdoor meals, serves as a flexible piece of furniture when guests arrive, and fits just as well along a house wall for a quick coffee break. The construction is planned for efficient building from standard dimensions, so that all steps can be carried out without special solutions.
The tools needed are common basic tools such as a saw, drill/screwdriver, measuring tape, square, and clamps. The approximate time required is about a day for a normally handy builder, including cutting, drilling, and assembly. The difficulty level is Easy, making the project well-suited even as a first furniture build.
The DIY Plan includes a complete material list, cutting and sawing instructions, as well as assembly steps. You also receive a clear drawing that shows all measurements and placements, so that each cut and screw driving is correct right away. When the bench is finished, you will have a stable and stylish piece of furniture that maintains its shape over time and can be adjusted in length if you want to match other outdoor furniture.
Dimensions
Digital delivery
This is a digital guide. The guide is delivered as a PDF that can be downloaded immediately after purchase or through the order email sent to the specified email address.
The guide contains the information needed to build the product illustrated on this page.
Table of contents of the guide:
Introduction
Tools
Sawing
Mounting
At Egenbyggt, we work hard to deliver high quality. Nevertheless, errors or omissions may creep into our guides and the information we provide on the site. We reserve the right to do so.
If you are not satisfied with a guide you have purchased, please contact us.
To provide a good experience, we use technologies like cookies to store and/or access device information. By consenting to these technologies, we may process data such as browsing behavior or unique IDs on this website. If you do not consent or withdraw your consent, this may negatively affect certain features.
Functional
Always active
The technical storage or access is strictly necessary for the purpose of enabling the use of a specific service requested by the user, or for the sole purpose of carrying out the transmission of a communication over an electronic communications network.
Options
The technical storage or access is necessary for the legitimate purpose of storing preferences not requested by the subscriber or user.
Statistics
The technical storage or access that is used exclusively for anonymous statistical purposes.The technical storage or access that is used exclusively for anonymous statistical purposes. Without a subpoena, voluntary compliance on the part of your Internet Service Provider, or additional records from a third party, information stored or retrieved for this purpose alone is typically not able to be used to identify you.
Marketing
The technical storage or access is required to create user profiles to send advertising or to track the user on a website or across multiple websites for similar marketing purposes.


Reviews
There are no reviews yet.