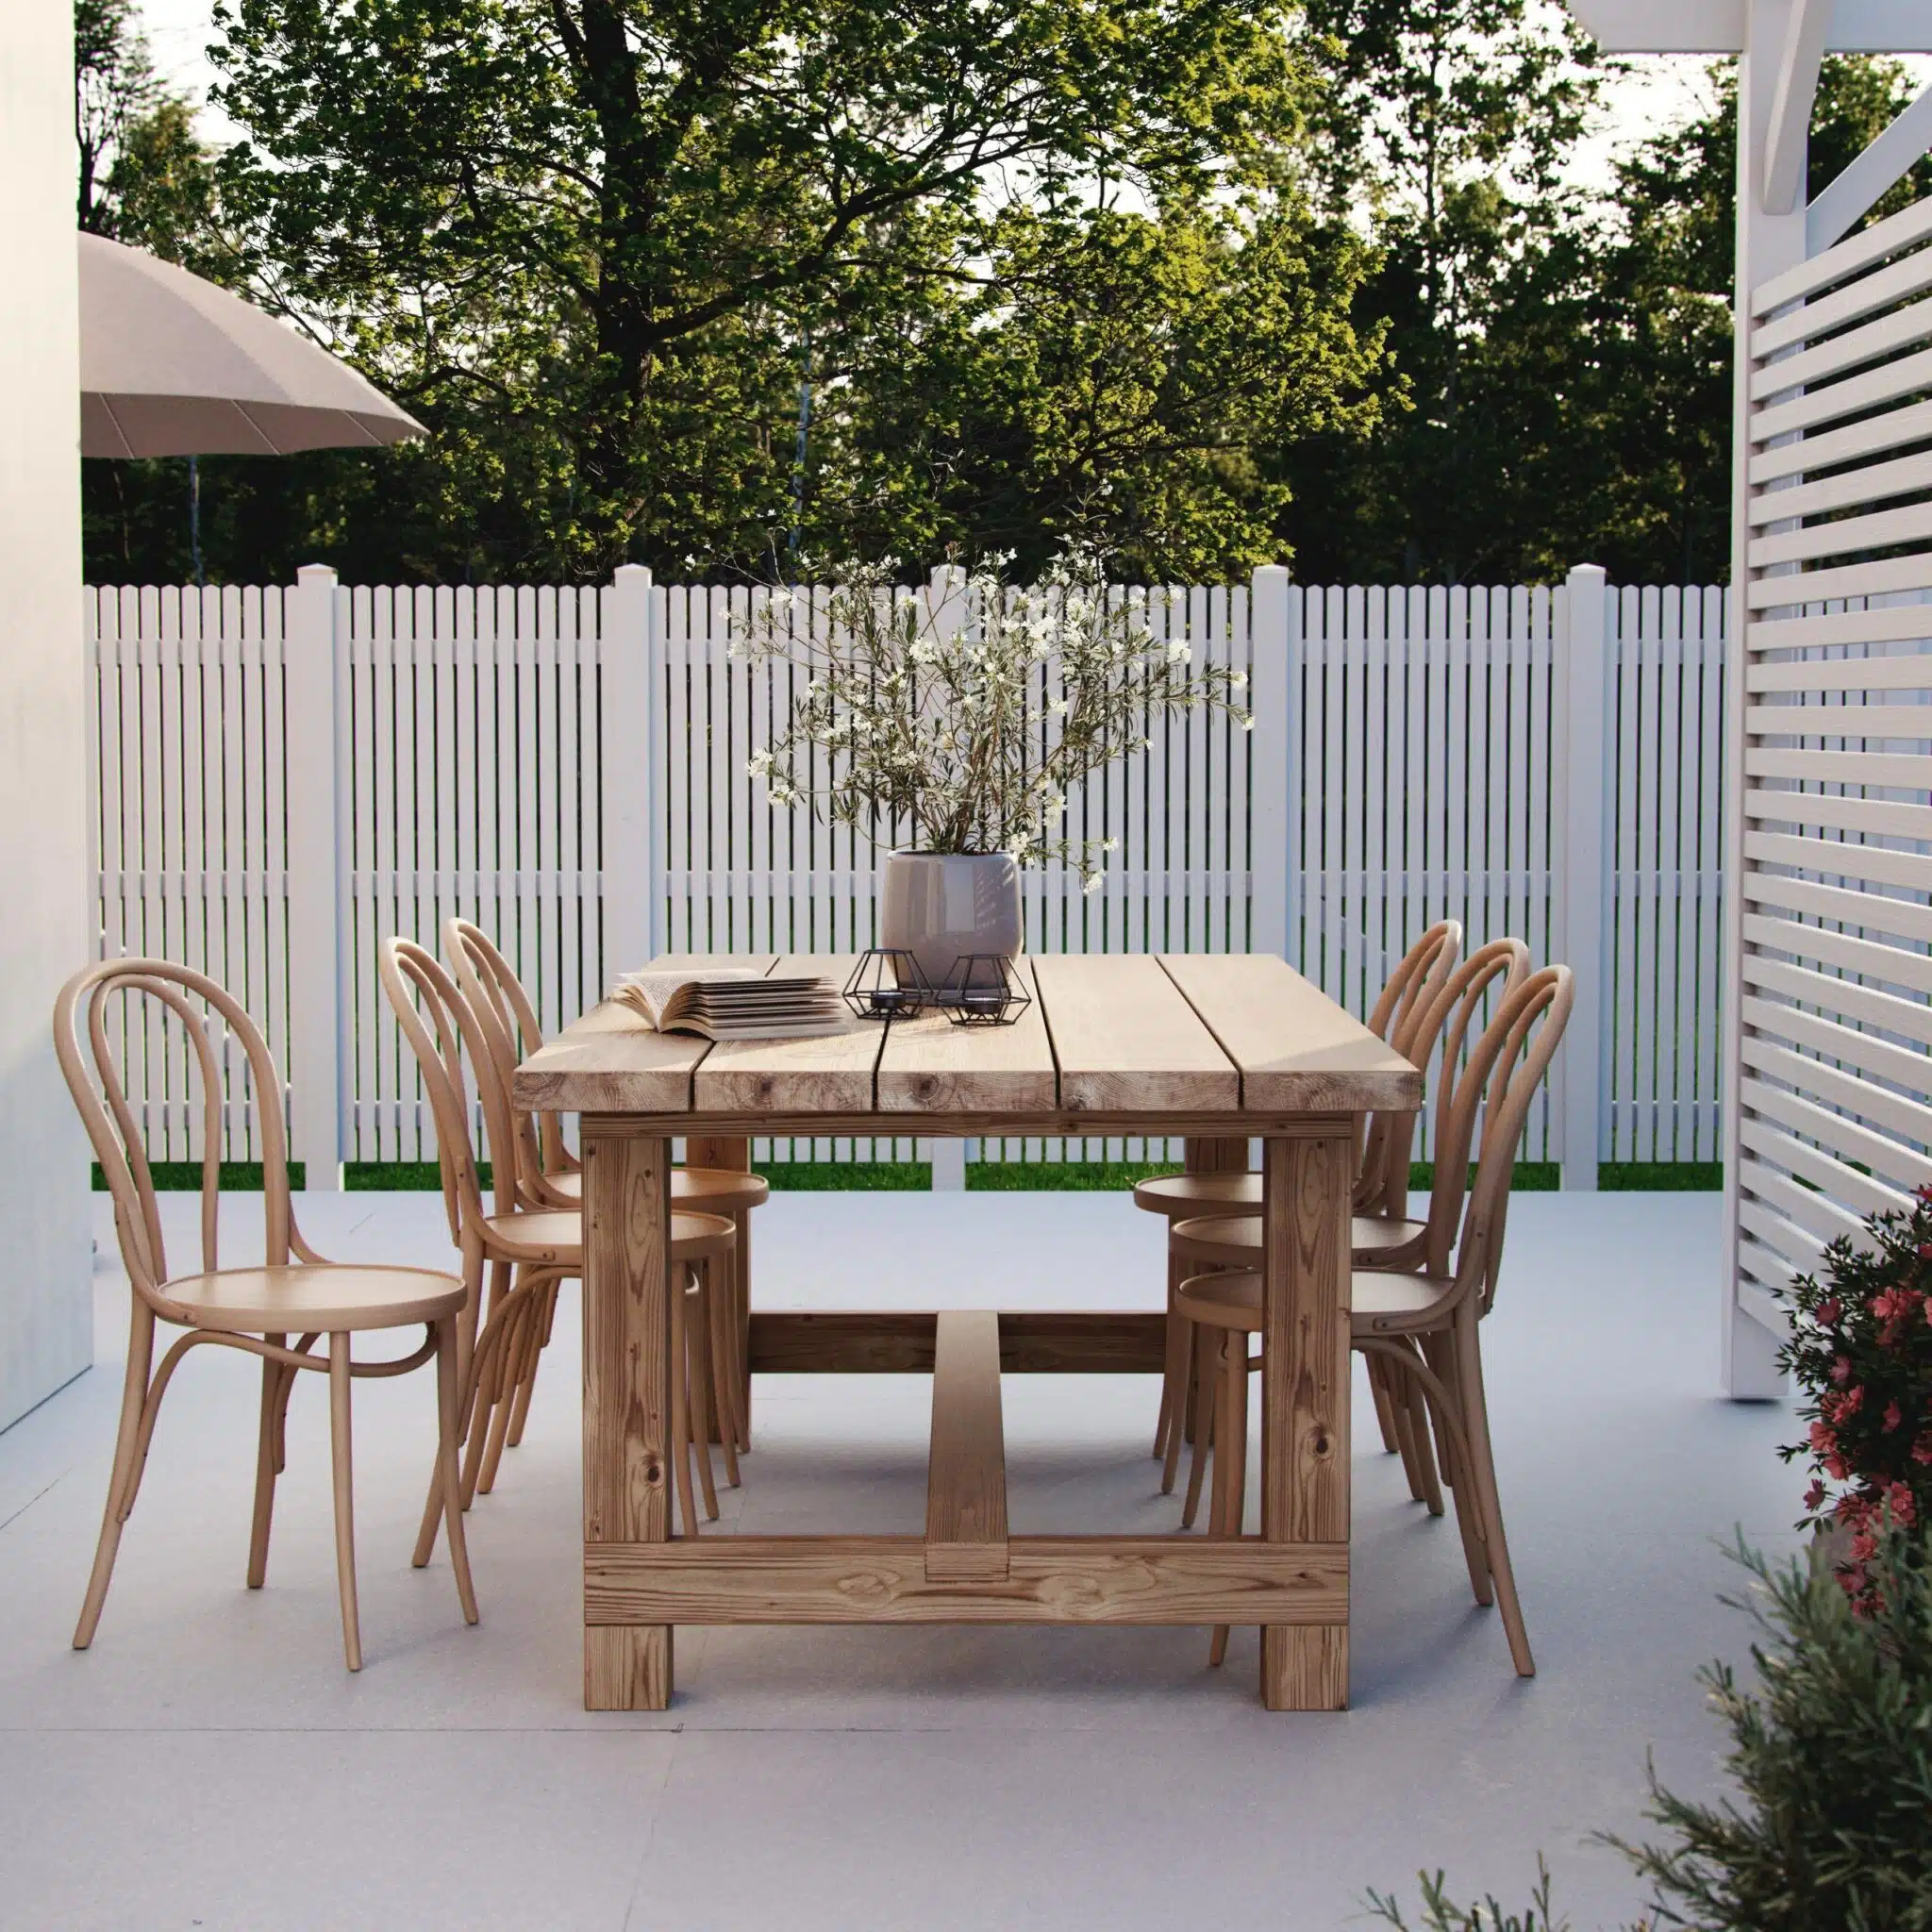
Build a sturdy outdoor table with this clear DIY Plan from Egenbyggt. The step-by-step guide shows how to build a stable table in eight steps using sturdy lumber. The PDF includes a complete shopping list, cutting and sawing instructions, as well as tips for a professional result.
With the help of simple tools like a miter saw, drill, and quick clamp, you can create an outdoor table that lasts a long time – both practical and stylish for the garden and patio.
Level
Medium
Estimated time
1-2 d
Material
Wood
Units
Imperial (inches)
Included in the build plans
✓ Materials list – everything you need
✓ Cut list and clear cutting diagrams
✓ Step-by-step instructions
✓ Clear build illustrations
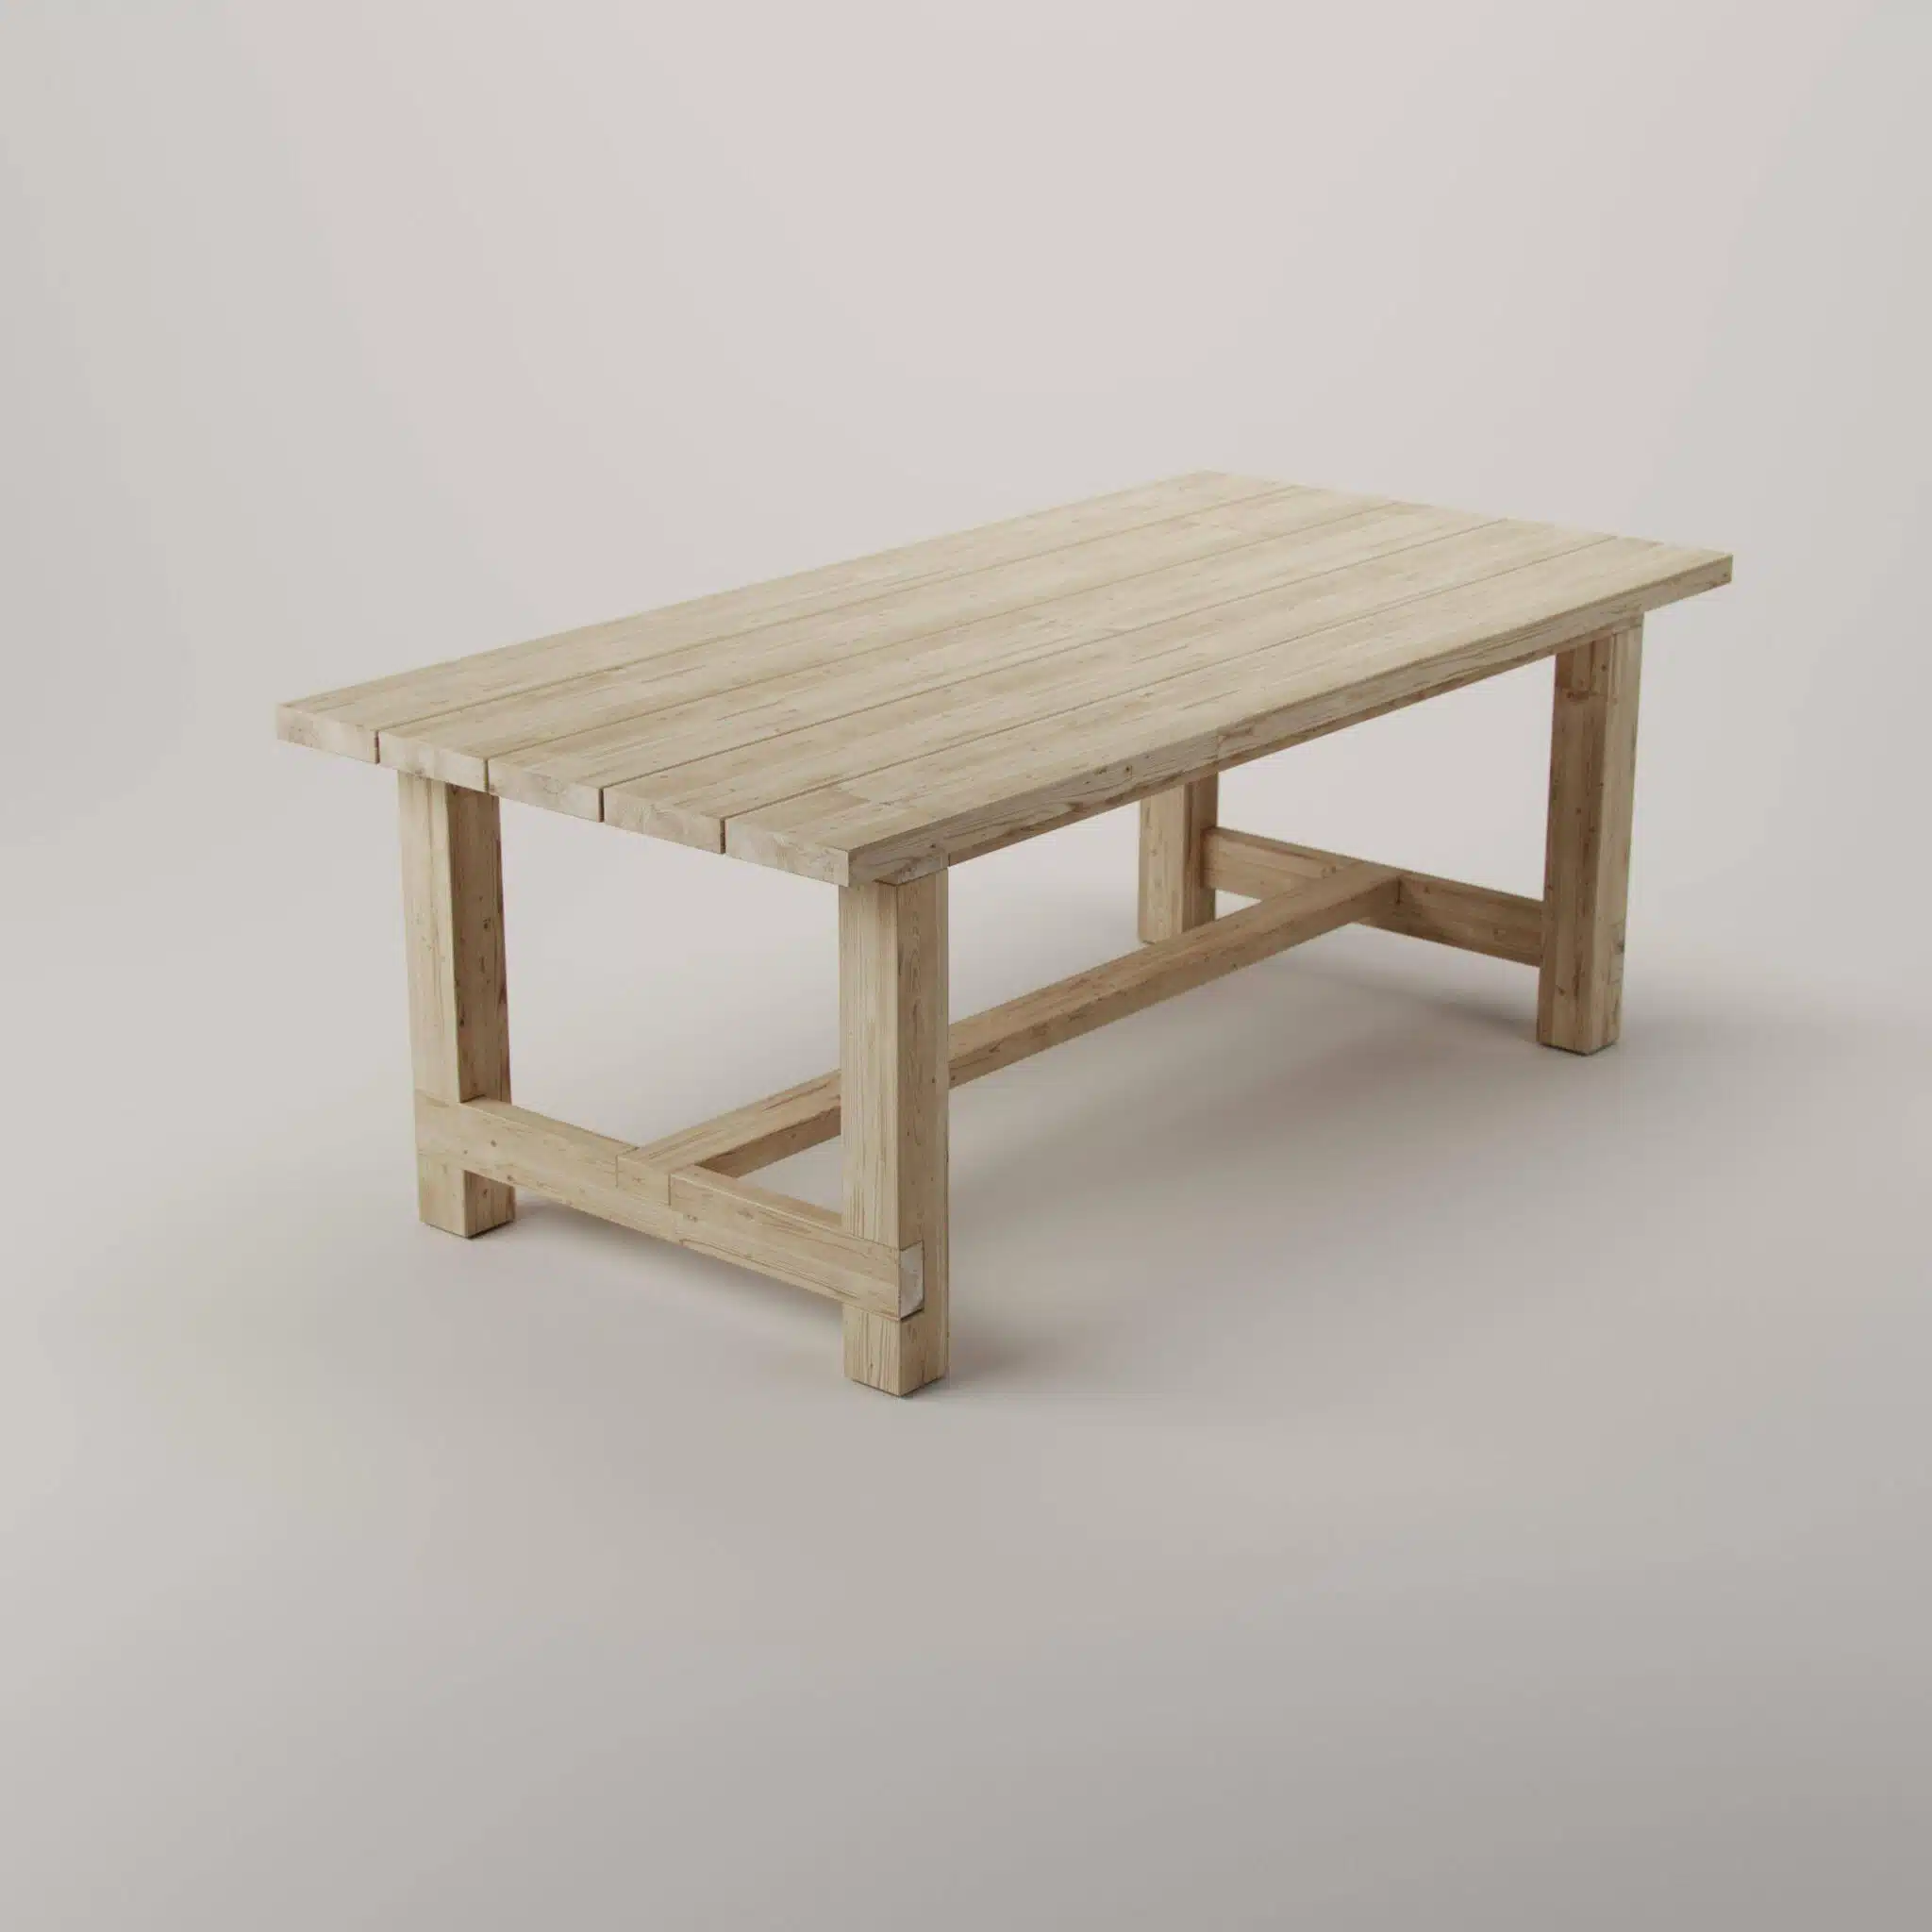
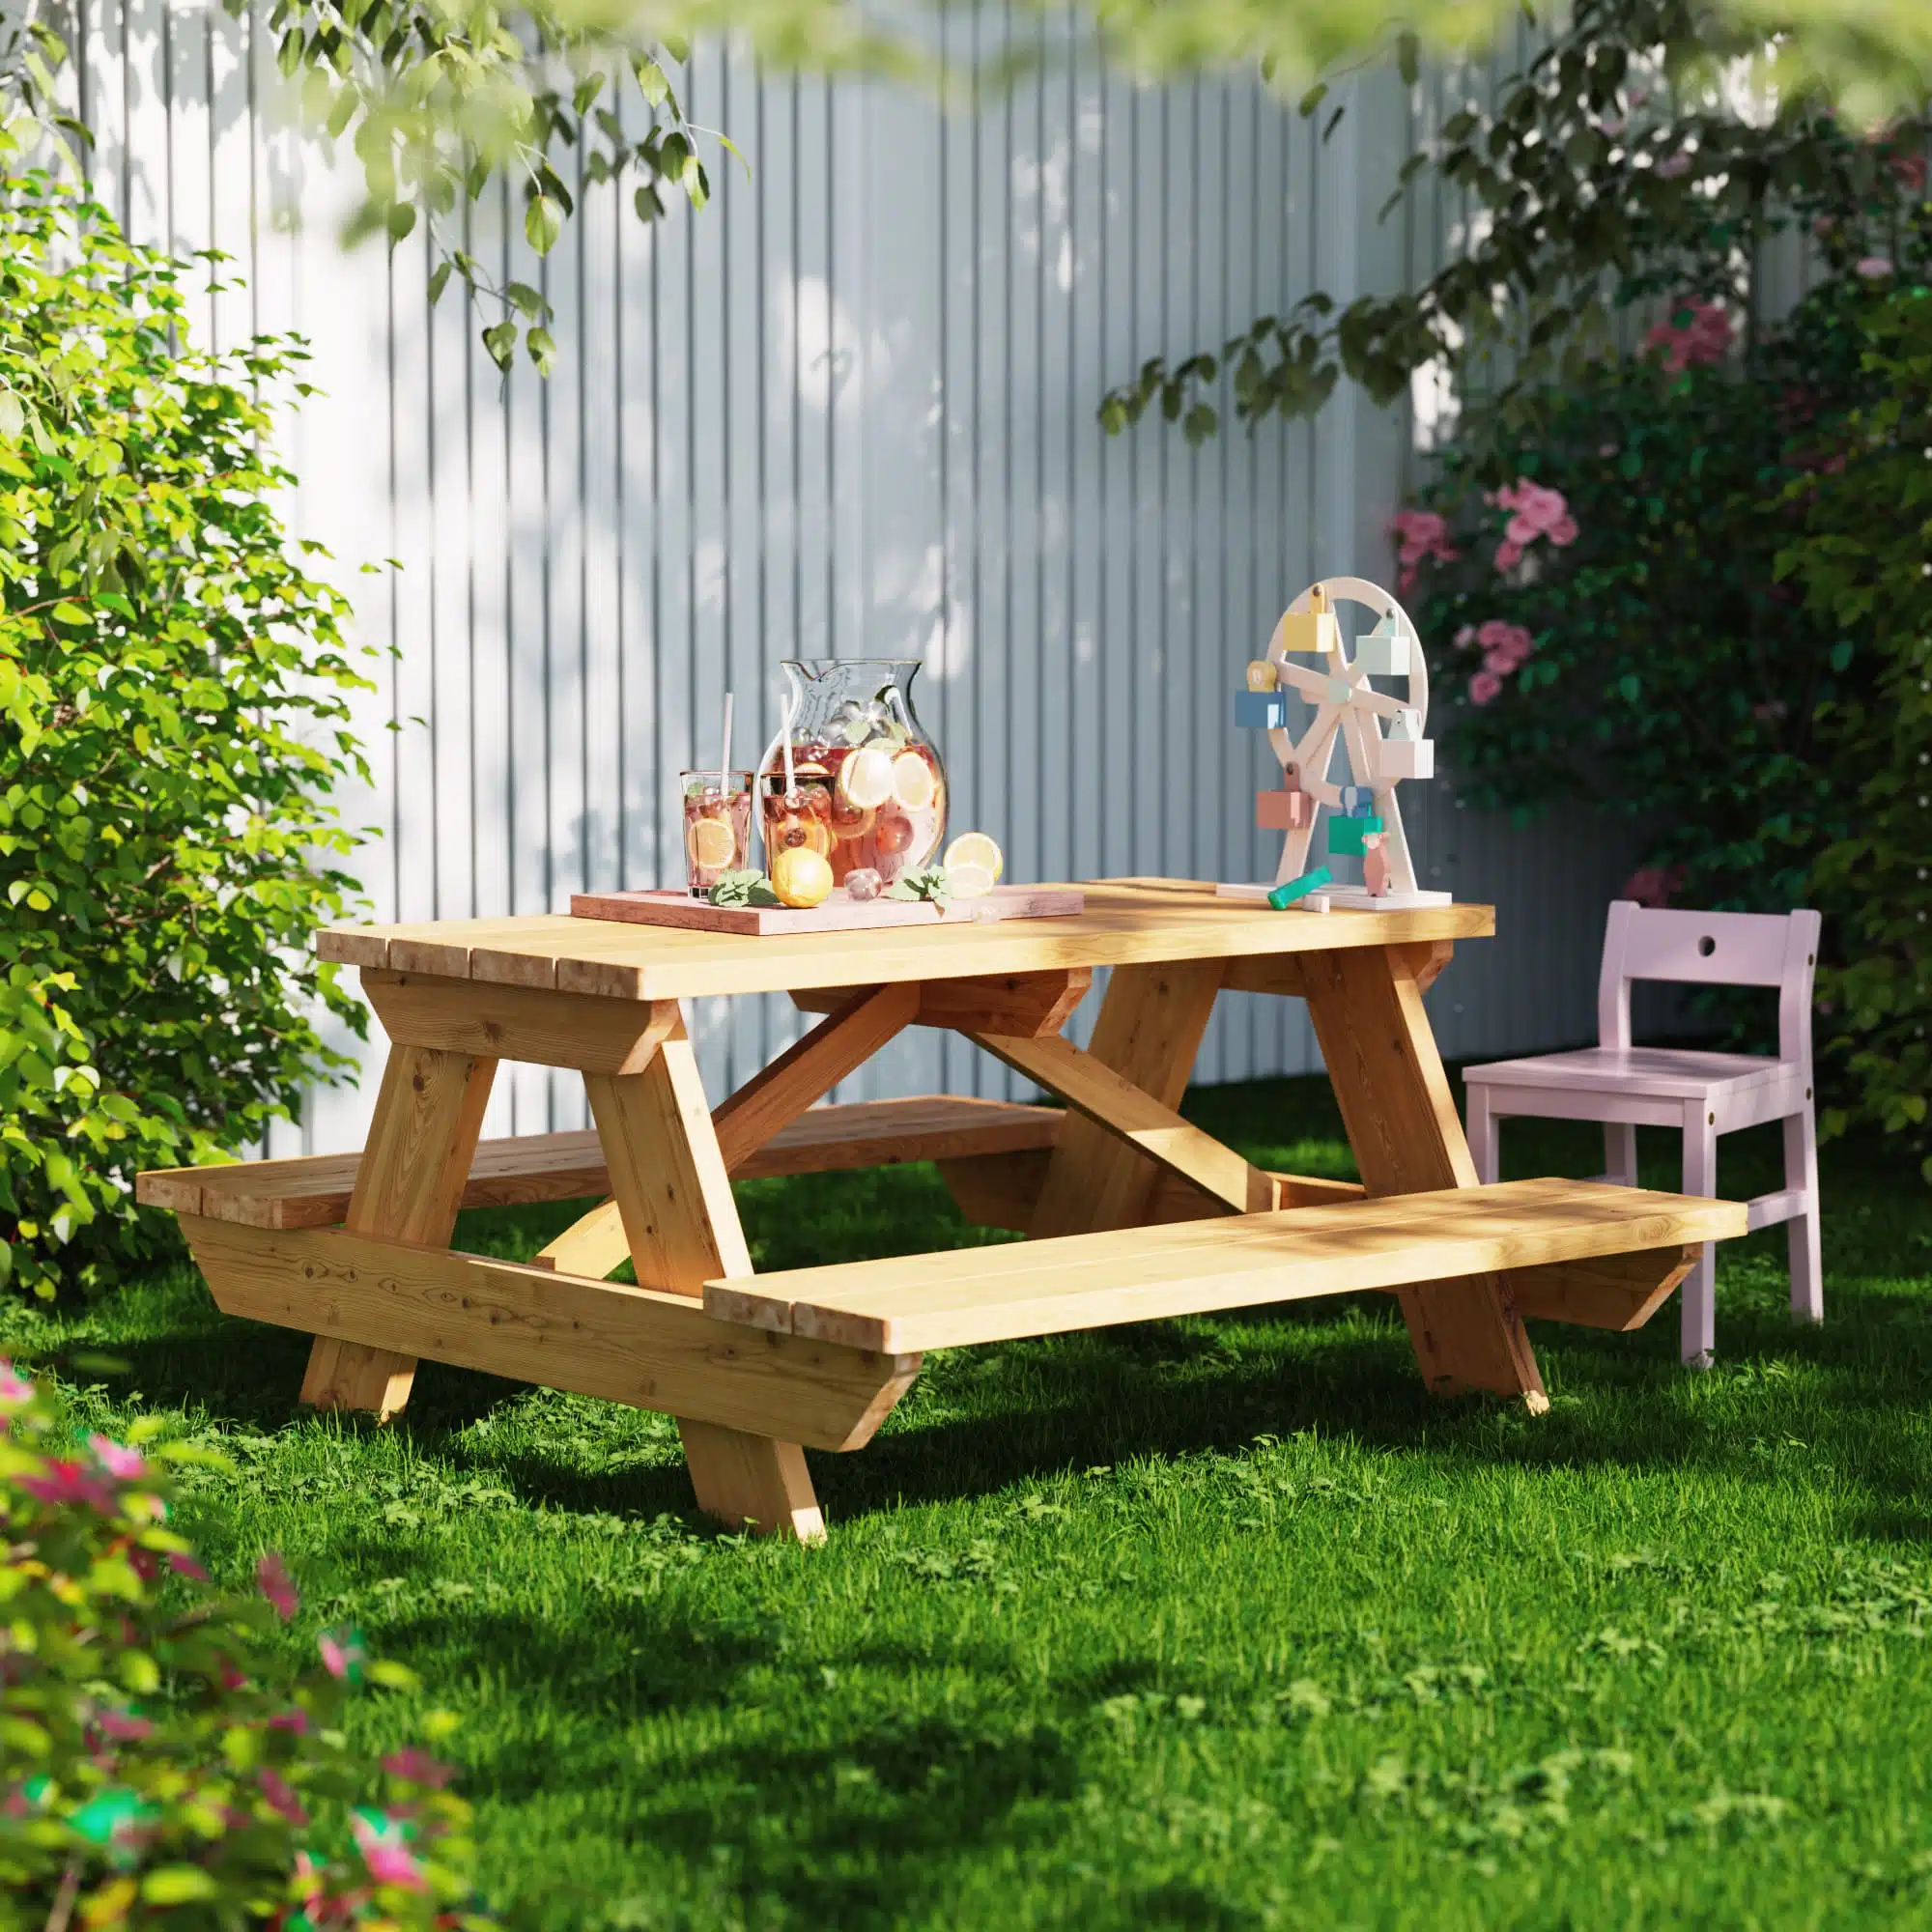
Build a stable and functional outdoor table with this DIY Plan from Egenbyggt. The project is tailored for both beginners and experienced carpenters, and the guide methodically takes you through all the steps – from planning and sawing to the last screw. Step-by-step, you receive clear instructions with measurements and angles, so you can work safely and accurately. The table is built with durable wood — sturdy posts for the legs and wide planks for the tabletop — which provides a sturdy construction that withstands both everyday use and weather. The DIY Plan includes complete measurement lists, sawing and cutting instructions, as well as assembly steps in eight stages.
You will also receive tips on smart working methods, such as marking each board to facilitate assembly. Among the tools used are a miter saw, drill, drill jig, quick clamp, and measuring tape. For the best results, sanding and priming before assembly, as well as surface treatment that protects the wood outdoors, are recommended. The PDF also contains a complete shopping list with estimated material requirements, including wood screws in various sizes, as well as suggestions for accessories like furniture pads for outdoor use.
The DIY Plan is designed to minimize mistakes and help you create an outdoor table that is both practical and stylish. The result is a sturdy table that can be used for many years to come and provides a natural gathering point for dinners, coffee breaks, and all the moments of summer.
Dimensions
Digital delivery
This is a digital guide. The guide is delivered as a PDF that can be downloaded immediately after purchase or through the order email sent to the specified email address.
The guide contains the information needed to build the product illustrated on this page.
Table of contents of the guide:
Introduction
Tools
Sawing
Mounting
At Egenbyggt, we work hard to deliver high quality. Nevertheless, errors or omissions may creep into our guides and the information we provide on the site. We reserve the right to do so.
If you are not satisfied with a guide you have purchased, please contact us.
Vi börjar med det positiva:
Det var en bra instruktion som var lätt att följa och designen på bordet är väldigt snygg och stabil.
Nu till det negativa:
Eftersom virket har rejäla dimensioner kräver det skruv som dels inte är så lätta att hitta och det man hittar är väldigt dyrt, det är bra att känna till.
Det färdiga bordet är inte anpassat för standardmått på stolar. Dels är bordet lite för högt, standardhöjd på ett bord är 75 cm.
Vill man ha bordet som utemöbel är det största problemet att det är för tajt mellan bordsbenen. Eftersom det beskrivs som utebord trodde vi att det var lämpligt för detta och kontrollerade inte bredden mellan benen. Det finns tyvärr inga utestolar som är tillräckligt smala för att det ska få plats 3 st i bredd. Detta är inte ett problem om man ska ha bordet inomhus eftersom innestolar generellt är nättare än utestolar. Men för oss blev resultatet tyvärr ett bord vi inte kan använda. Väldigt synd med tanke på hur mycket jobb och pengar vi lagt ner, och det är ju väldigt snyggt, så det är riktigt tråkigt att behöva göra oss av med det.
Känner man till detta innan kan man justera distansen mellan bordsbenen samt höjden och få ett riktigt snyggt och användbart bord.
egenbyggt
Store manager
Hej,
Tack för din utförliga recension – den hjälper oss att bli bättre och ger värdefull information till alla som funderar på att bygga detta bord.
Vi förstår verkligen frustrationen när bordet redan är byggt och det inte är så enkelt att ändra på designen i efterhand.
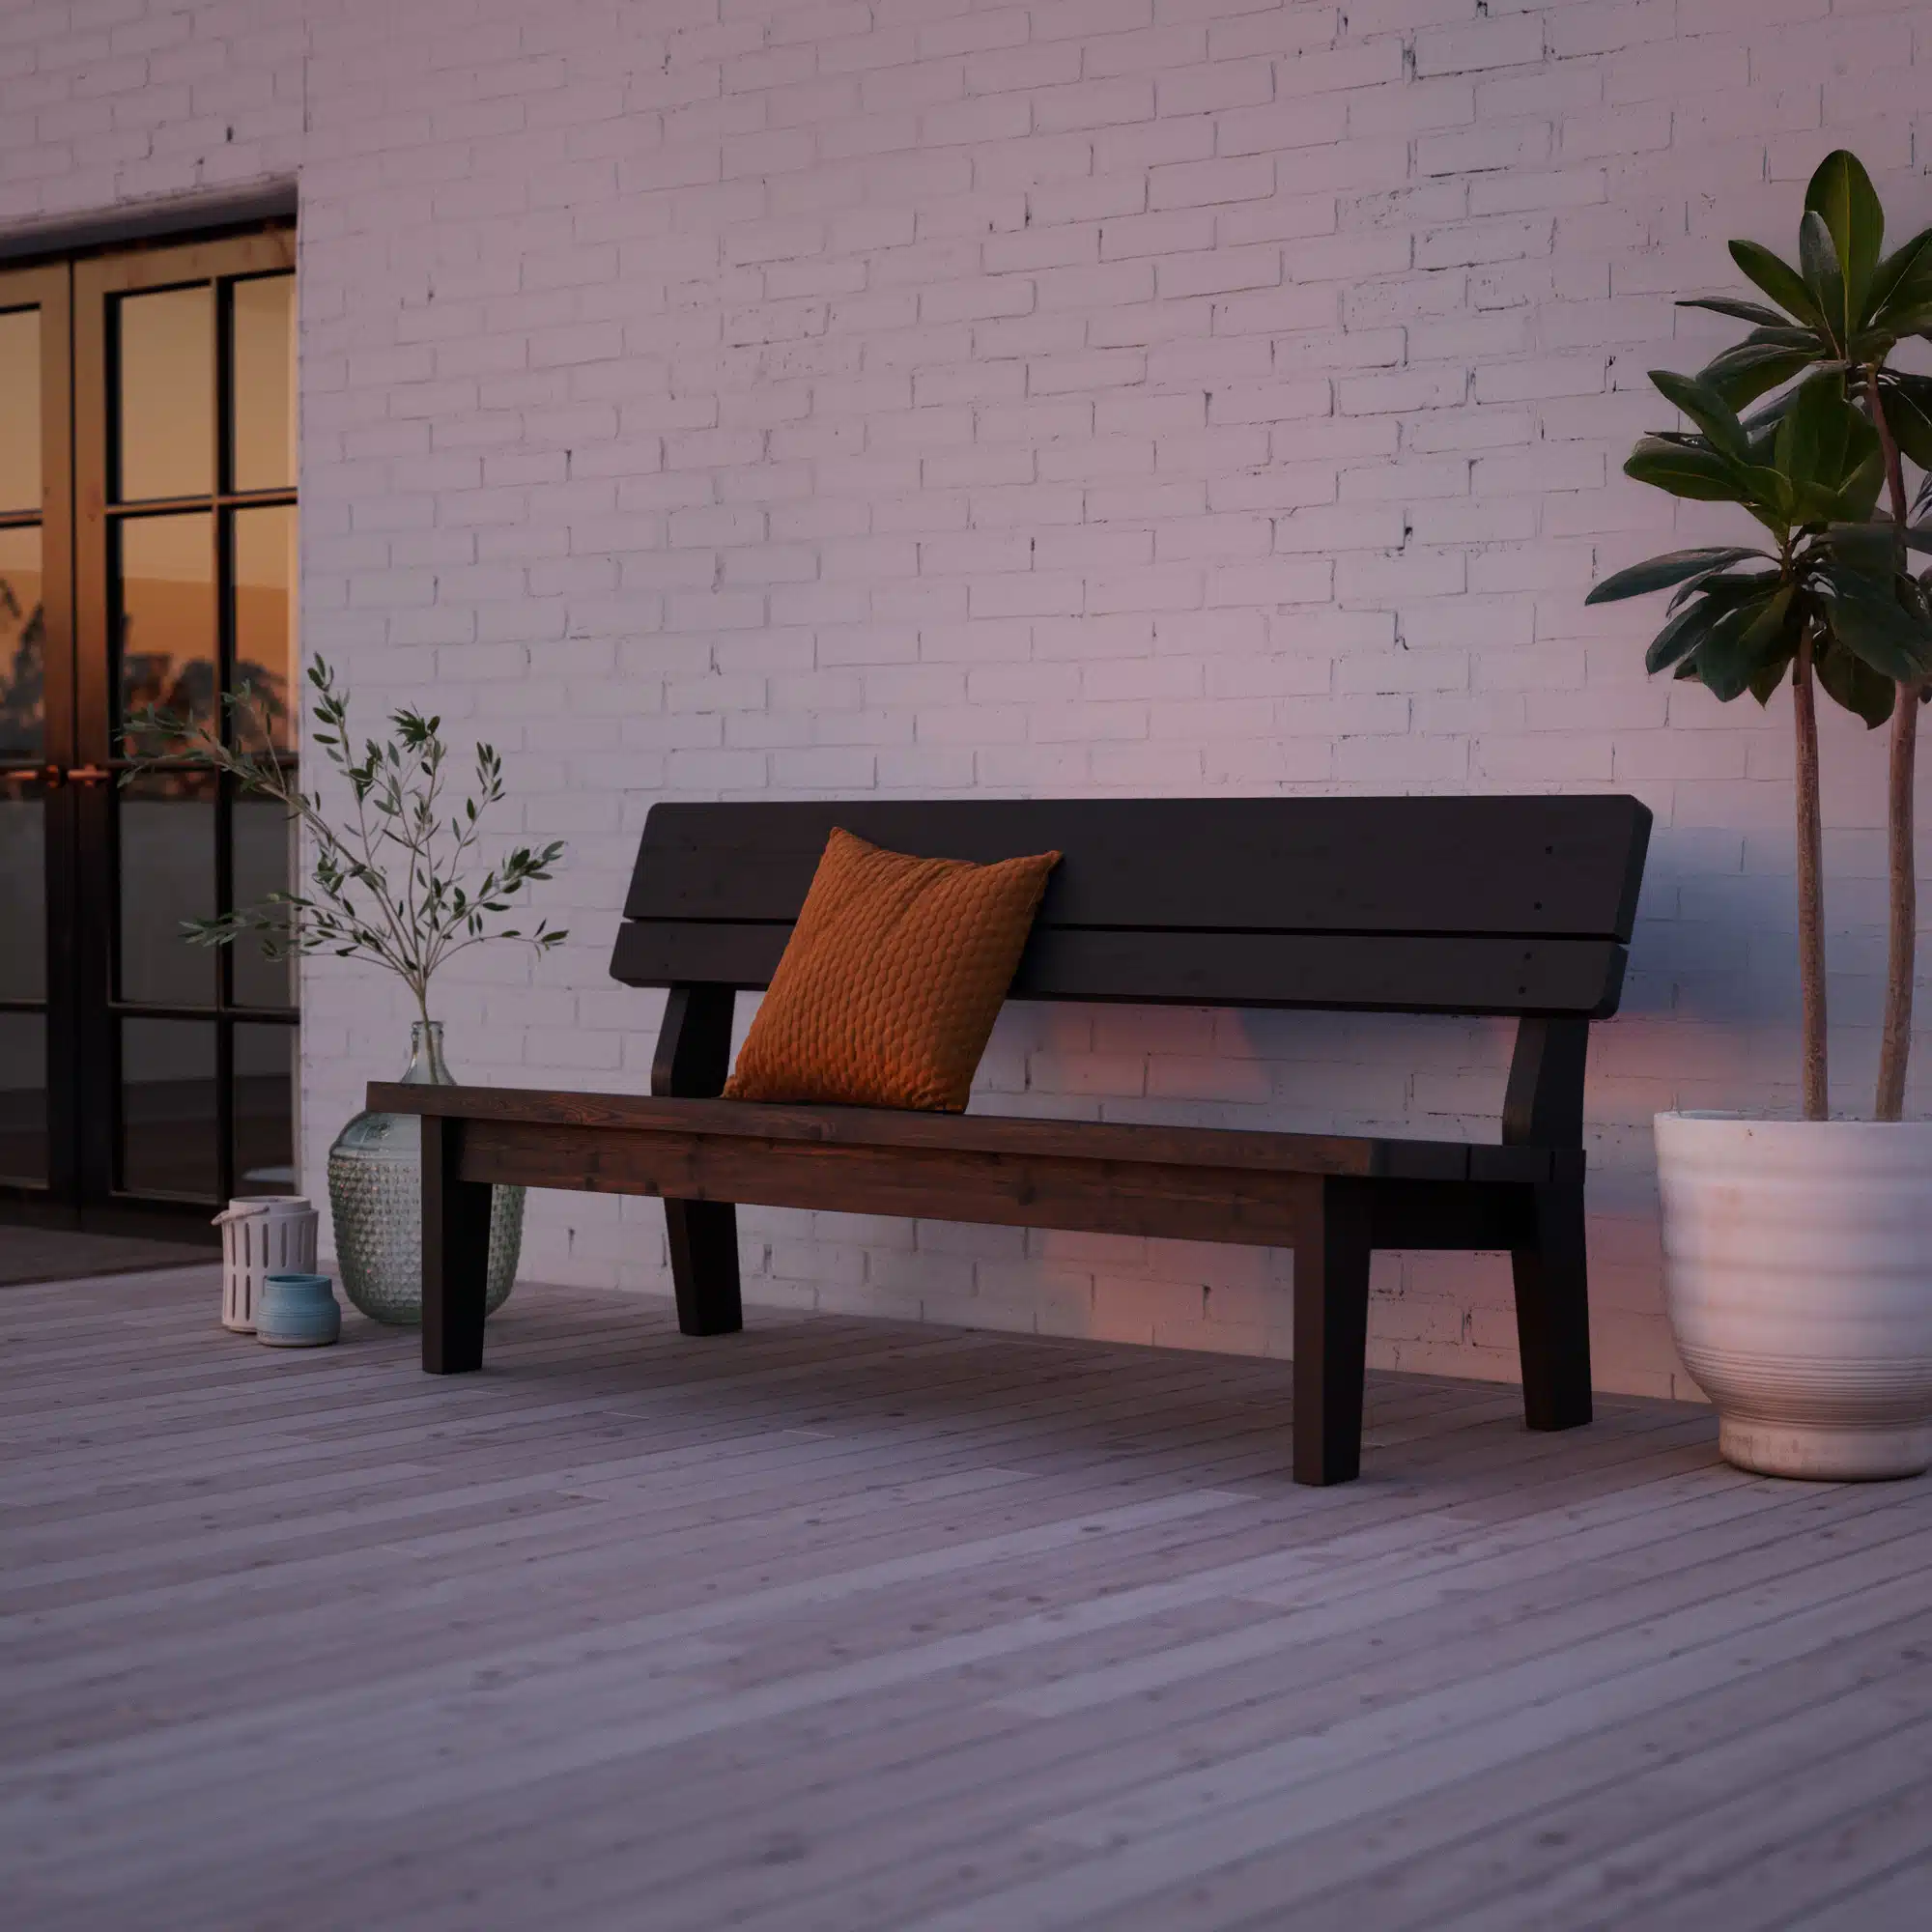
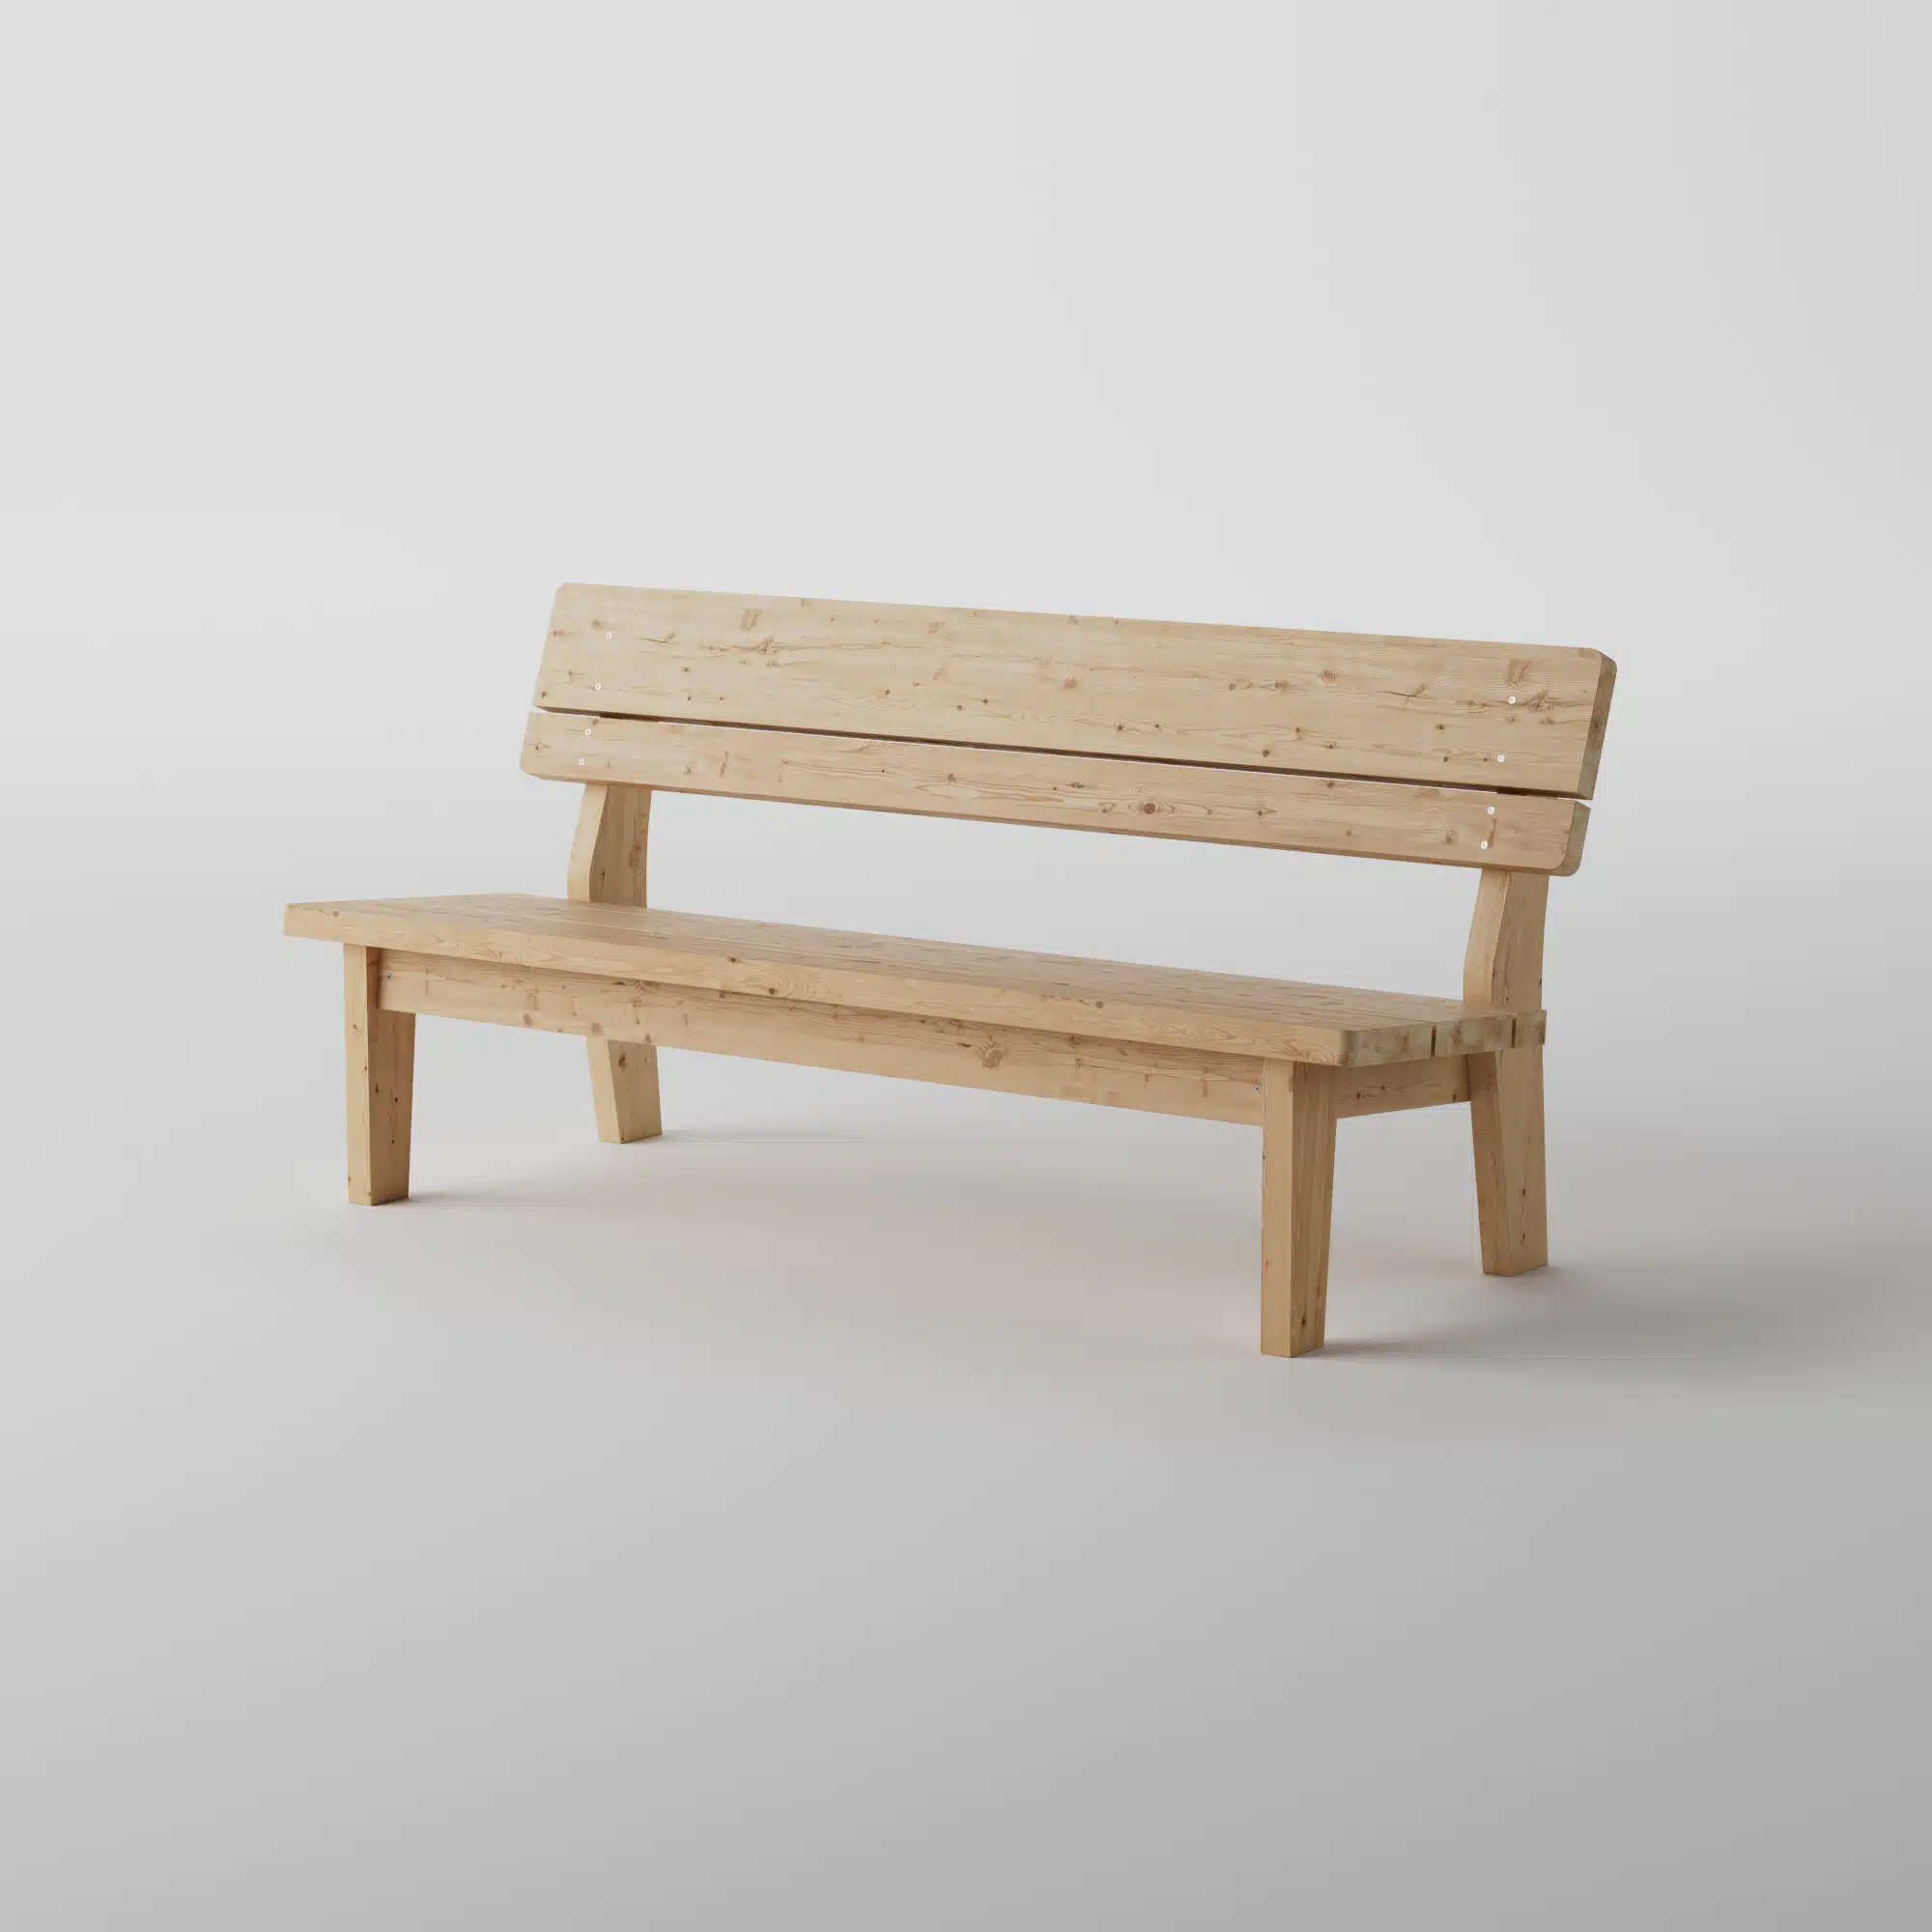
För referens: utestolar är ofta bredare än innestolar (ca 55–65 cm eller mer). Avståndet mellan bordsbenen i denna konstruktion är ca 1650 mm, vilket gör att tre stolar i bredd blir trångt beroende på modell. Till bordet har vi även anpassat en matchande bänk, Stabil utebänk, som passar måtten.
To provide a good experience, we use technologies like cookies to store and/or access device information. By consenting to these technologies, we may process data such as browsing behavior or unique IDs on this website. If you do not consent or withdraw your consent, this may negatively affect certain features.
Functional
Always active
The technical storage or access is strictly necessary for the purpose of enabling the use of a specific service requested by the user, or for the sole purpose of carrying out the transmission of a communication over an electronic communications network.
Options
The technical storage or access is necessary for the legitimate purpose of storing preferences not requested by the subscriber or user.
Statistics
The technical storage or access that is used exclusively for anonymous statistical purposes.The technical storage or access that is used exclusively for anonymous statistical purposes. Without a subpoena, voluntary compliance on the part of your Internet Service Provider, or additional records from a third party, information stored or retrieved for this purpose alone is typically not able to be used to identify you.
Marketing
The technical storage or access is required to create user profiles to send advertising or to track the user on a website or across multiple websites for similar marketing purposes.


Veldig store dimensjoner på trevirke
Meget god srbeidstegning
Vi börjar med det positiva:
Det var en bra instruktion som var lätt att följa och designen på bordet är väldigt snygg och stabil.
Nu till det negativa:
Eftersom virket har rejäla dimensioner kräver det skruv som dels inte är så lätta att hitta och det man hittar är väldigt dyrt, det är bra att känna till.
Det färdiga bordet är inte anpassat för standardmått på stolar. Dels är bordet lite för högt, standardhöjd på ett bord är 75 cm.
Vill man ha bordet som utemöbel är det största problemet att det är för tajt mellan bordsbenen. Eftersom det beskrivs som utebord trodde vi att det var lämpligt för detta och kontrollerade inte bredden mellan benen. Det finns tyvärr inga utestolar som är tillräckligt smala för att det ska få plats 3 st i bredd. Detta är inte ett problem om man ska ha bordet inomhus eftersom innestolar generellt är nättare än utestolar. Men för oss blev resultatet tyvärr ett bord vi inte kan använda. Väldigt synd med tanke på hur mycket jobb och pengar vi lagt ner, och det är ju väldigt snyggt, så det är riktigt tråkigt att behöva göra oss av med det.
Känner man till detta innan kan man justera distansen mellan bordsbenen samt höjden och få ett riktigt snyggt och användbart bord.
Hej,
Tack för din utförliga recension – den hjälper oss att bli bättre och ger värdefull information till alla som funderar på att bygga detta bord.
Vi förstår verkligen frustrationen när bordet redan är byggt och det inte är så enkelt att ändra på designen i efterhand.
För referens: utestolar är ofta bredare än innestolar (ca 55–65 cm eller mer). Avståndet mellan bordsbenen i denna konstruktion är ca 1650 mm, vilket gör att tre stolar i bredd blir trångt beroende på modell. Till bordet har vi även anpassat en matchande bänk, Stabil utebänk, som passar måtten.
Tack igen för att du delar med dig.
Vänliga hälsningar,
Egenbyggt