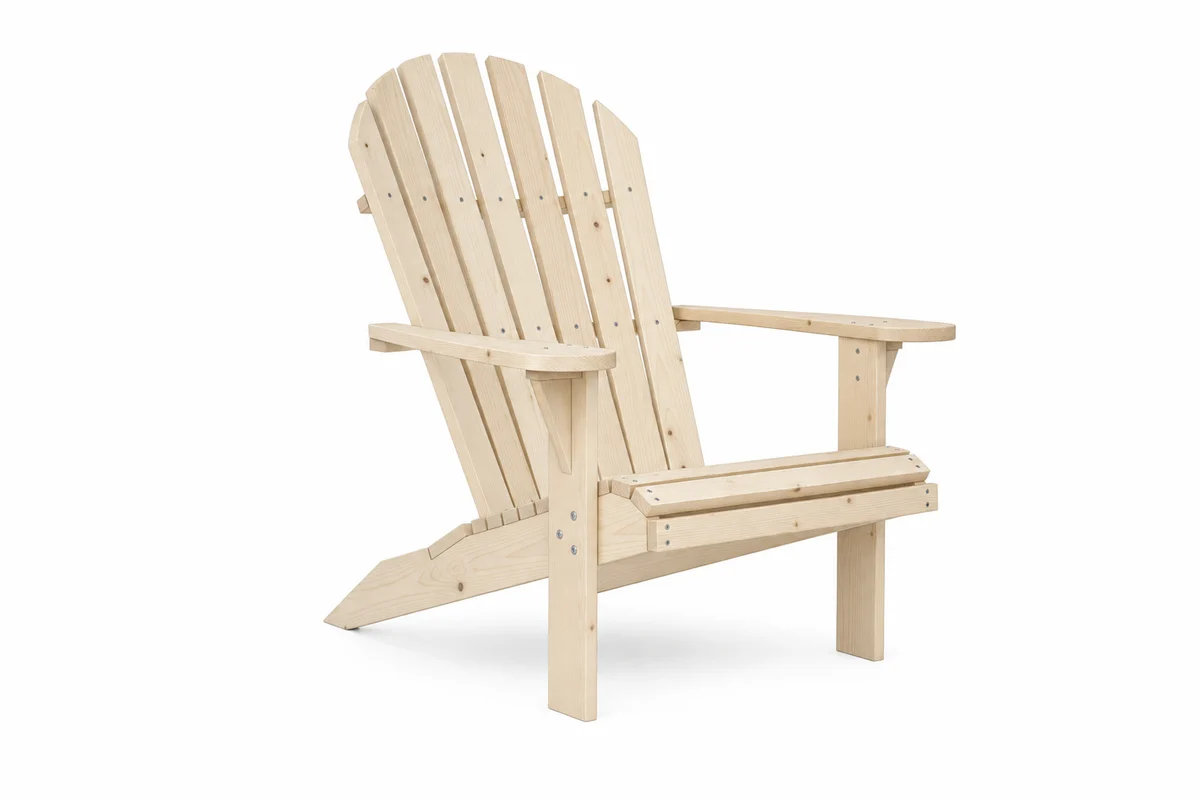
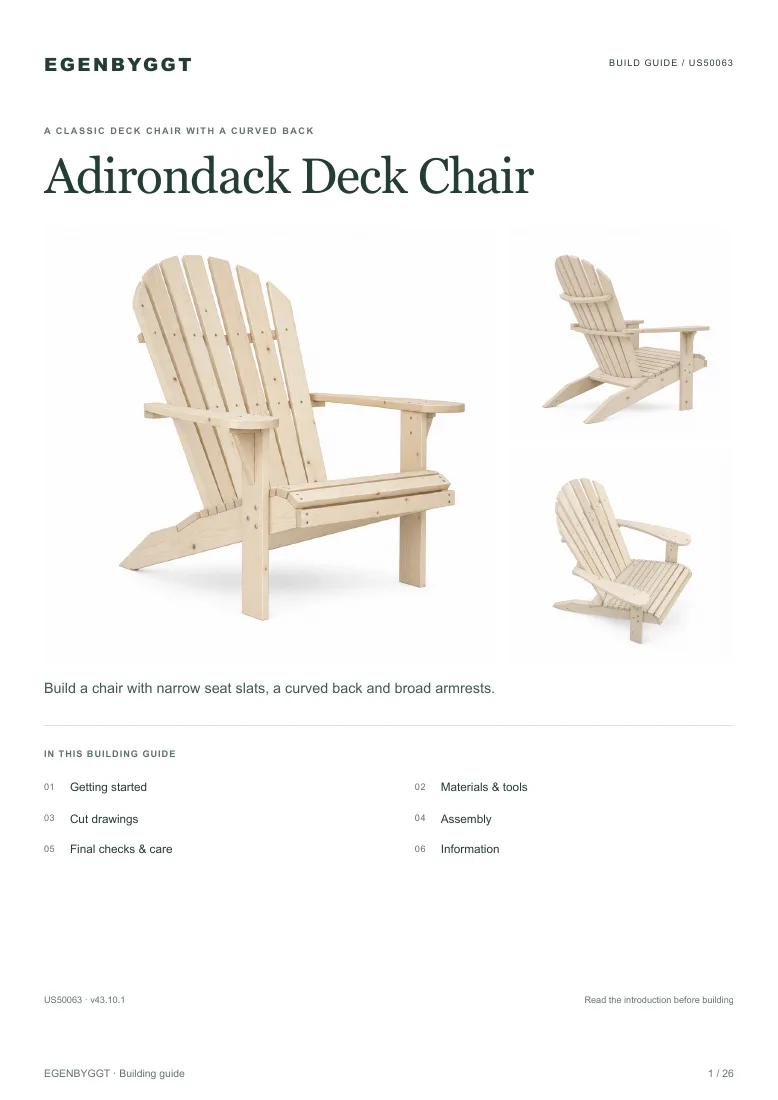
DIY Plan for building a classic Adirondack deck chair. Create a comfortable and timeless outdoor furniture piece with the help of our clear instructions and drawings.
DIY Plan for building a classic Adirondack chair that quickly becomes the favorite on the patio or in the garden. This characteristic deck chair is recognized by its wide armrests, which are perfect for placing a coffee cup on, as well as the deeply sloping seat and the high backrest that together offer unbeatable seating comfort. The project is designed for those who are moderately handy and have some experience with tools. It is a construction that offers a bit more woodworking joy than the simplest models, especially since the design includes soft shapes and curves that require jigsawing for the chair to achieve its true, classic appearance.
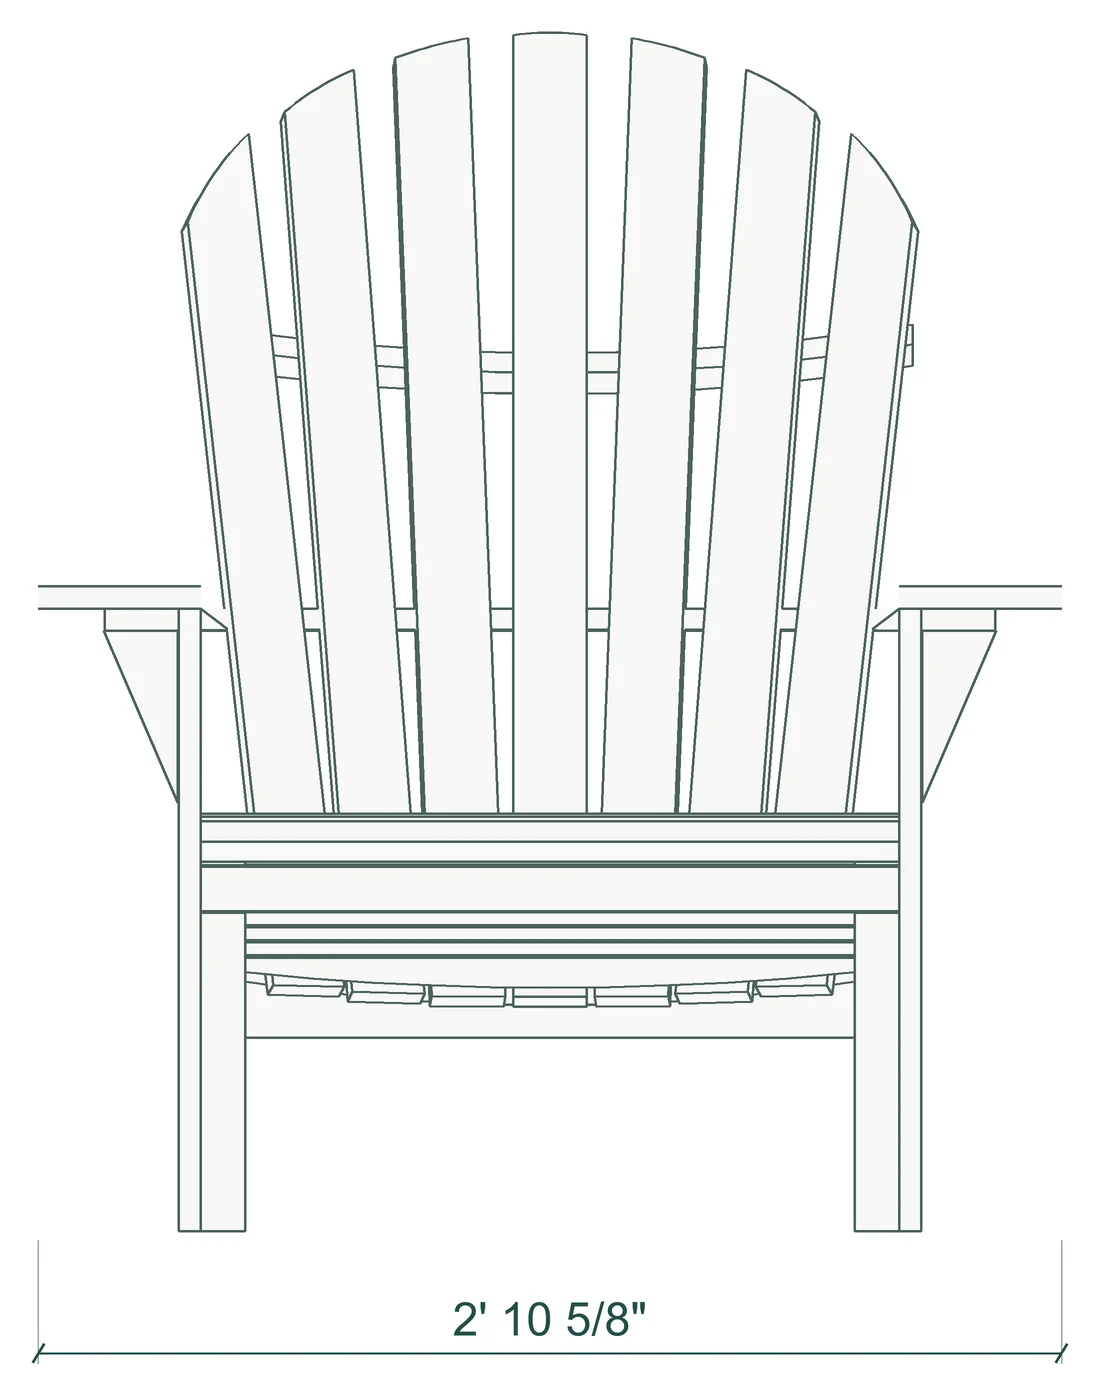
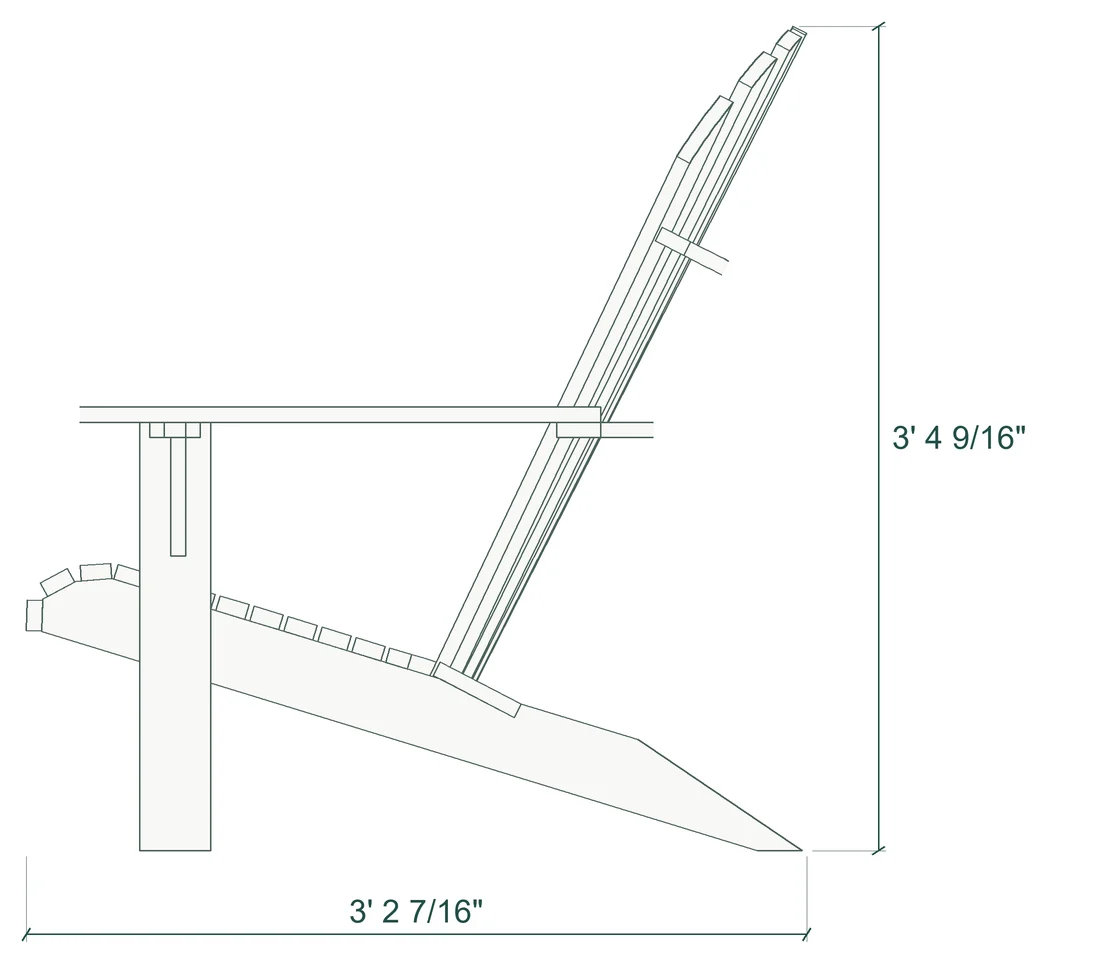
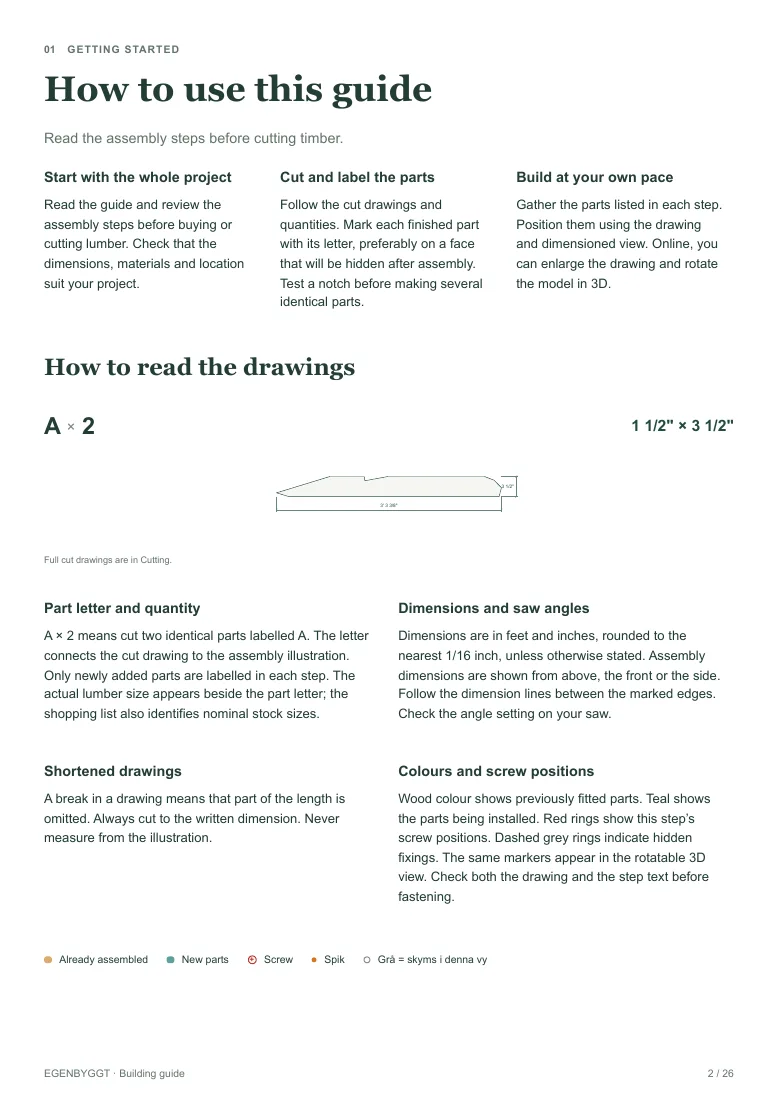
The work to complete the chair is estimated to take about a day for one person. To succeed with the specific shapes and angles, you need access to a miter saw and a jigsaw. In addition to the saws, a screwdriver and standard measuring tools are required for assembly and checking measurements. You do not need to be a professional to achieve a professional result, as our materials are designed to be educational and easy to follow. With the help of a detailed drawing, you can see exactly how each part should be dimensioned and placed in relation to each other.
You can avoid worrying about your own construction solutions and instead enjoy watching your chair come together piece by piece. The result is a stable and timeless outdoor furniture that can withstand use season after season. The DIY Plan includes a complete material list, sawing and cutting instructions, as well as assembly steps.
Dimensions
Building materials
Lumber
3/4 × 4 1/2 in
Lumber
3/4 × 5 1/2 in
Lumber
3/4 × 1 1/2 in
Lumber
3/4 × 2 1/2 in
Lumber
3/4 × 3 1/2 in
Lumber
1 1/2 × 3 1/2 in
Fasteners
5/16" × 3" carriage bolt, nut and washer
Fasteners
#8 × 1 1/4" exterior wood screw
Fasteners
#8 × 1 1/2" exterior wood screw
Tools
Miter saw
Jigsaw for profiles and the backrest curve
Drill/driver and matching bits
Pilot bits, 5/16" drill bit and 13/16" counterbore bit
Speed square
Tape measure and pencil
Level
Clamps
Wrench for the 5/16" nuts
Hacksaw and file if shortening bolts
Knife for fitting
String or flexible batten for curves
Sander and sandpaper
Safety glasses and hearing protection
What you get
PDF version
Drawings, a shopping list and step-by-step assembly. Read on screen or print out.
Page 1Page 2Page 3–26
Web version
Follow one assembly step at a time on screen. Try the first step’s 3D view here.
PreviewStep 1 / 9
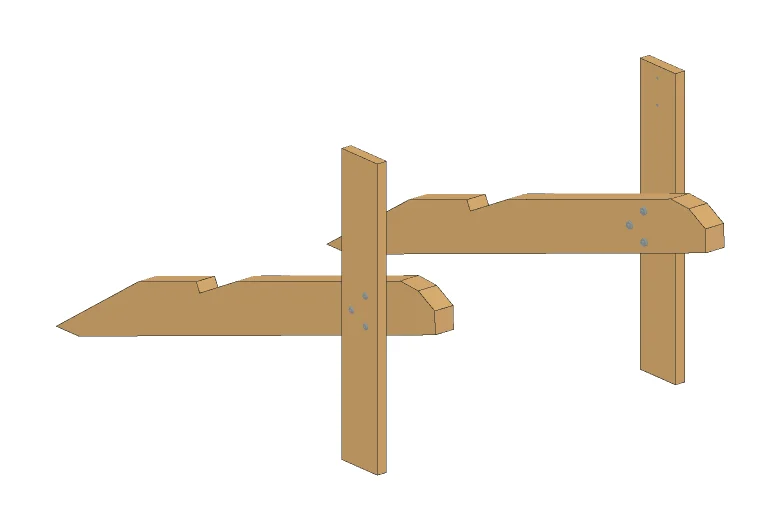
Build two mirrored leg assemblies
Lay the parts on a flat, level surface. Position A and B as shown in the side view. Check that B is at 90° to the ground and clamp the parts. Make one left and one right leg assembly.