Outdoor benches

Bench with privacy screen – Building instructions

No ratings yet.

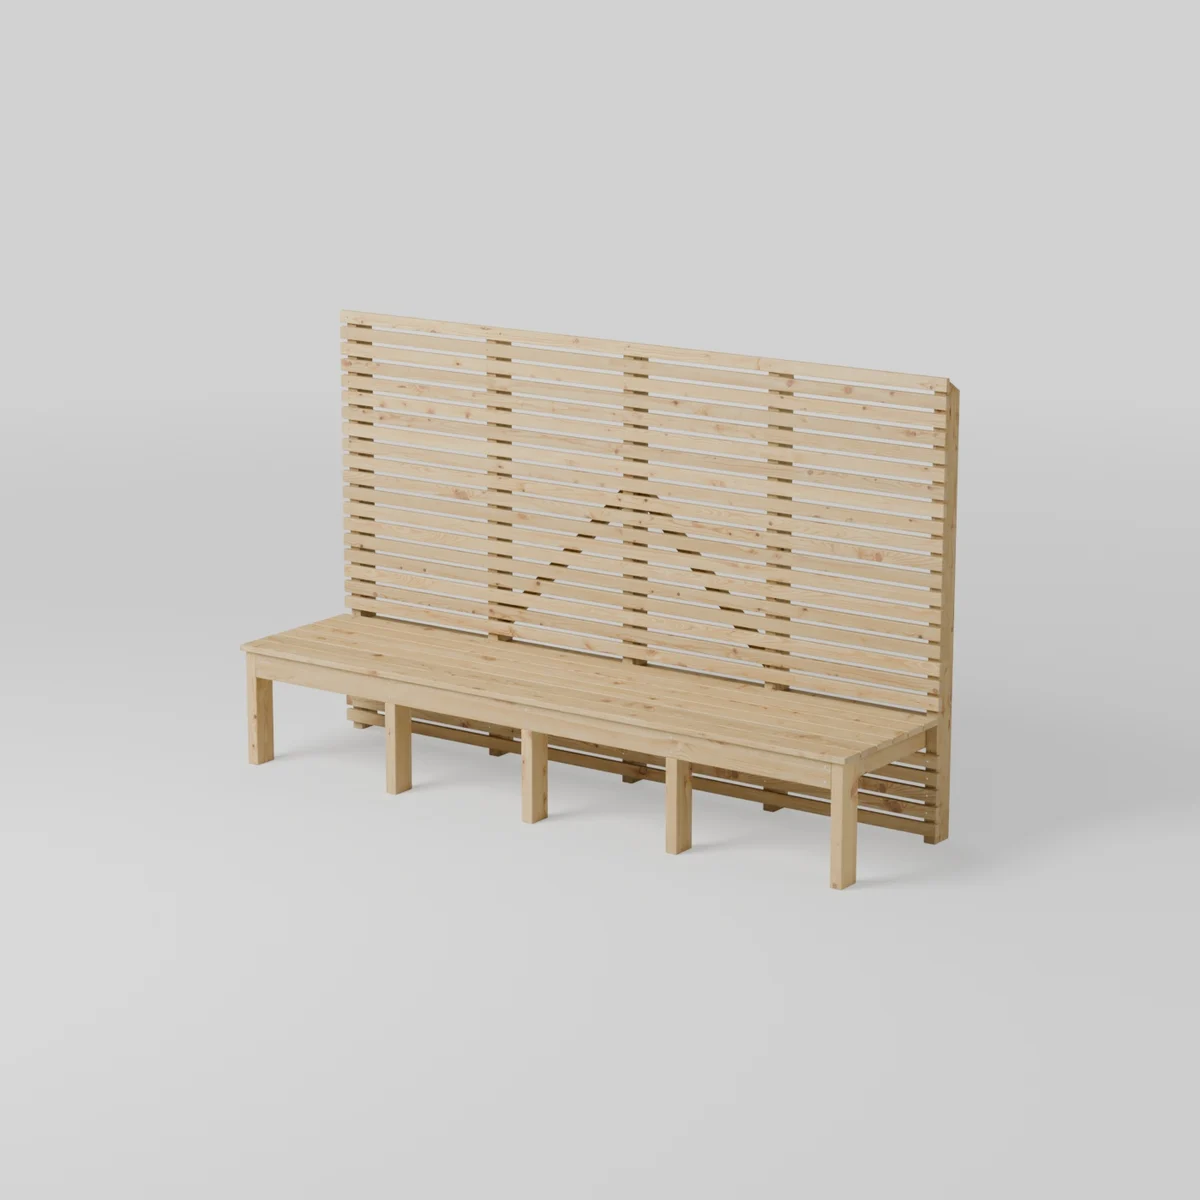
A long wooden bench and an open slatted privacy screen in one project. Create a sheltered seating spot on the patio or in the garden, framed by a slatted wall.

Product number50201
Estimated time1 day
LevelEasy
MaterialWood
UnitsInches (in)
18.9 USD

PDF + web version

About the project

A long wooden bench and an open slatted privacy screen in one project. Create a sheltered seating spot on the patio or in the garden, framed by a slatted wall.

Get a shopping list, dimensioned cutting drawings, and eight assembly steps. Build the frames, install the seat boards, and attach the slats as shown. Follow the PDF or rotate the model in the web guide. Anchor the bench against wind and tipping with hardware suitable for the location and mounting surface.

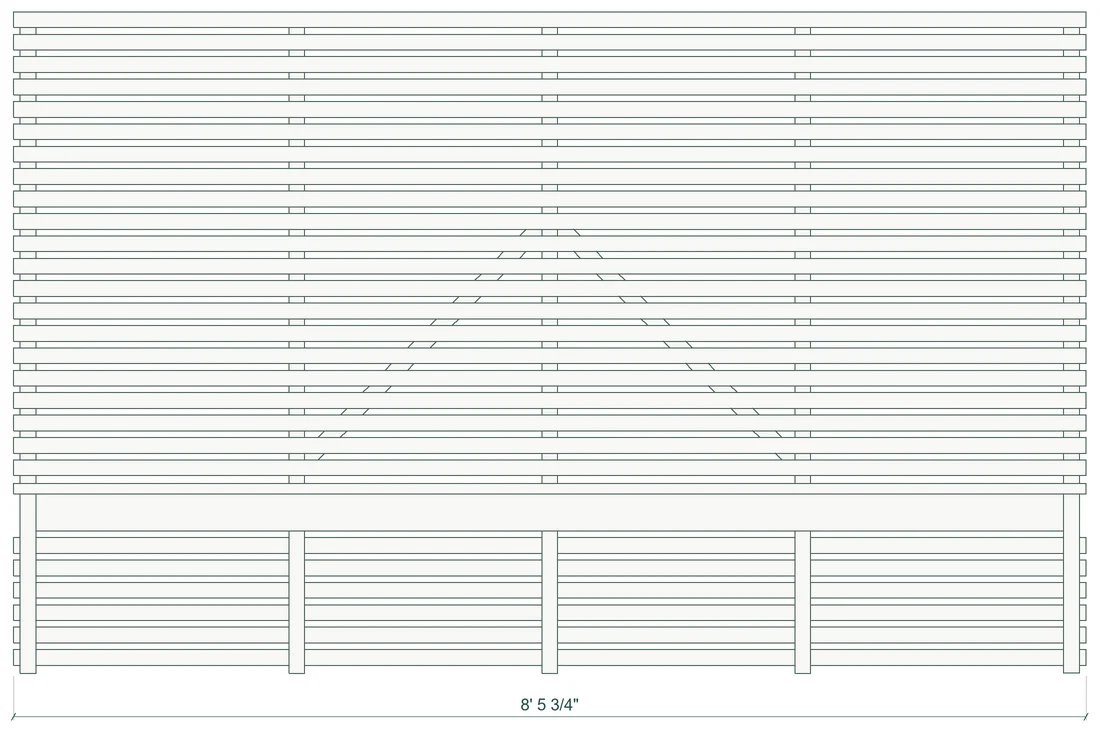
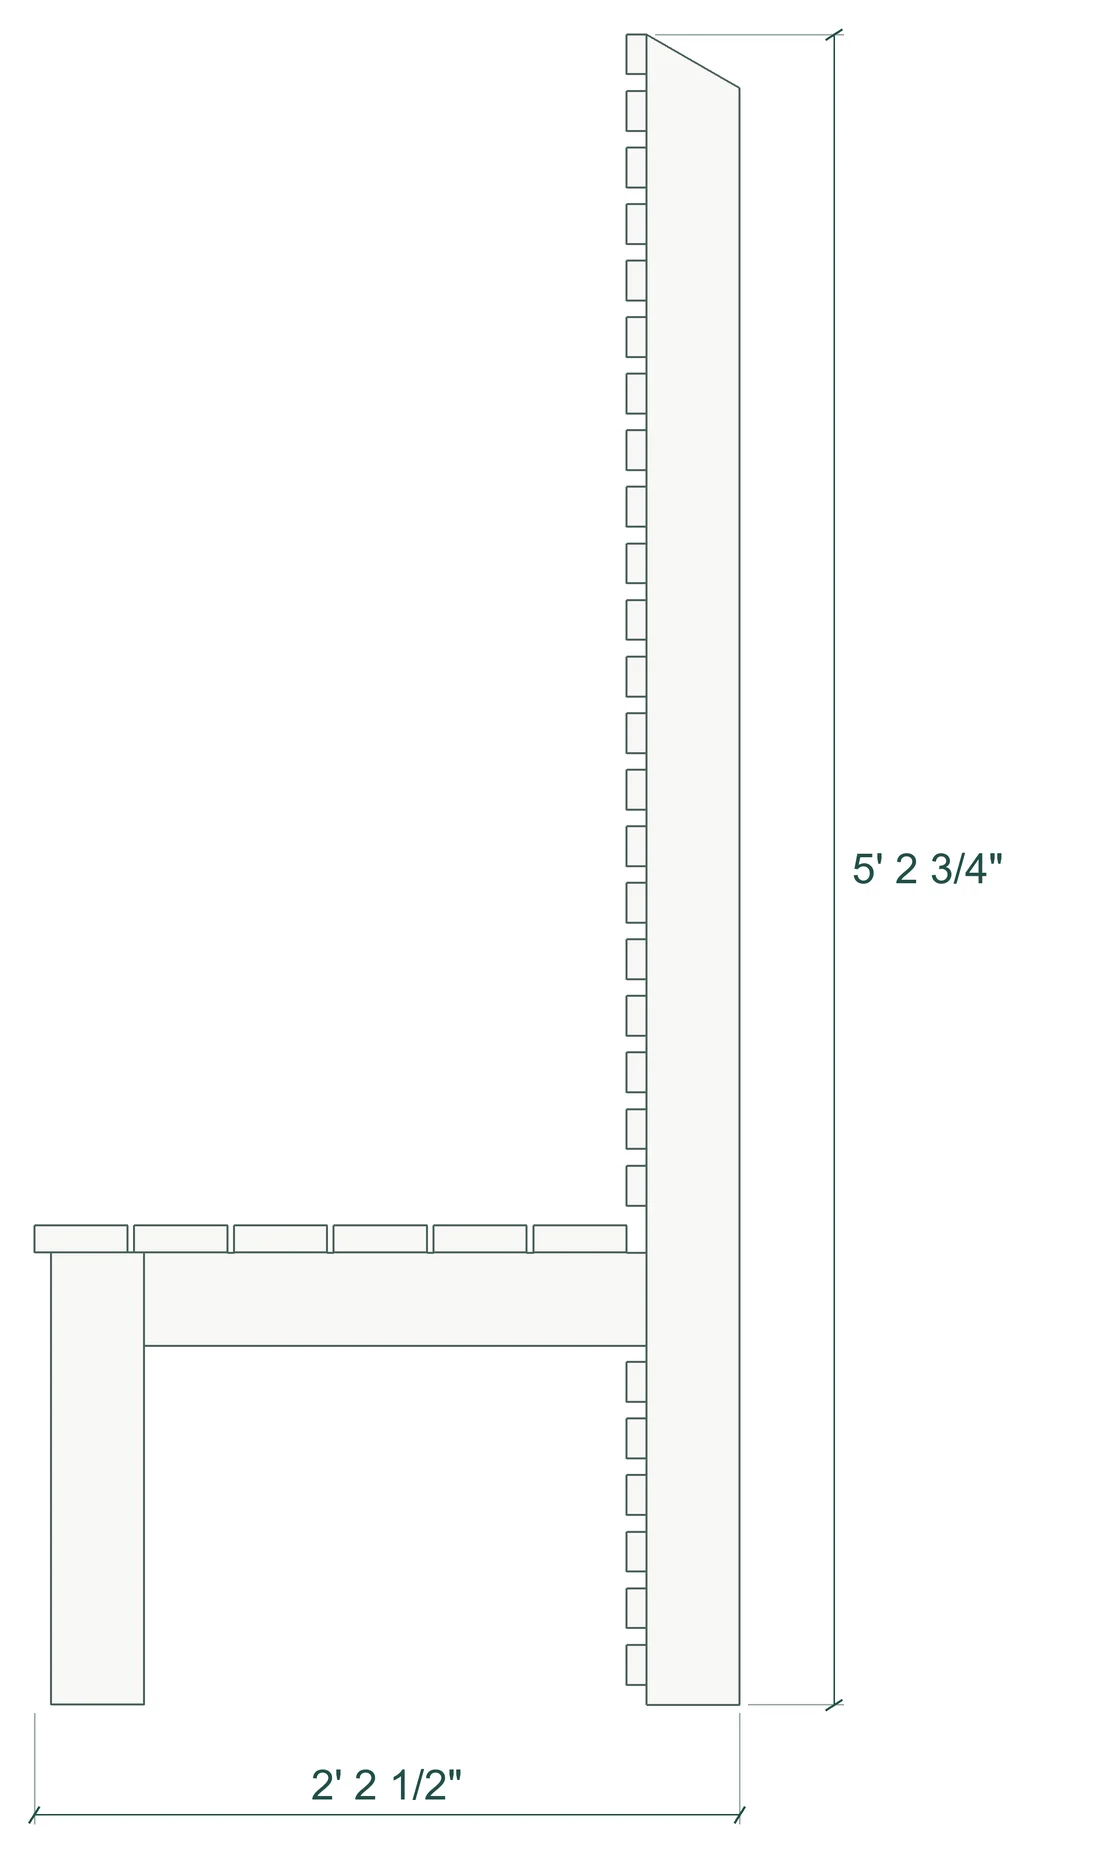
Dimensions
Bench with privacy screen · Dimensions · in
Building materials
Lumber
2 × 4 · actual 1 1/2 × 3 1/2 inches
Lumber
2 × 2 · actual 1 1/2 × 1 1/2 inches
Lumber
5/4 × 4 · actual 1 × 3 1/2 inches
Lumber
1 × 2 · actual 3/4 × 1 1/2 inches
Fasteners
#8 × 2 in wood screws
Fasteners
#10 × 3 1/2 in wood screws
Fasteners
#10 × 2 3/4 in wood screws
Fasteners
#10 × 3 in wood screws
Fasteners
Ground or wall anchoring suitable for the location and mounting surface
Tools
  • Miter saw
  • Jigsaw or handsaw and chisel for the notches
  • Drill/driver, wood drill bits, and matching Torx bits
  • Clamps
  • Tape measure, pencil, and speed square
  • Level
  • Sandpaper

What you get

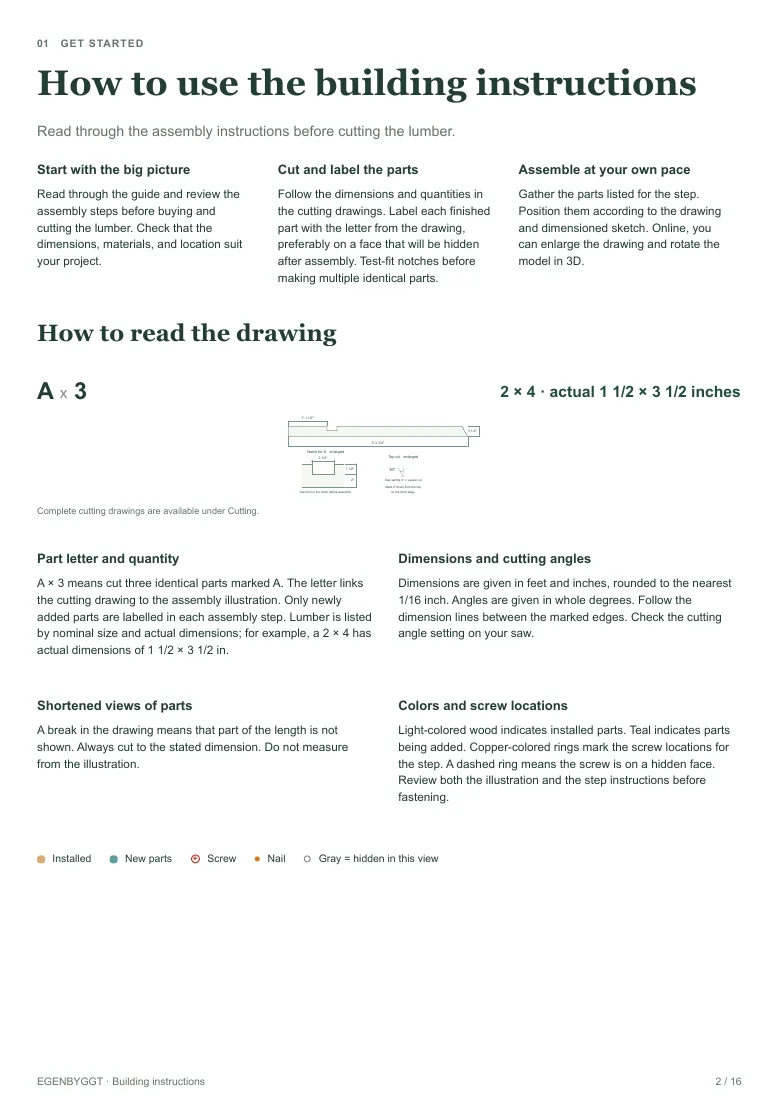
PDF version

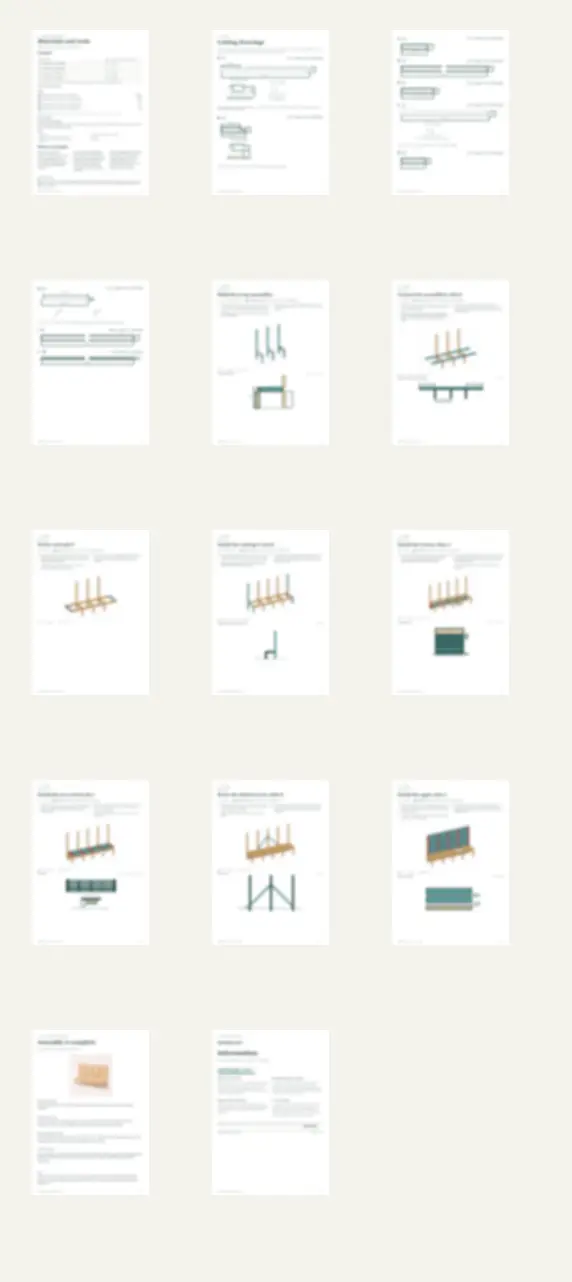
Drawings, a shopping list and step-by-step assembly. Read on screen or print out.
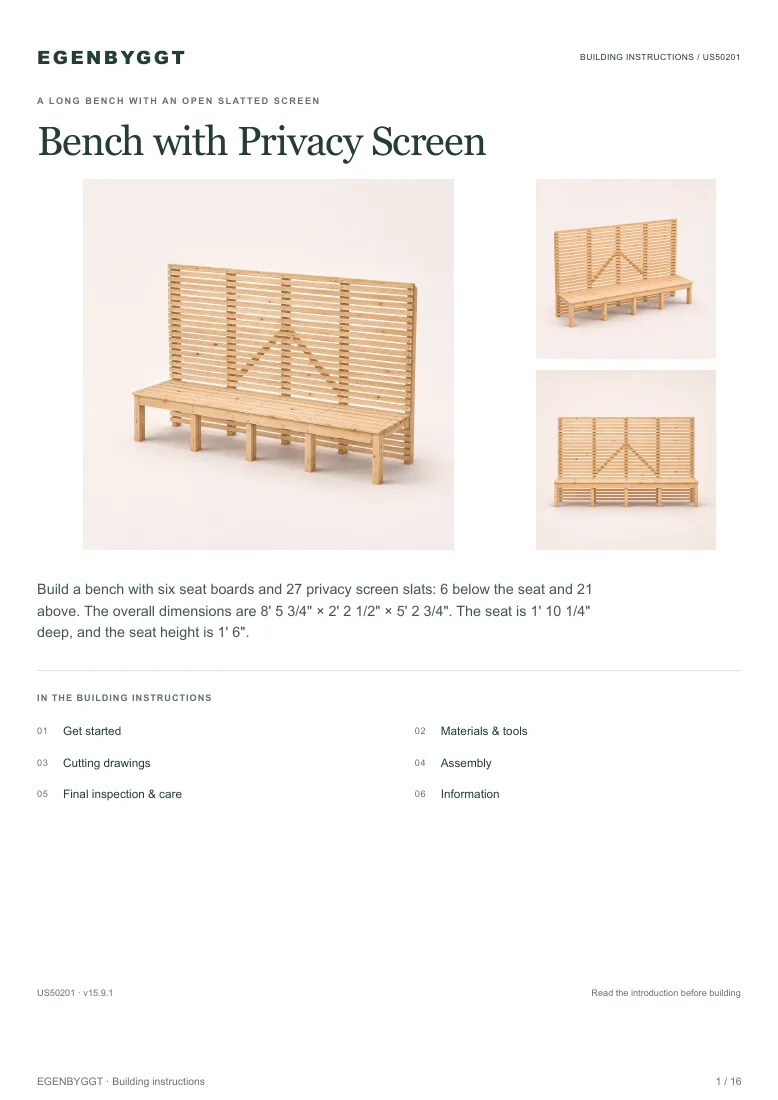
Bench with privacy screen · Page 1
Page 1
Bench with privacy screen · Page 2
Page 2
Bench with privacy screen · Page 3–16
Page 3–16

Web version

Follow one assembly step at a time on screen. Try the first step’s 3D view here.

PreviewStep 1 / 8

Build three leg assemblies
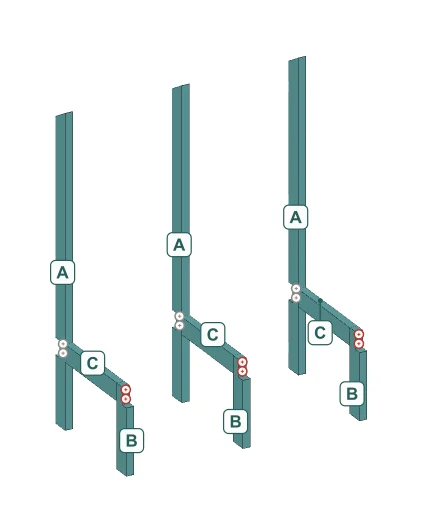
Bench with privacy screen · Build three leg assemblies

Lay the parts on a flat surface. Position C between A and B as shown. The top of C should be flush with the top end of B.

Ratings and reviews

No ratings yet.

Your cart

Building instructions

All building instructions

Search