

 1 / 6
1 / 6
Building instructions
Linden chair DIY plan
5 ratingsBuild your own Linden – a stable and comfortable garden chair that is perfect for long summer dinners with family and friends. You will receive clear step-by-step instructions, drawings, and a complete cutting list that makes the build easy even for beginners.
Product number50172
Estimated time1-2 d
LevelMedium
MaterialWood
UnitsImperial (inches)
14.9 USDDigital building plan
About the project
DIY Plan for the Linden chair. This is a stable garden chair with a comfortable sitting position that looks nice and is pleasant to sit on. The sturdy construction makes the chair perfect for long dinners with family and friends during the summer.
The description shows step by step how to build the chair. You will receive clear drawings and a complete cutting list that makes it easy to saw all the parts and assemble them. Whether you have built furniture before or this is your first time, you can follow the instructions from start to finish.
Linden is a chair that lasts a long time and fits into most gardens. With simple tools and careful instructions, you can build your own chairs that you can enjoy for many years to come.
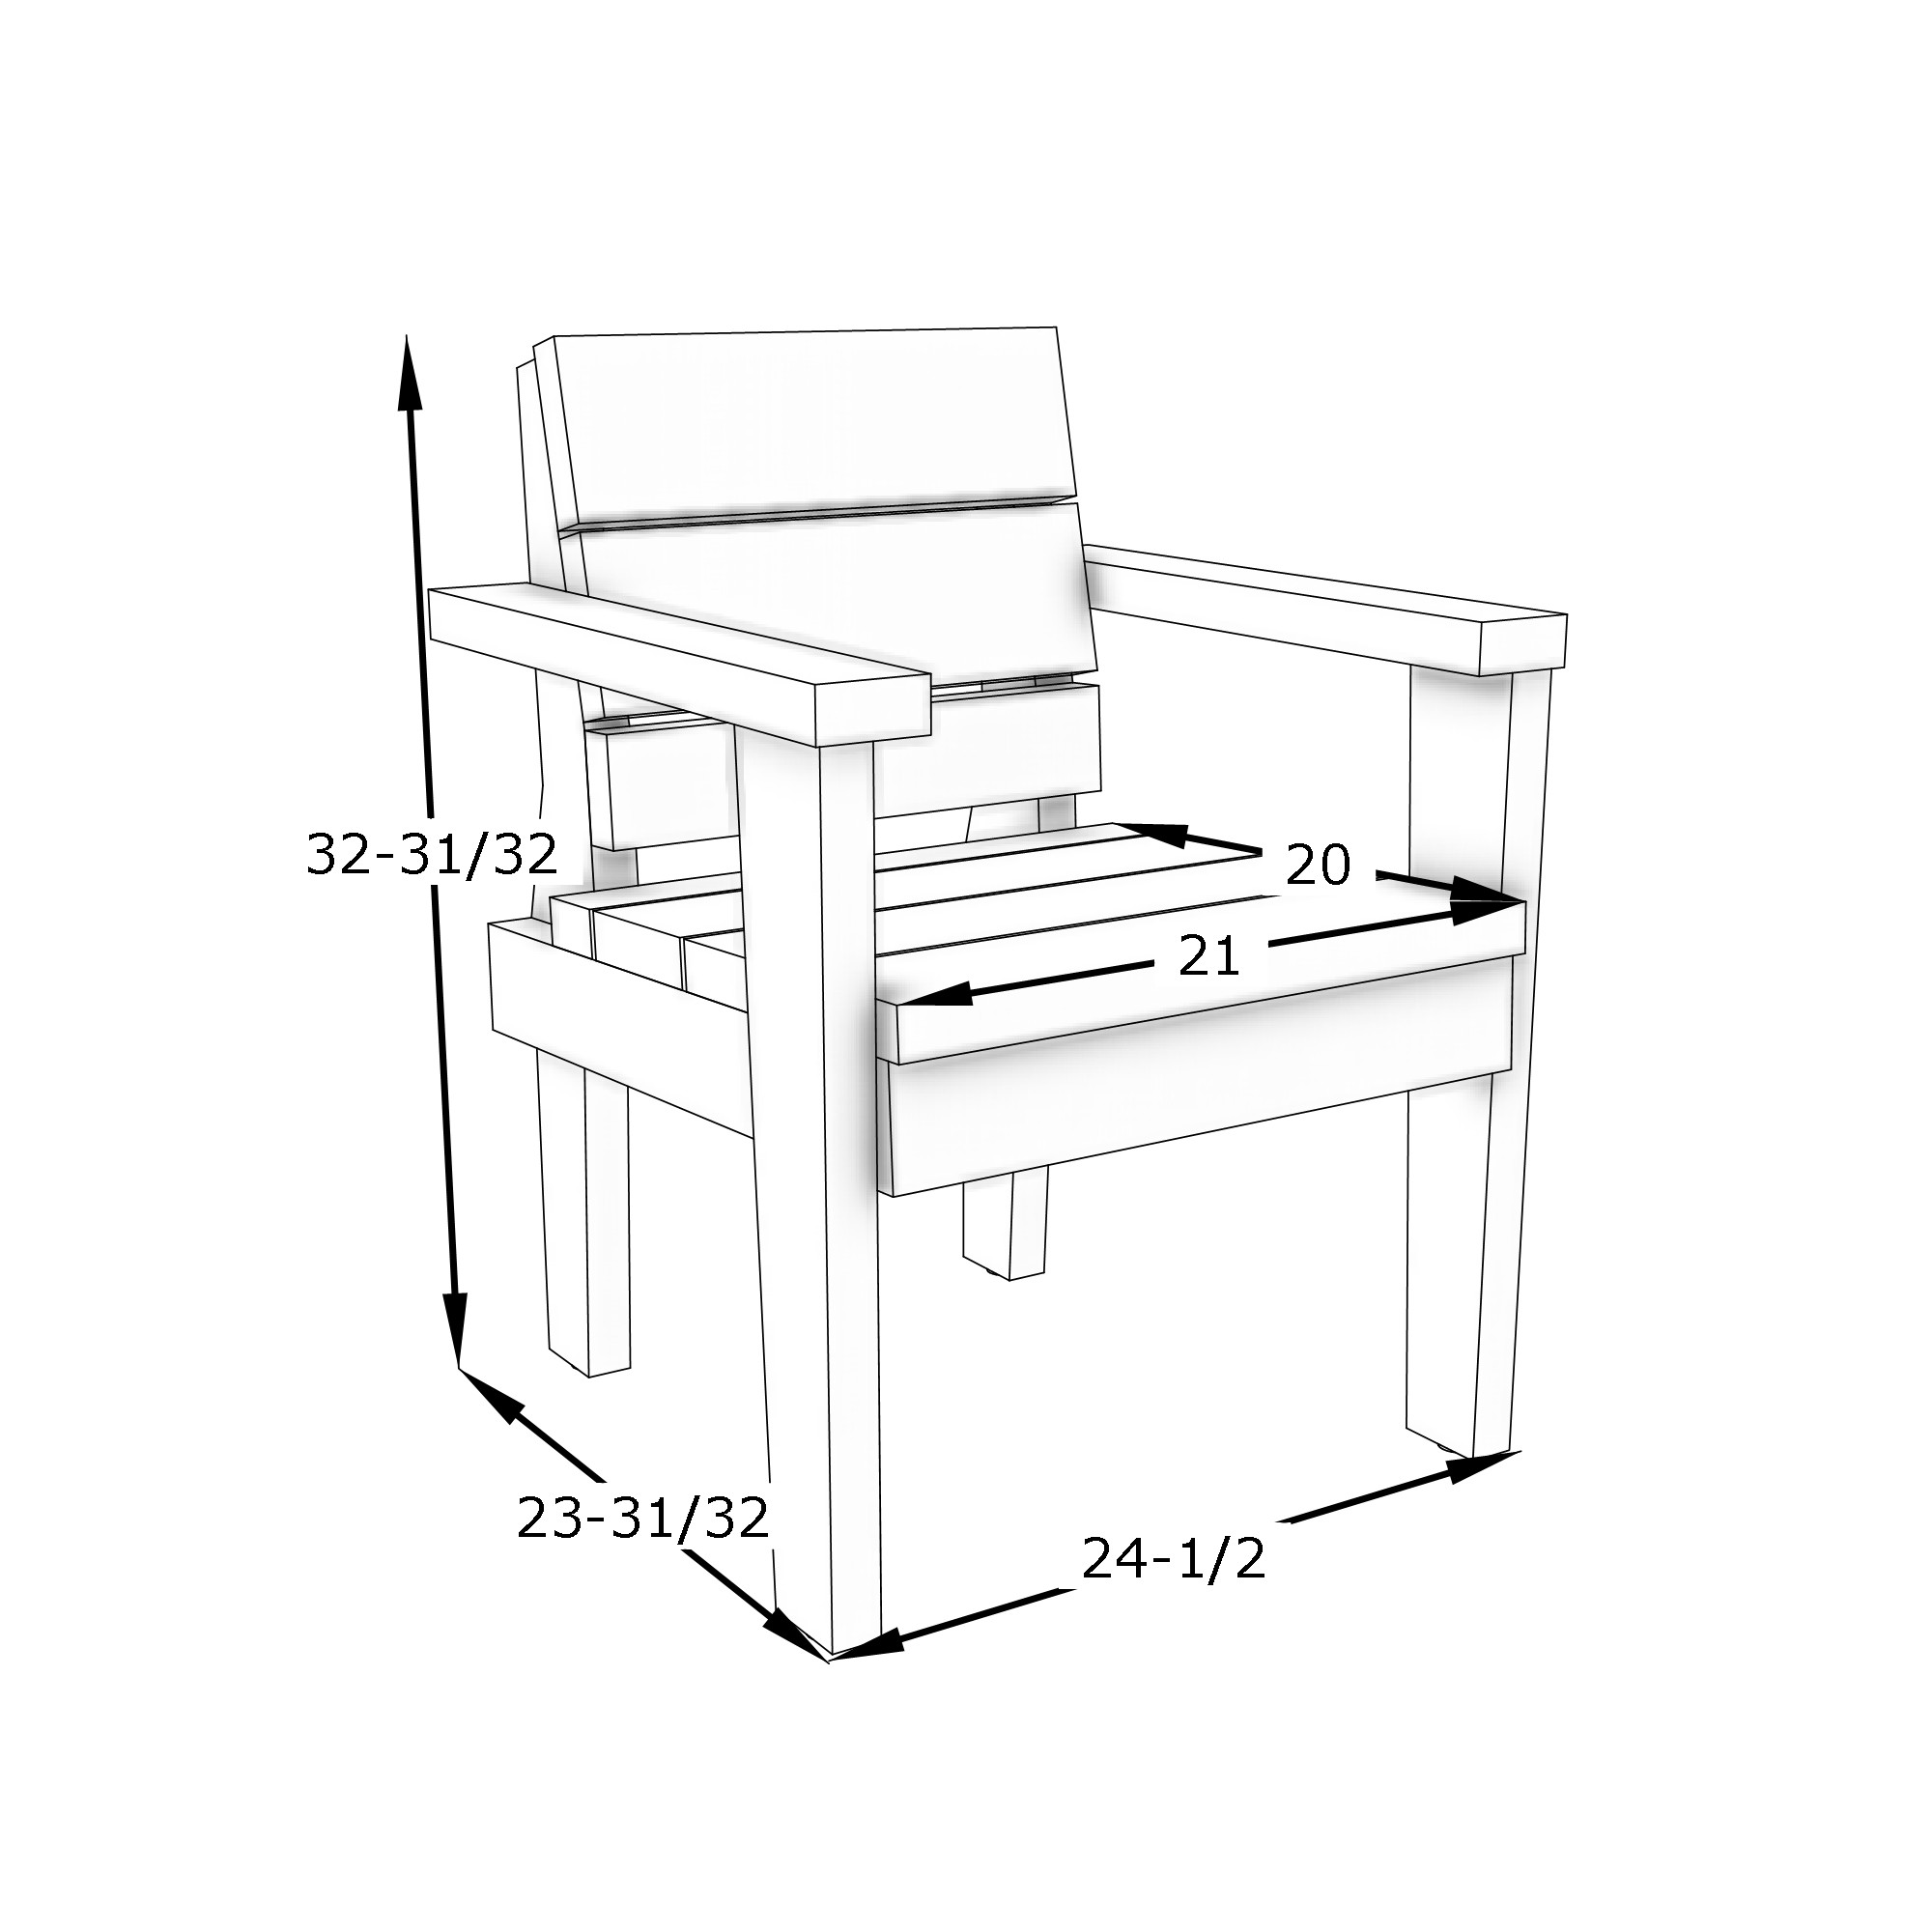
Dimensions
Digital delivery
This is a digital guide. The guide is delivered as a PDF that can be downloaded immediately after purchase or through the order email sent to the specified email address.
The guide contains the information needed to build the product illustrated on this page.
Table of contents of the guide:
- Introduction
- Tools
- Sawing
- Mounting
At Egenbyggt, we work hard to deliver high quality. Nevertheless, errors or omissions may creep into our guides and the information we provide on the site. We reserve the right to do so.
If you are not satisfied with a guide you have purchased, please contact us.
Read more: Terms of purchase .
How the guide works
Step 1

Get your building materials
Take the shopping list to your local hardware store. In many places, you can borrow a trailer for free when you buy your materials.
The shopping list included with the DIY guide contains:
- Timber dimensions and lengths
- Fasteners
- Accessories (varies depending on the project).
Step 2

Saw the parts
All parts have a clear drawing and are marked with a letter.
This makes it easy to saw all the parts needed for the build.
Step 3

Assemble
Once the parts are sawn, it's time for assembly.
The guide shows you step-by-step how to assemble the parts using illustrations and concise information for each stage.
Experience the magic when everything fits together perfectly and the final result takes shape.
Done
Building materials and tools
Below is a list of materials and suggestions for building tools. A complete shopping list with quantities and sawing instructions is available when you buy the DIY guide.
Building materials
Wood34x145 mm
Wood34x95 mm
Screw6x80 mm
Screw4.5x70 mm
Tools
Miter and Crosscut Saw
Circular saw
Screwdriver
Quick clamp
Measuring tools
More building projects


Ratings and reviews
5 ratings
Only customers who have purchased this building plan can leave a review.
gode teikningar, lett å lage
Bruk Norske dimenjoner feks. 36x98 og 36x148
Mycket bra beskrivning