

 1 / 2
1 / 2
Building instructions
Storage Shelf DIY plan
8 ratingsBuild a sturdy and portable storage shelf with four shelves that creates order and maximizes capacity in the garage, basement, storage room, or workshop. The plans are beginner-friendly and include complete plans, a shopping list, cutting instructions, and step-by-step assembly – ready to download immediately after purchase and can be built in about a day.
Product number50151
Estimated time1 d
LevelEasy
MaterialPlywood, Wood
UnitsImperial (inches)
11.9 USDDigital building plan
About the project
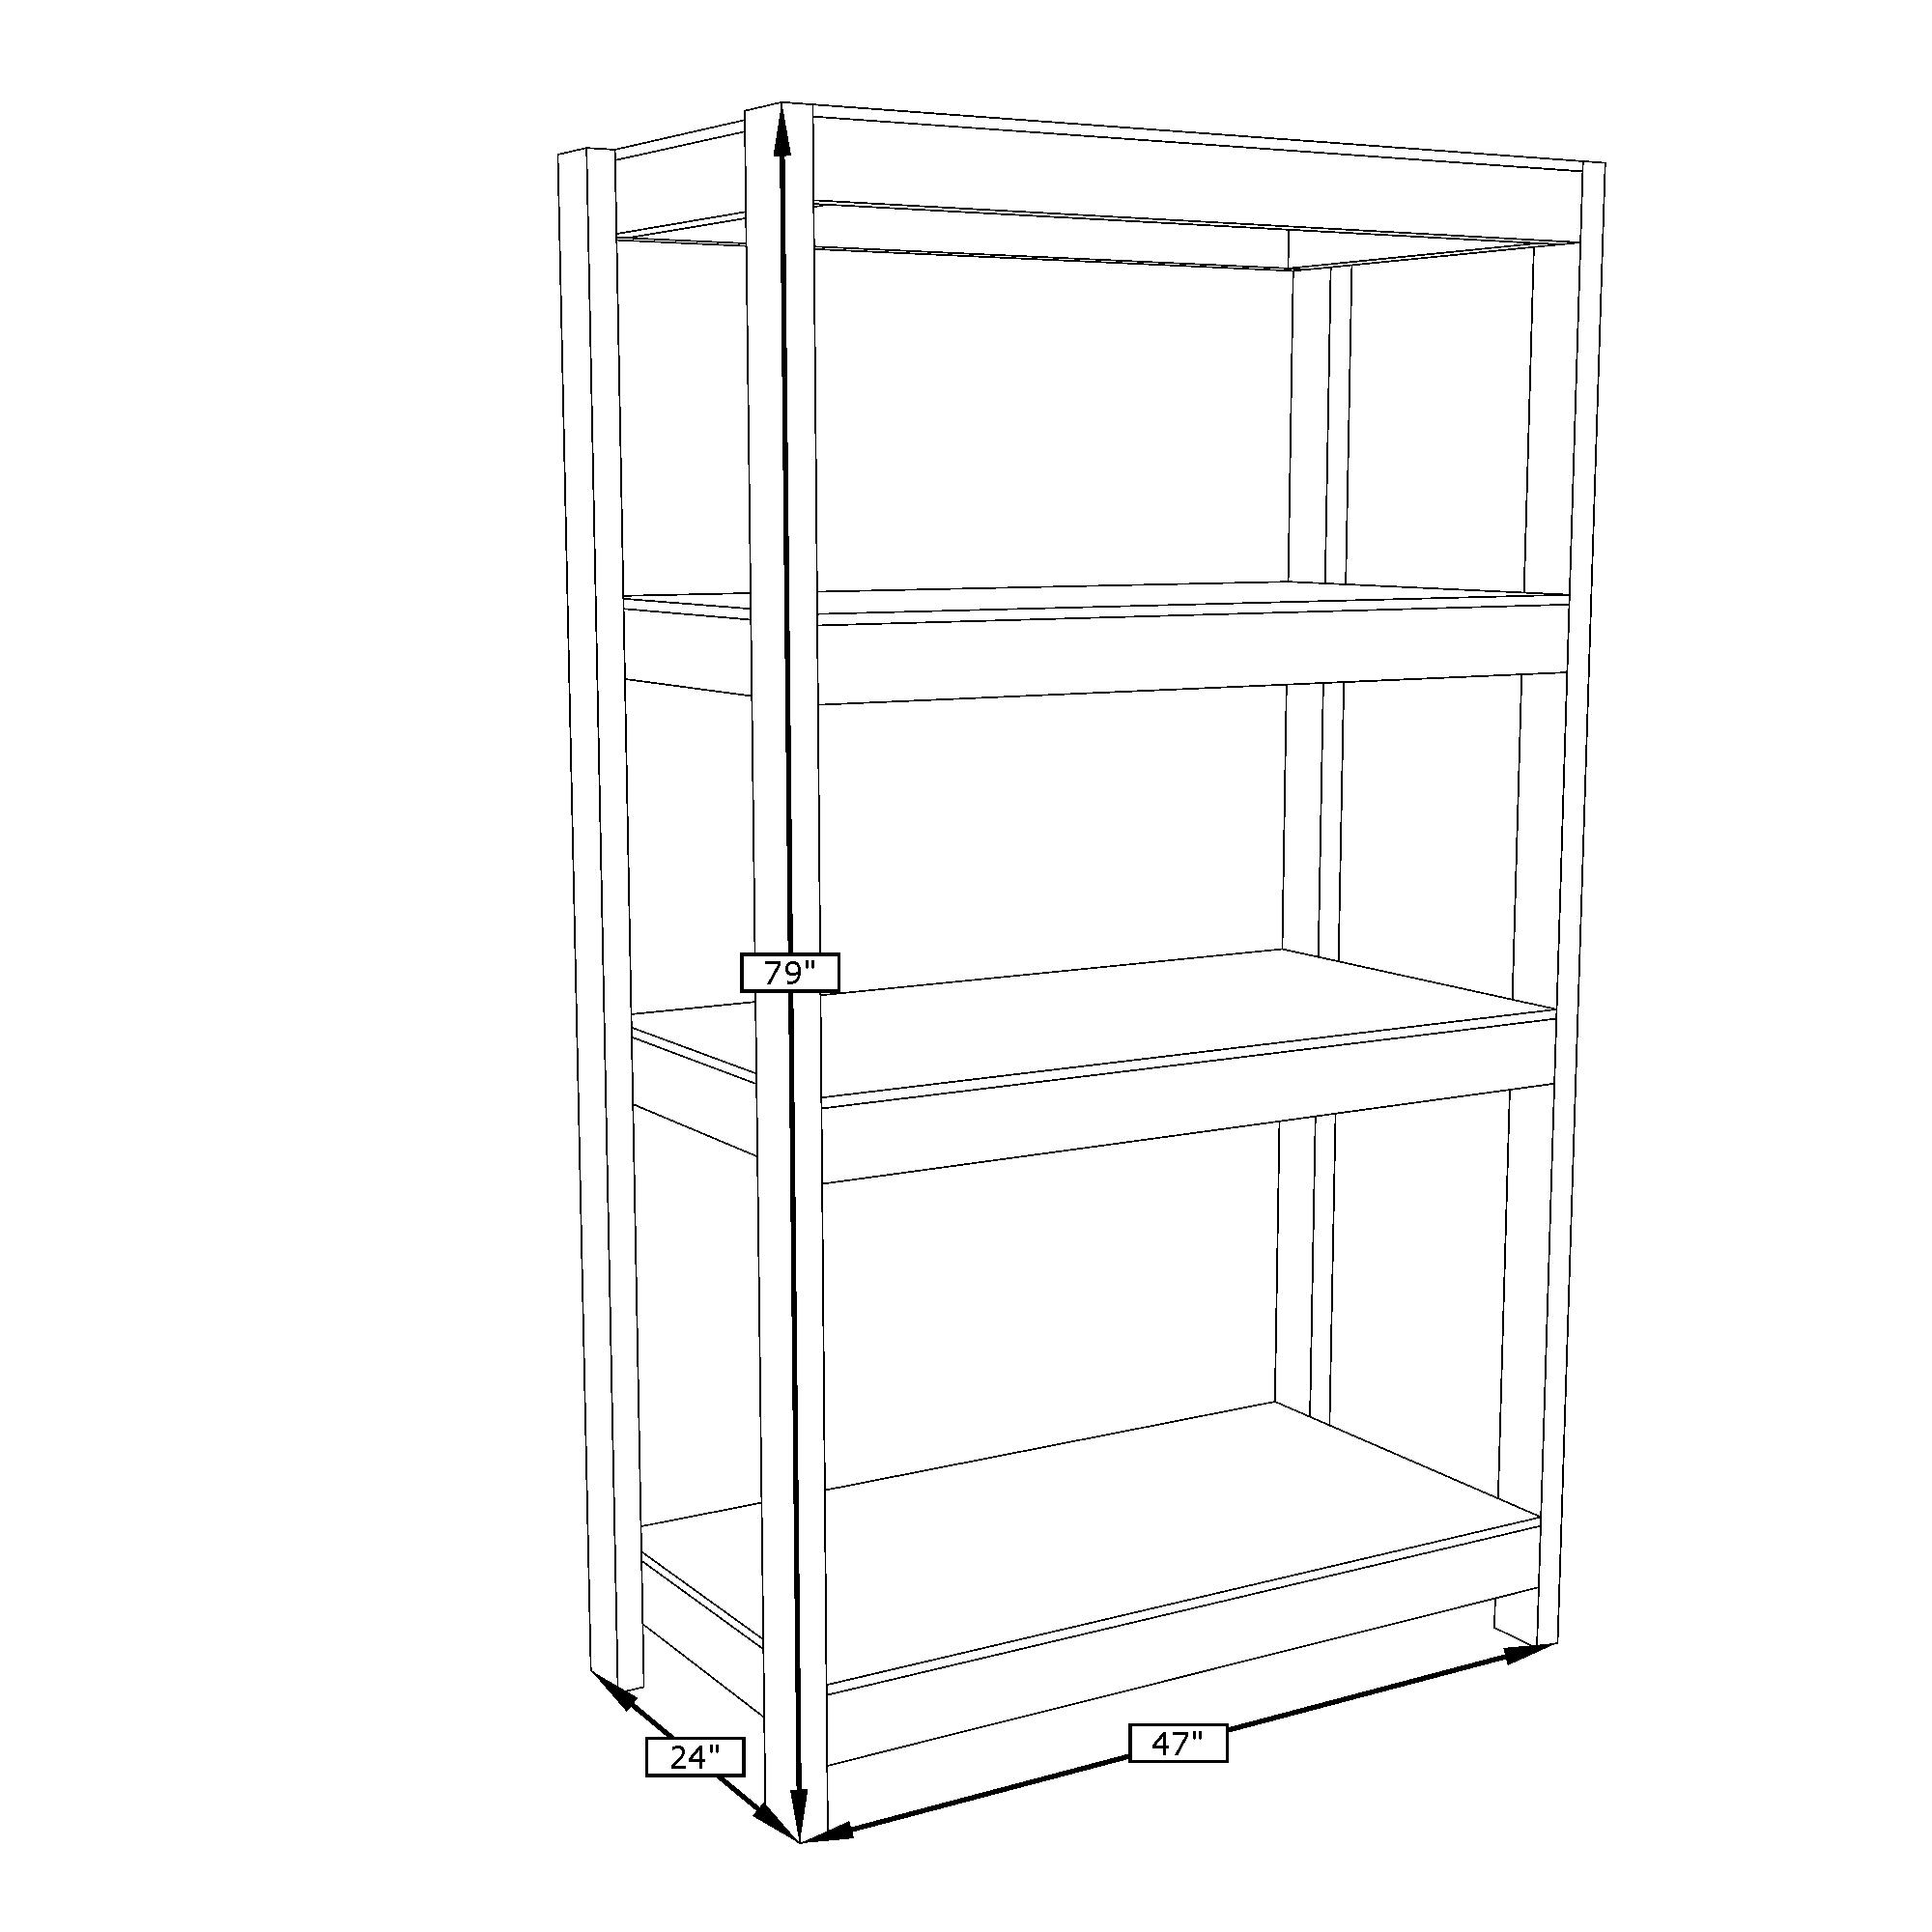
DIY Plan for building a storage shelf. The shelf has four shelves and is designed to provide order and capacity in a garage, basement, storage room, or workshop. The construction is robust without being cumbersome, and thanks to its thoughtful design, the shelf is easy to move when needed, making it just as useful in a temporary storage space as in a permanent one.
The frame is built from sturdy framing studs that provide a strong and stable skeleton, while the shelves are made of plywood that can handle a significant load. The combination of framing lumber and plywood ensures that the construction maintains its shape even when the shelf is used for heavier storage. The shelf is also designed to be combined with other storage shelves from Egenbyggt, allowing for expansion of storage as needed.
The digital DIY Plan is delivered as a PDF file and includes complete drawings, a detailed shopping list with all the materials you need, cutting and sawing instructions, as well as a step-by-step assembly guide that walks you through the entire building project. The file can be downloaded immediately after purchase. The estimated build time for this project is one day, and the level is beginner-friendly, meaning that even someone who has never built before can successfully complete it. A shelf that looks good and lasts a long time.
Dimensions
Digital delivery
This is a digital guide. The guide is delivered as a PDF that can be downloaded immediately after purchase or through the order email sent to the specified email address.
The guide contains the information needed to build the product illustrated on this page.
Table of contents of the guide:
- Introduction
- Tools
- Sawing
- Mounting
At Egenbyggt, we work hard to deliver high quality. Nevertheless, errors or omissions may creep into our guides and the information we provide on the site. We reserve the right to do so.
If you are not satisfied with a guide you have purchased, please contact us.
Read more: Terms of purchase .
How the guide works
Step 1

Get your building materials
Take the shopping list to your local hardware store. In many places, you can borrow a trailer for free when you buy your materials.
The shopping list included with the DIY guide contains:
- Timber dimensions and lengths
- Fasteners
- Accessories (varies depending on the project).
Step 2

Saw the parts
All parts have a clear drawing and are marked with a letter.
This makes it easy to saw all the parts needed for the build.
Step 3

Assemble
Once the parts are sawn, it's time for assembly.
The guide shows you step-by-step how to assemble the parts using illustrations and concise information for each stage.
Experience the magic when everything fits together perfectly and the final result takes shape.
Done
More building projects

Ratings and reviews
8 ratings
Only customers who have purchased this building plan can leave a review.
Veldig fine hyller.Perfekt
veldig enkel og fin forklaring
Super bra
Genialt