
Jon


Building instructions
Adirondack with built-in footrest - DIY Plan
Build a classic Adirondack chair with a built-in retractable footrest – perfect for relaxing moments in the garden. With clear instructions and templates in 100% A4 format for all rounded parts, the construction becomes easy: cut out, trace, and saw with a jigsaw. The result is a comfortable, stylish, and practical outdoor chair that you can be proud to have built yourself.
15.9 GBPDigital building plan
Product number: 50175
- Estimated time
- 2 days
- Material
- Wood
- Units
- Metric millimeter (mm)
- Level
- Hard
Description
This is a DIY Plan for you who want to create something really nice for the garden. You will receive clear instructions to build a classic Adirondack chair, a comfortable and stylish outdoor chair with a built-in footrest that easily pulls out when you want to lean back and relax.
The chair has slightly softer shapes and a neat design, which makes it a bit more challenging to build than our simpler models. But don’t worry, we have done everything to simplify the construction. You will get templates for all parts that do not have straight cuts, and they are designed to be printed at 100% size on a regular A4 printer. Cut out, trace onto the wood, and saw out with a simple jigsaw.
A sander is also good to have, as it will make the result nice and save you time.
The finished chair will be both practical and comfortable to sit in, and the best part – you built it yourself!
Dimensions
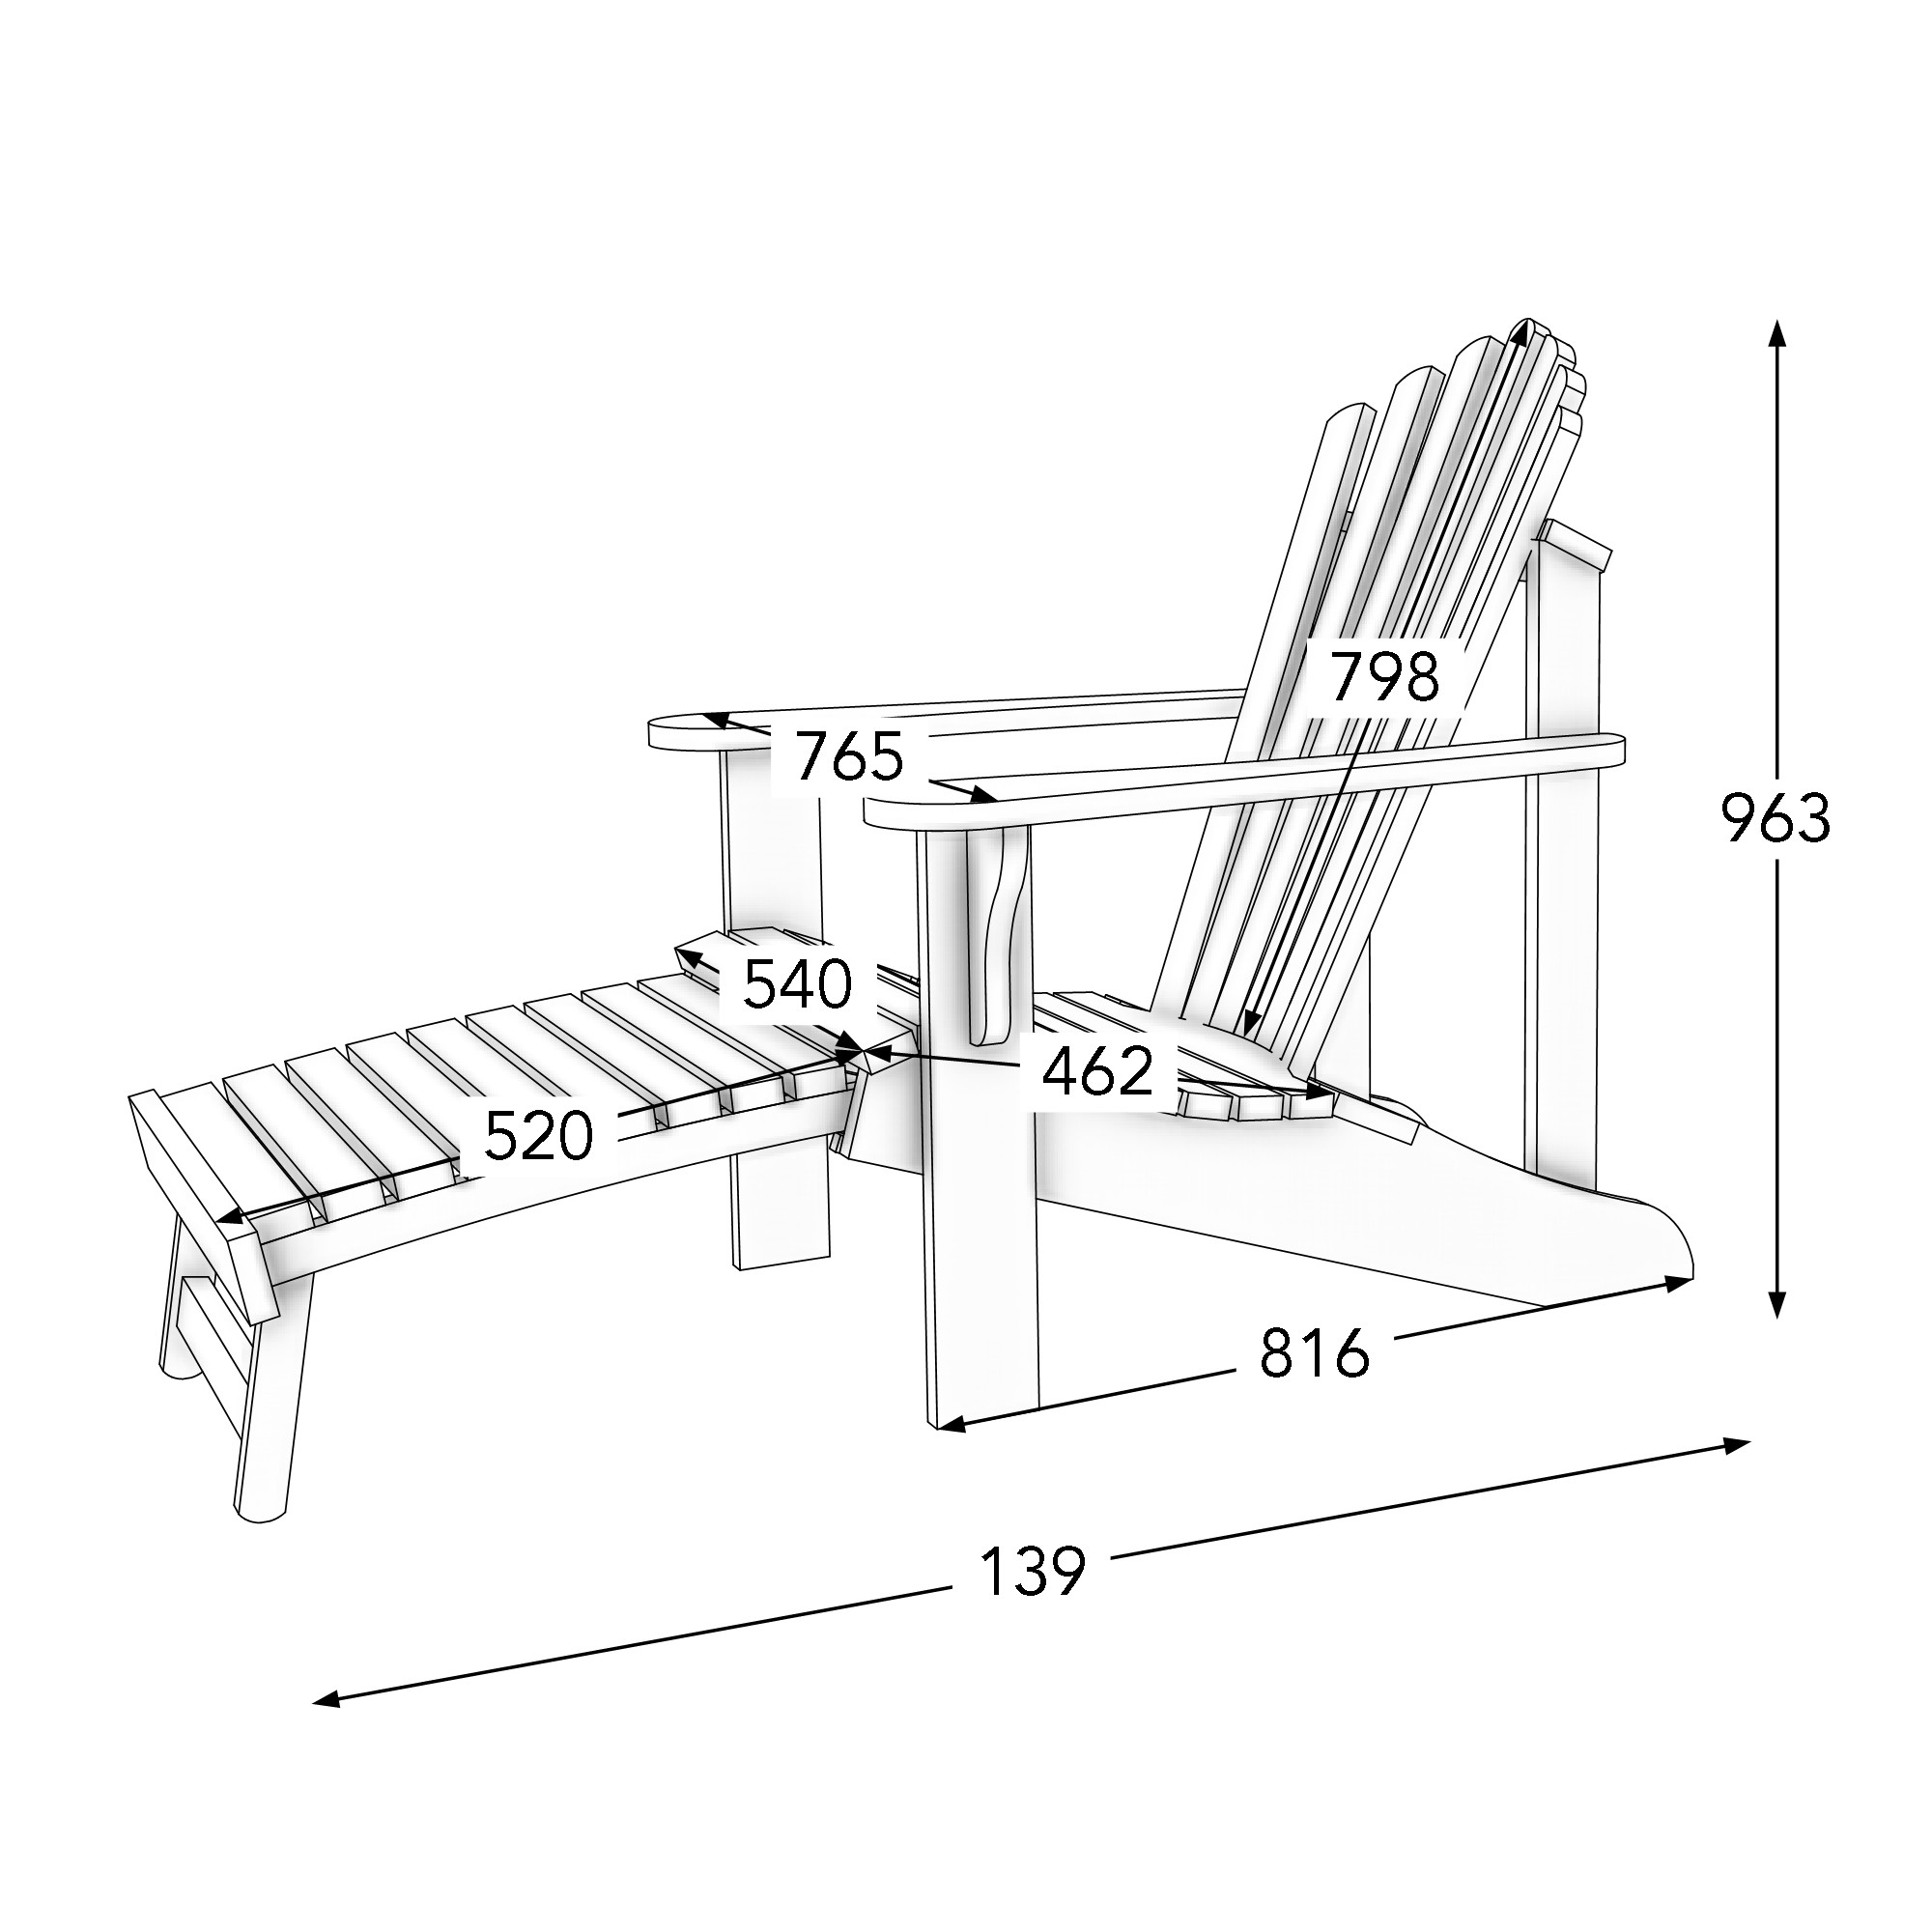
Digital delivery
This is a digital guide. The guide is delivered as a PDF that can be downloaded immediately after purchase or through the order email sent to the specified email address.
The guide contains the information needed to build the product illustrated on this page.
Table of contents of the guide:
- Introduction
- Tools
- Sawing
- Mounting
At Egenbyggt, we work hard to deliver high quality. Nevertheless, errors or omissions may creep into our guides and the information we provide on the site. We reserve the right to do so.
If you are not satisfied with a guide you have purchased, please contact us.
Read more: Terms of purchase .
How the guide works
Step 1

Get building materials
Bring the shopping list to your hardware store. In many places, you can borrow a trailer for free when you buy the material.
The shopping list includes:
- Lumber dimensions and lengths
- Fixing material
- Accessories (varies depending on project).
Step 2

Cut the parts
All parts are clearly drawn and marked with a letter.
This makes it easy to cut all the parts needed for the build.
Step 3

Assembly
Once the parts are cut, it's time for assembly.
The guide shows step-by-step how to assemble the parts through illustrations and concise information on each step.
Experience the magic when everything fits together perfectly.
Done
Building materials & tools
Below is a list of materials and suggestions for building tools. A complete shopping list with quantities and sawing instructions is available when you buy the DIY guide.
Building materials
Wood22x145 mm
Wood22x95 mm
Wood22x5 mm
Screw4x40 mm
Screw4x50 mm
Carriage bolt-
Tools
A4 Printer
Scissors
Miter and Crosscut Saw
Circular saw
Jigsaw
Hacksaw
Screwdriver
Quick clamp
Spirit level
Socket wrench
Measuring Tools
Ratings and reviews
24 ratings
Fine maler👍
Enkel og grei beskrivelse.
Fungerte bra, men dimensjonene er ikke noe vanlig i Norge. 22x145.
Bra beskrivning
Dimensjoner , tykkelse ikke standard i Norge, mjulig å lage beskrivelse på hyllevare
God oppskrift og forståelig. Malene bør dobbeltsjekkes. Det var noen skrivefeil på en av sidene.
Bra beskrivning.
Bra ritningar o måttsättningar
Det hade blivit en femma om borrhålen hade varit med på ritningarna och kurvmallar för de rundade ryggstöden.
Tydelege tegninger og enkelt forklart.
Fin stol, greie maler og relativt lett bygget om man tar seg tiden. Bygget en liten til Mini også.
Har länge letat efter ritningar till olika möbler och hus. Dessa är enkla och förstå.
Enkel og grei levering og utskrift
Perfekt skisse for nybegynere
Enkel og fin beskrivelse :-)