
Anne


Building instructions
Lean-to Bike Shed - Build Plan
Build a sleek, weather-protected bike shed along the house wall – without taking up space with a separate building. The airy side wall provides good ventilation and reduces moisture, while the shed roof directs rain away and the treated wooden deck withstands weather and wear. You will receive complete drawings, a shopping list, as well as cutting and assembly instructions for a medium-difficulty project over 1–2 weekends.
24.9 GBPDigital building plan
Product number: 50187
- Estimated time
- 3-4 d
- Level
- Medium
- Material
- Concrete slabs, Wood
- Units
- Metric millimeter (mm)
Description
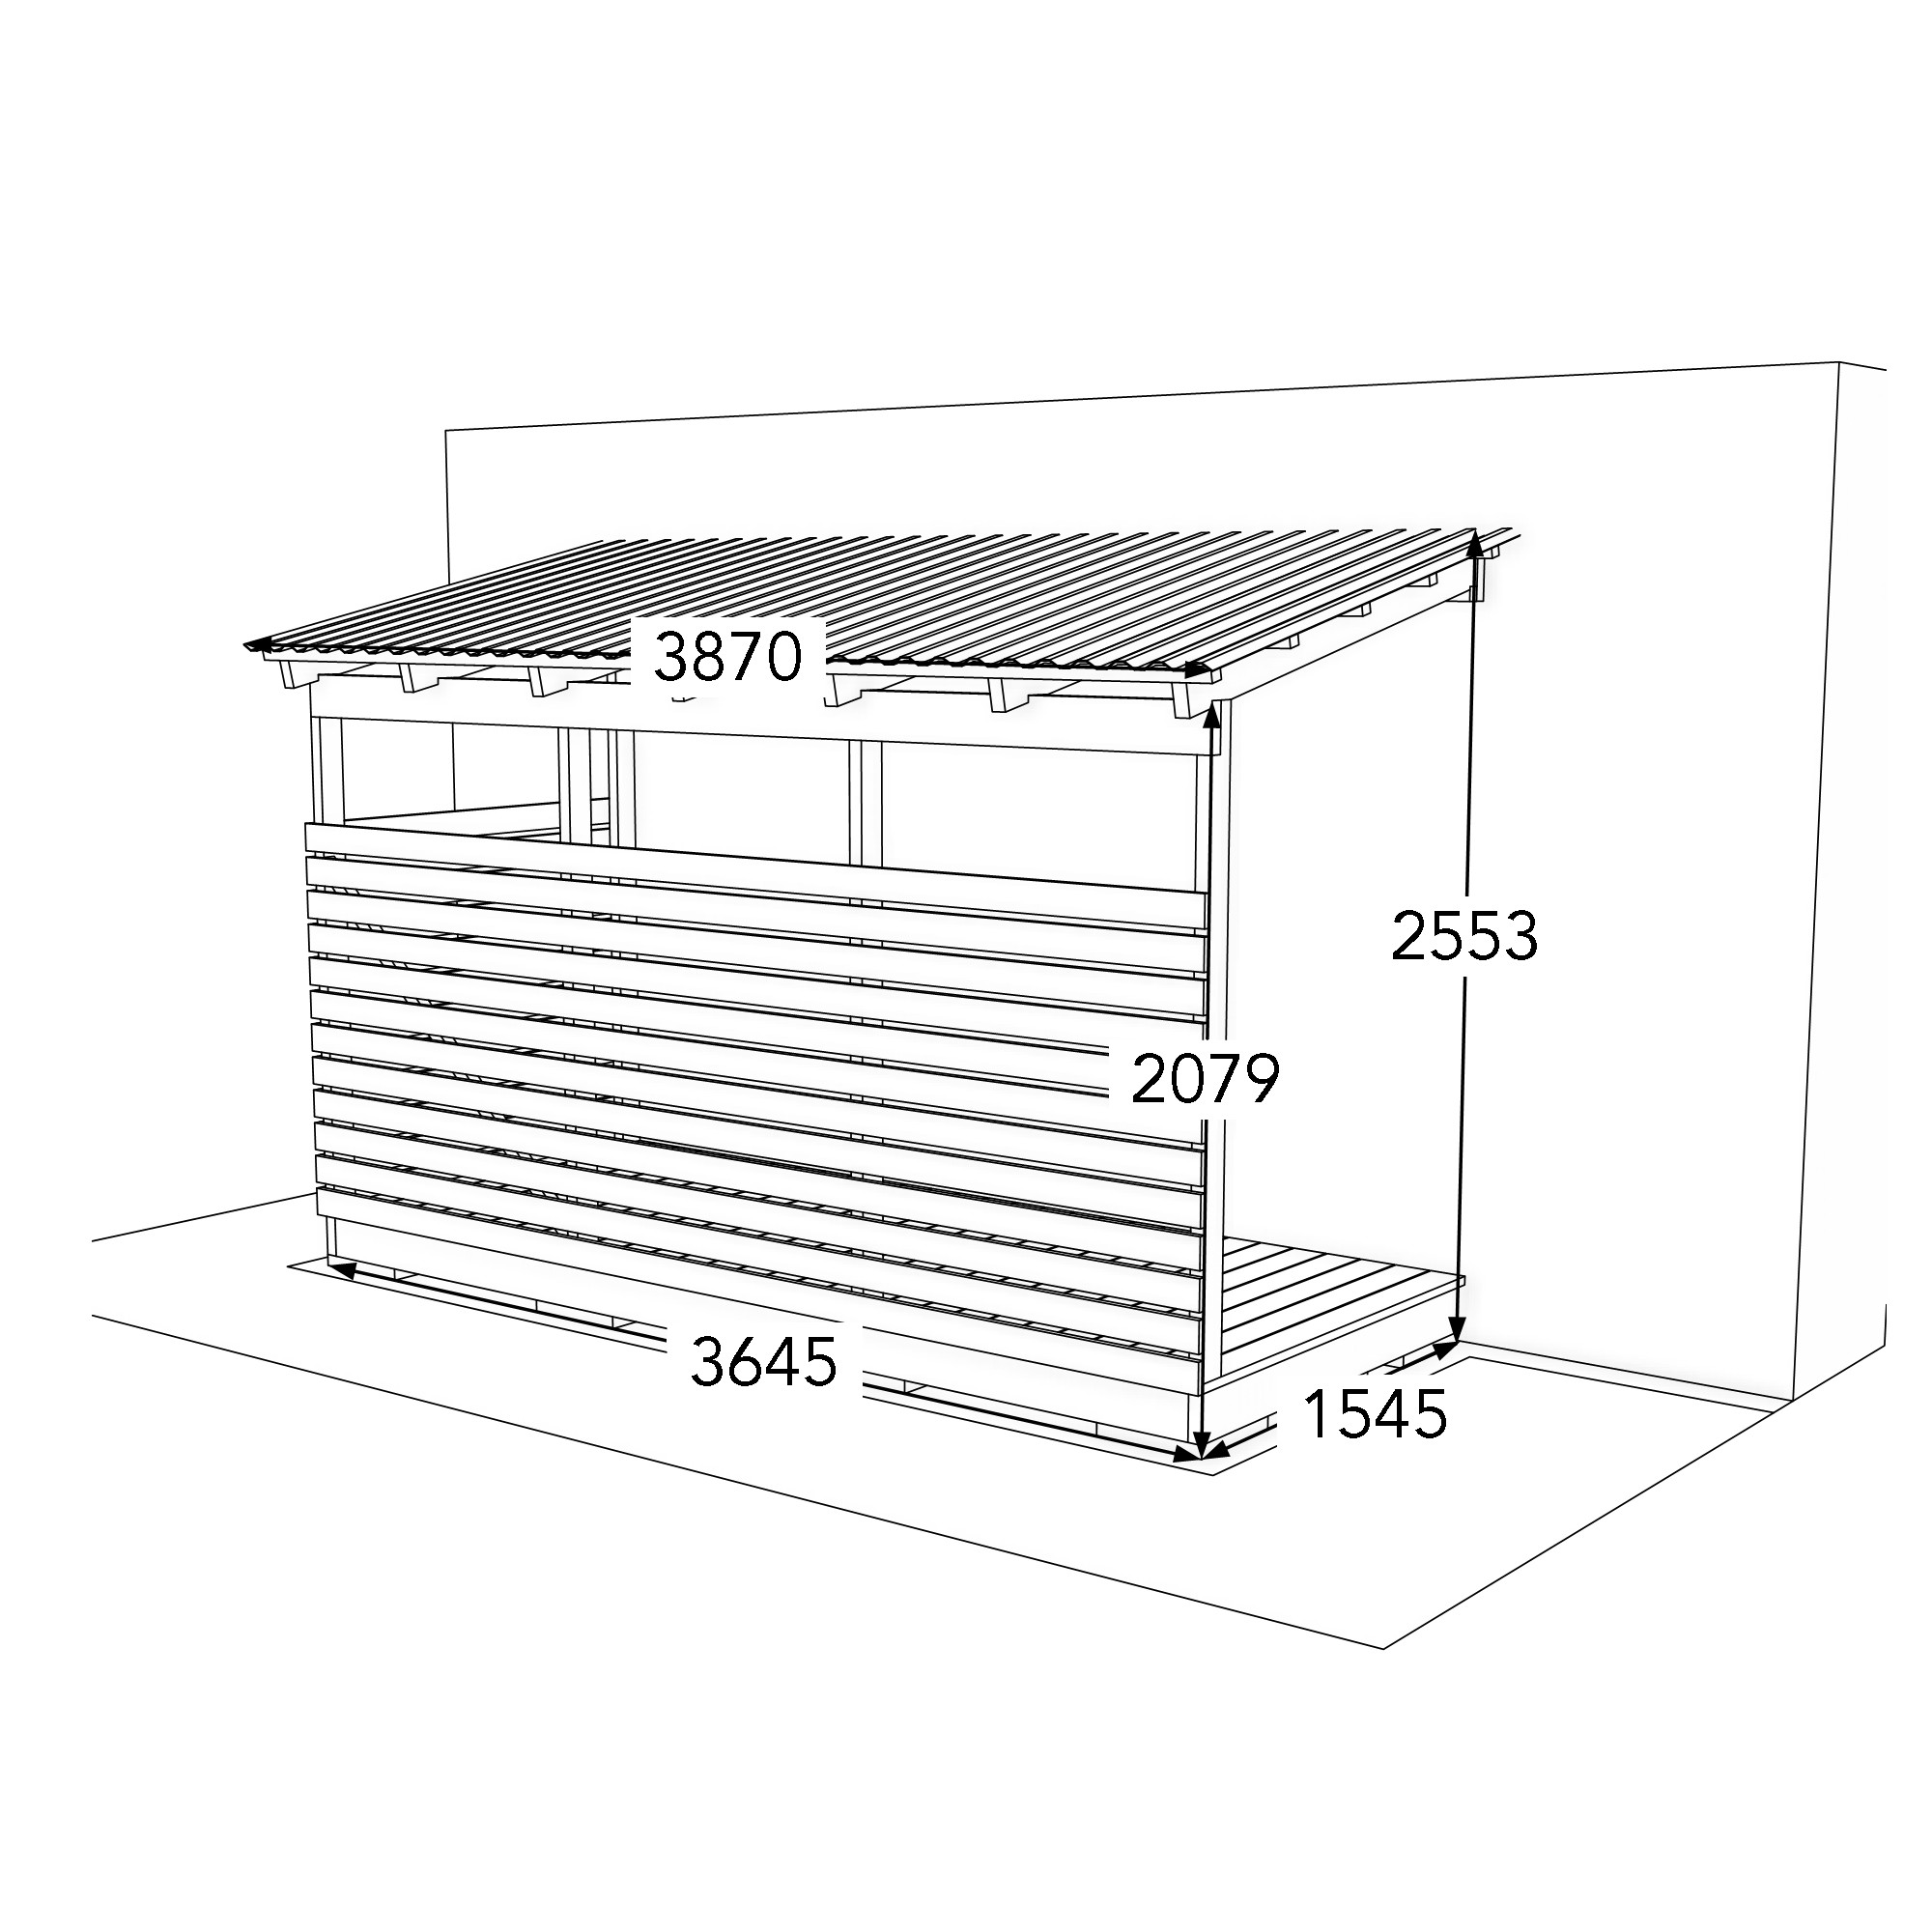
DIY Plan for building a bike shed freestanding against a wall. This is a practical storage space that is placed along the house wall and provides a protected area for bicycles without requiring a separate building on the property. The construction has an airy and stylish expression with a semi-open side wall of horizontally spaced boards and a simple shed roof made of plastic. The floor consists of a deck made of treated pine that is durable against weather and moisture. The front is open, making it easy to roll bicycles in and out.
The frame is based on a stable framework of studs and posts that support the roof and hold the side wall together. The shed roof slopes away from the facade to effectively direct rainwater away. The boards on the side are mounted at regular intervals, which provides good air circulation and prevents moisture accumulation – important when bicycles are stored for longer periods.
The digital file can be downloaded immediately after purchase and includes complete drawings, a detailed shopping list, cutting and sawing instructions, as well as a step-by-step assembly guide that walks you through the entire building process. The PDF is designed to be printed at home and used directly in the workshop. The difficulty level is medium, and the estimated building time is one to two weekends depending on experience. It is a building project that suits the DIY enthusiast who wants to organize bicycle storage in a neat and sustainable way.
Dimensions
Digital delivery
This is a digital guide. The guide is delivered as a PDF that can be downloaded immediately after purchase or through the order email sent to the specified email address.
The guide contains the information needed to build the product illustrated on this page.
Table of contents of the guide:
- Introduction
- Tools
- Sawing
- Mounting
At Egenbyggt, we work hard to deliver high quality. Nevertheless, errors or omissions may creep into our guides and the information we provide on the site. We reserve the right to do so.
If you are not satisfied with a guide you have purchased, please contact us.
Read more: Terms of purchase .
How the guide works
Step 1

Get building materials
Bring the shopping list to your hardware store. In many places, you can borrow a trailer for free when you buy the material.
The shopping list includes:
- Lumber dimensions and lengths
- Fixing material
- Accessories (varies depending on project).
Step 2

Cut the parts
All parts are clearly drawn and marked with a letter.
This makes it easy to cut all the parts needed for the build.
Step 3

Assembly
Once the parts are cut, it's time for assembly.
The guide shows step-by-step how to assemble the parts through illustrations and concise information on each step.
Experience the magic when everything fits together perfectly.
Done
Building Materials & Tools
Below is a list of materials and suggestions for building tools. A complete shopping list with quantities and sawing instructions is available when you buy the DIY guide.
Building materials
Wood45x145 mm
Wood45x95 mm
Wood45x45 mm
Wood28x120 mm
Wood22x95 mm
Screw6x80 mm
Screw4x55 mm
Nail70 mm
Paving stones-
Sill paper-
Ground cover-
Crushed stone-
Tools
Miter and Crosscut Saw
Jigsaw
Screwdriver
Hammer
Spirit level
Measuring Tools
Ratings and reviews
1 ratings