

 1 / 4
1 / 4
Building instructions
Outdoor kitchen with concrete slab - DIY Plan
7 ratingsBuild a sturdy and modern outdoor kitchen with a massive concrete countertop and built-in sink – a sleek workspace for outdoor cooking. The downloadable PDF provides you with a complete shopping list, drawings, cutting instructions, and a step-by-step guide for a stable construction with smart storage. Medium difficulty project that takes about 3–4 days (including curing).
Product number50101
Estimated time3-4 d
LevelMedium
MaterialConcrete, Stainless steel sink with faucet, Wood
UnitsMetric millimeter (mm)
23.9 GBPDigital building plan
About the project
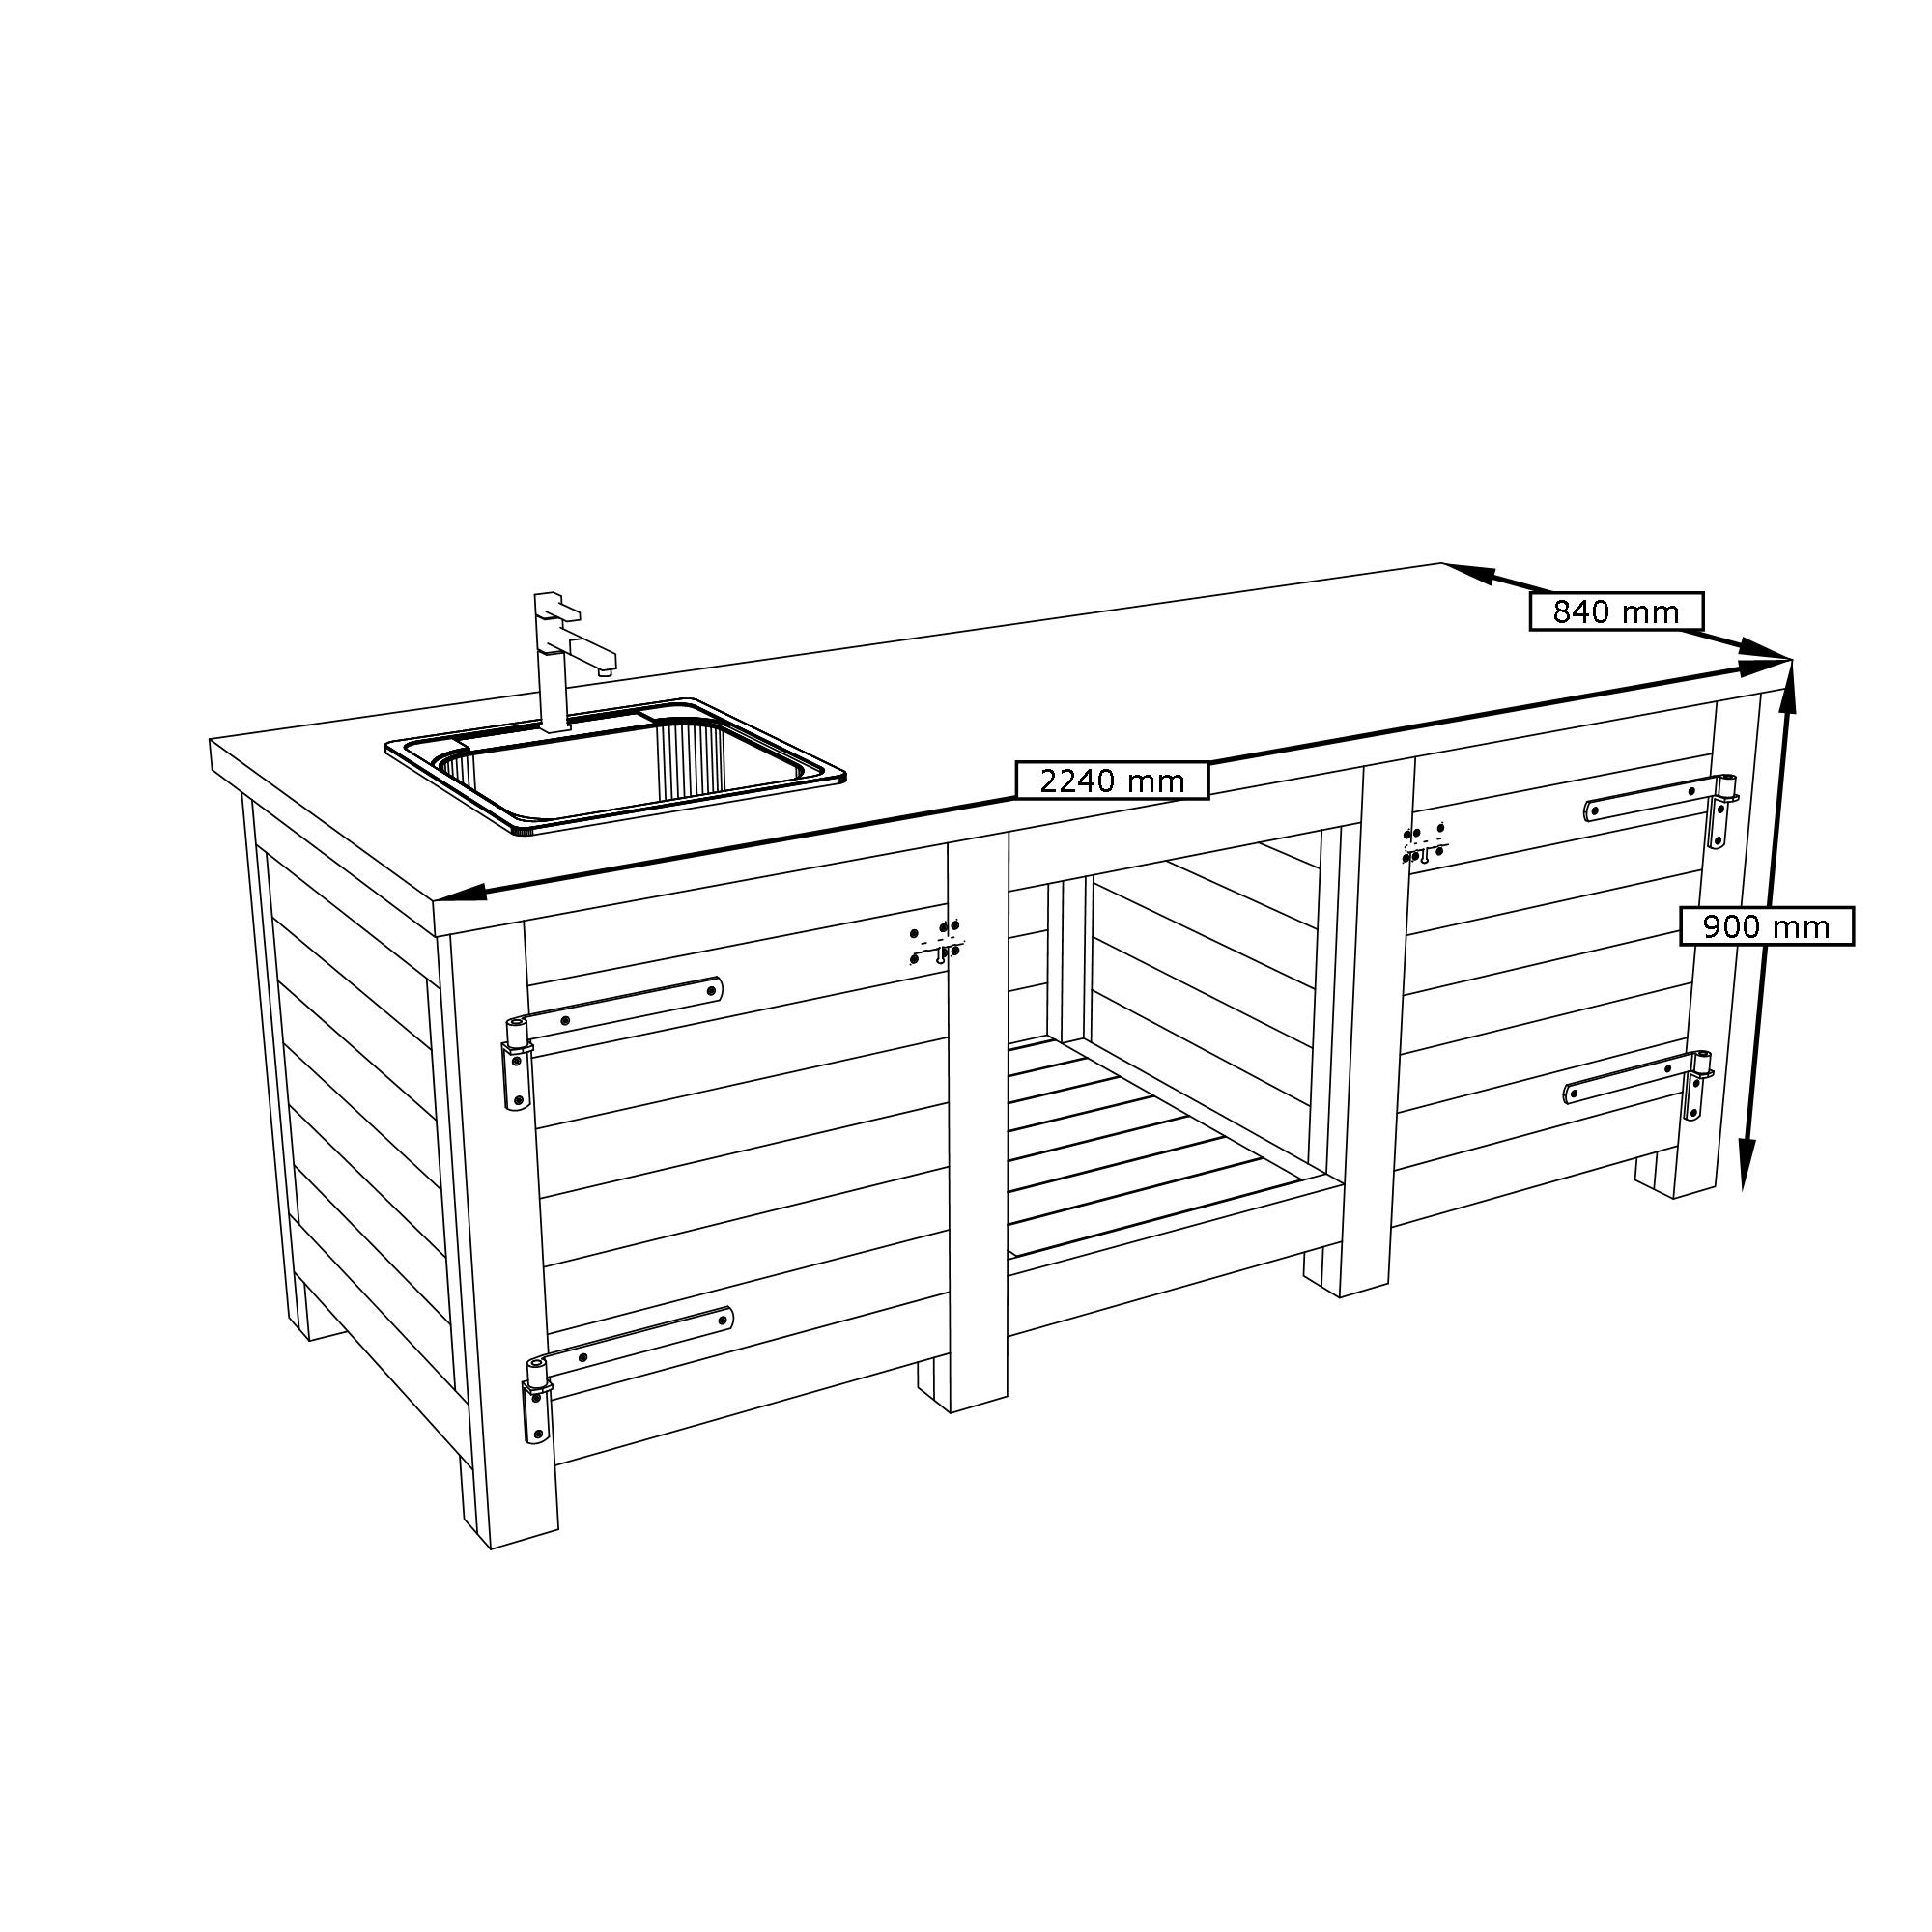
DIY Plan for building an outdoor kitchen with a concrete countertop. It is a sturdy and modern outdoor furniture piece with wooden-clad sides, strong legs, and a massive concrete countertop with an integrated sink, which gives a solid expression and a clear workspace for outdoor cooking. The shape is straight and sleek with horizontal wood paneling, two doors with visible hinges, and an open compartment in the middle that is well-suited for storing, for example, firewood, buckets, or boxes.
The construction is based on a solid frame of strong beams that are clad in wood before the doors are mounted, so that the entire kitchen becomes stable and can withstand being outdoors. Once the frame is complete, the formwork is built on top of the kitchen frame and prepared with cutouts for the sink, and the concrete slab is reinforced with rebar before pouring. The concrete should then cure for four days before the countertop is turned to the correct position and the sink can be installed. Connection to drainage and water is not included, but it can be practically solved with a water tank under the sink and a garden hose to the faucet so that you can easily disconnect it before winter.
In the downloadable PDF, you will receive a complete shopping list, cutting instructions with drawings including the formwork, as well as step-by-step assembly instructions and clear guidance throughout the build. The difficulty level is medium and the build time is approximately 3–4 days, where part of the time is spent on the curing and finishing of the concrete.
Dimensions
Digital delivery
This is a digital guide. The guide is delivered as a PDF that can be downloaded immediately after purchase or through the order email sent to the specified email address.
The guide contains the information needed to build the product illustrated on this page.
Table of contents of the guide:
- Introduction
- Tools
- Sawing
- Mounting
At Egenbyggt, we work hard to deliver high quality. Nevertheless, errors or omissions may creep into our guides and the information we provide on the site. We reserve the right to do so.
If you are not satisfied with a guide you have purchased, please contact us.
Read more: Terms of purchase .
How the guide works
Step 1

Get building materials
Bring the shopping list to your hardware store. In many places, you can borrow a trailer for free when you buy the material.
The shopping list includes:
- Lumber dimensions and lengths
- Fixing material
- Accessories (varies depending on project).
Step 2

Cut the parts
All parts are clearly drawn and marked with a letter.
This makes it easy to cut all the parts needed for the build.
Step 3

Assembly
Once the parts are cut, it's time for assembly.
The guide shows step-by-step how to assemble the parts through illustrations and concise information on each step.
Experience the magic when everything fits together perfectly.
Done
Building materials & tools
Below is a list of materials and suggestions for building tools. A complete shopping list with quantities and sawing instructions is available when you buy the DIY guide.
Building materials
Wood45x95 mm
Wood45x45 mm
Wood22x95 mm
Screw5x80 mm
Screw4x50 mm
Form board-
Fine concrete-
Reinforcement-
Steel wire-
Tools
Miter and Crosscut Saw
Circular saw
Screwdriver
Spirit level
Measuring Tools
More building projects


Ratings and reviews
7 ratings
Only customers who have purchased this building plan can leave a review.
Forslag. En tyndere betonplade med fiberbeton.
Lätt beskrivning att följa. Och modifiera efter behov.
Jag har sneglat länge på att bygga ett utekök. Finns många ritningar, men just denna är estniskt mest tilltalande och tydlig vägledning hur man bygger. Vackert!