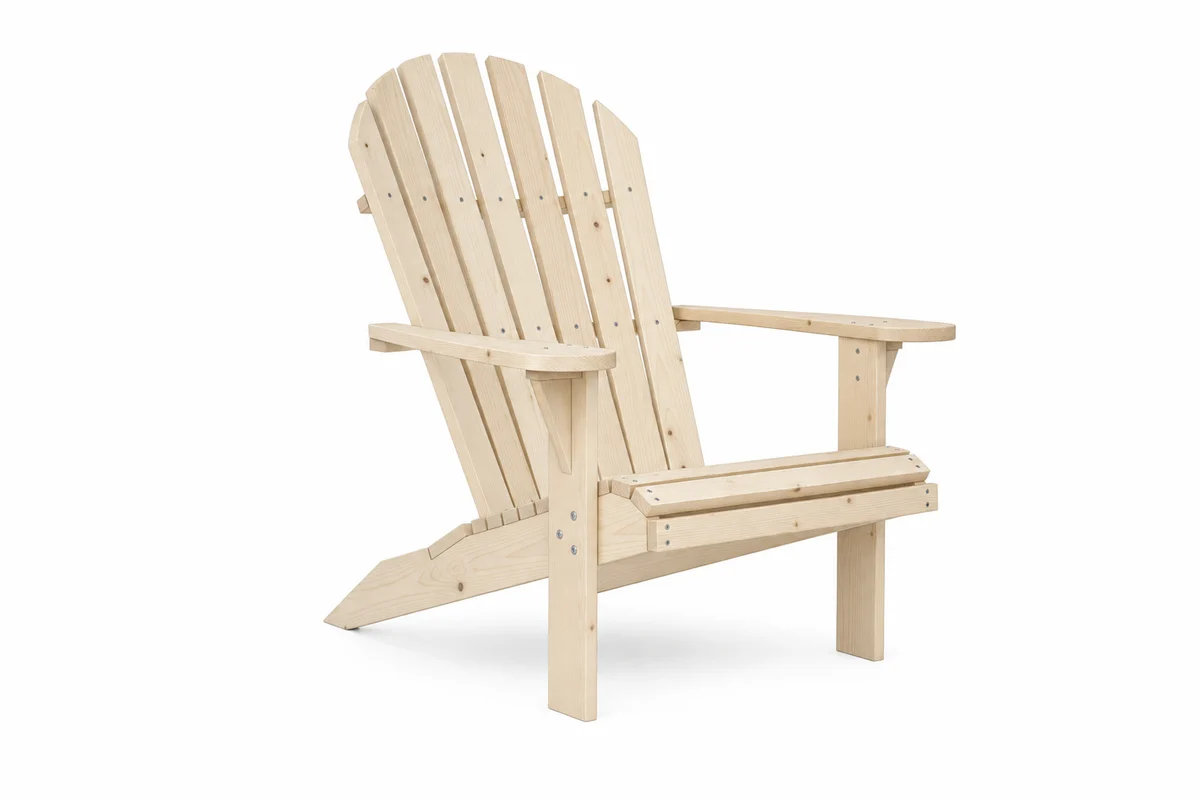
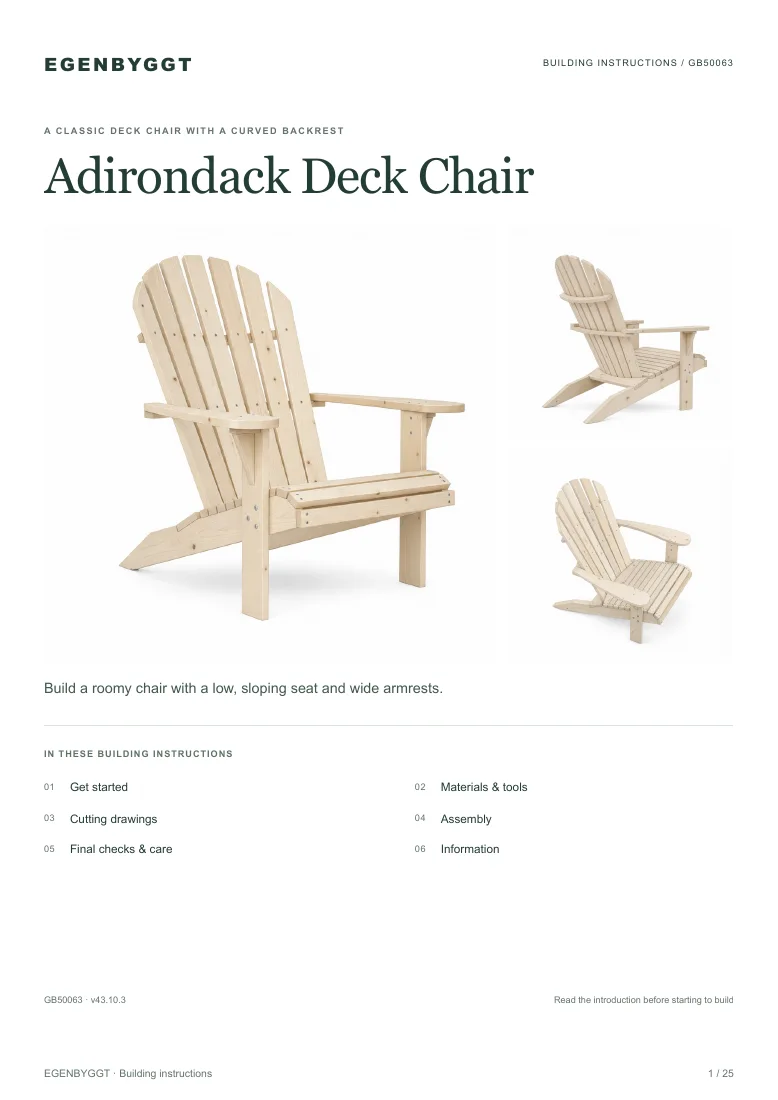
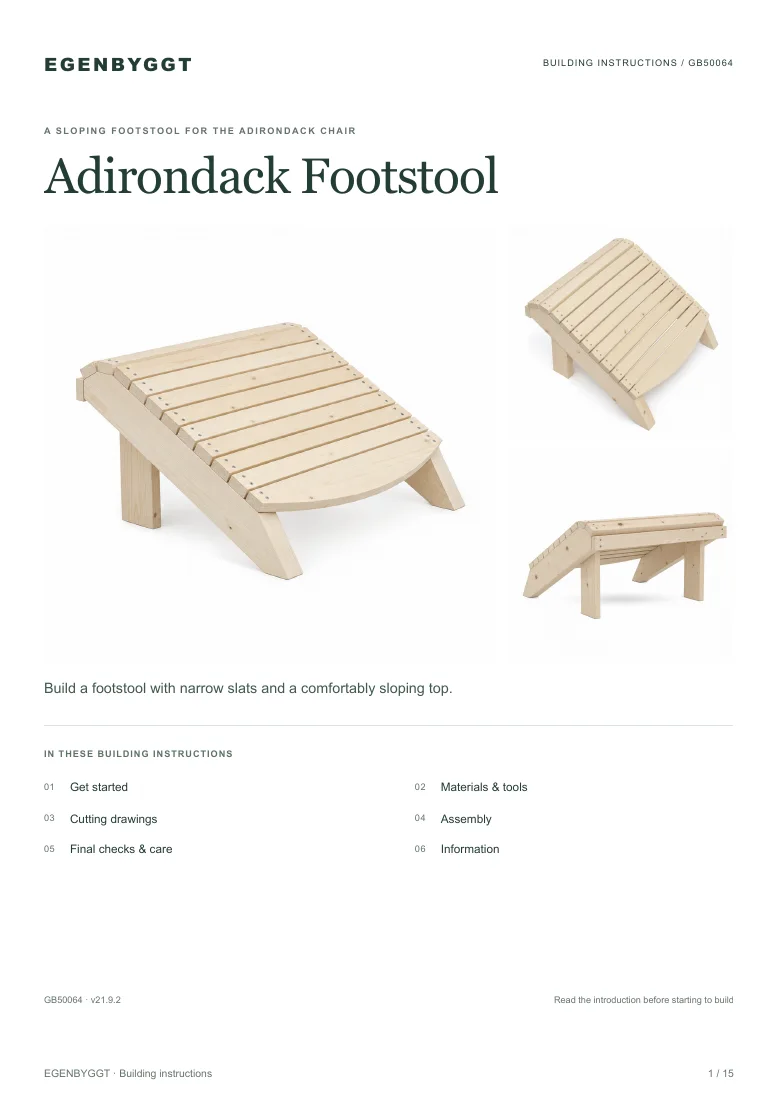
Build a classic Adirondack deck chair with a matching footrest and create an extra comfortable resting place for the garden or patio. You get a complete package with a shopping list, detailed drawings with cutting and sawing instructions, as well as clear step-by-step assembly – everything you need from the first cut to the finished furniture. A stable and well-thought-out build that suits you with some carpentry experience.
DIY Plan for building an Adirondack deck chair with a matching footrest. This is a complete package with two digital guides in PDF format that together provide you with everything you need to build both the chair and the footrest from scratch.
The Adirondack chair is one of the most classic and beloved outdoor seating furniture, with its characteristic slanted back, wide armrests, and relaxed seating angle. Together with the accompanying footrest, you create a comfortable resting place that invites relaxation in the garden or on the patio. The combination of chair and footrest provides generous seating comfort that makes it easy to unwind for several hours.
The construction is based on carefully considered fastenings and angles that give the chair its stable and comfortable shape. The backrest, seat, and armrests work together to distribute body weight evenly, making the chair as durable as it is comfortable. The footrest is constructed with the same principles and matches in height and angle to the chair, ensuring that the whole is cohesive and functional.
The digital file includes a complete shopping list for all the lumber and screws needed, detailed drawings with cutting and sawing instructions for each individual part, as well as a clear step-by-step assembly guide that leads you through the entire build. The plan covers both parts in the package, so you can follow the instructions from the first cut to the finished piece of furniture.
The building project is suitable for those with some experience in basic carpentry and is estimated to take about one to two days to complete, excluding sanding and finishing. Download the DIY Plan and create a seating area that lasts for many seasons.
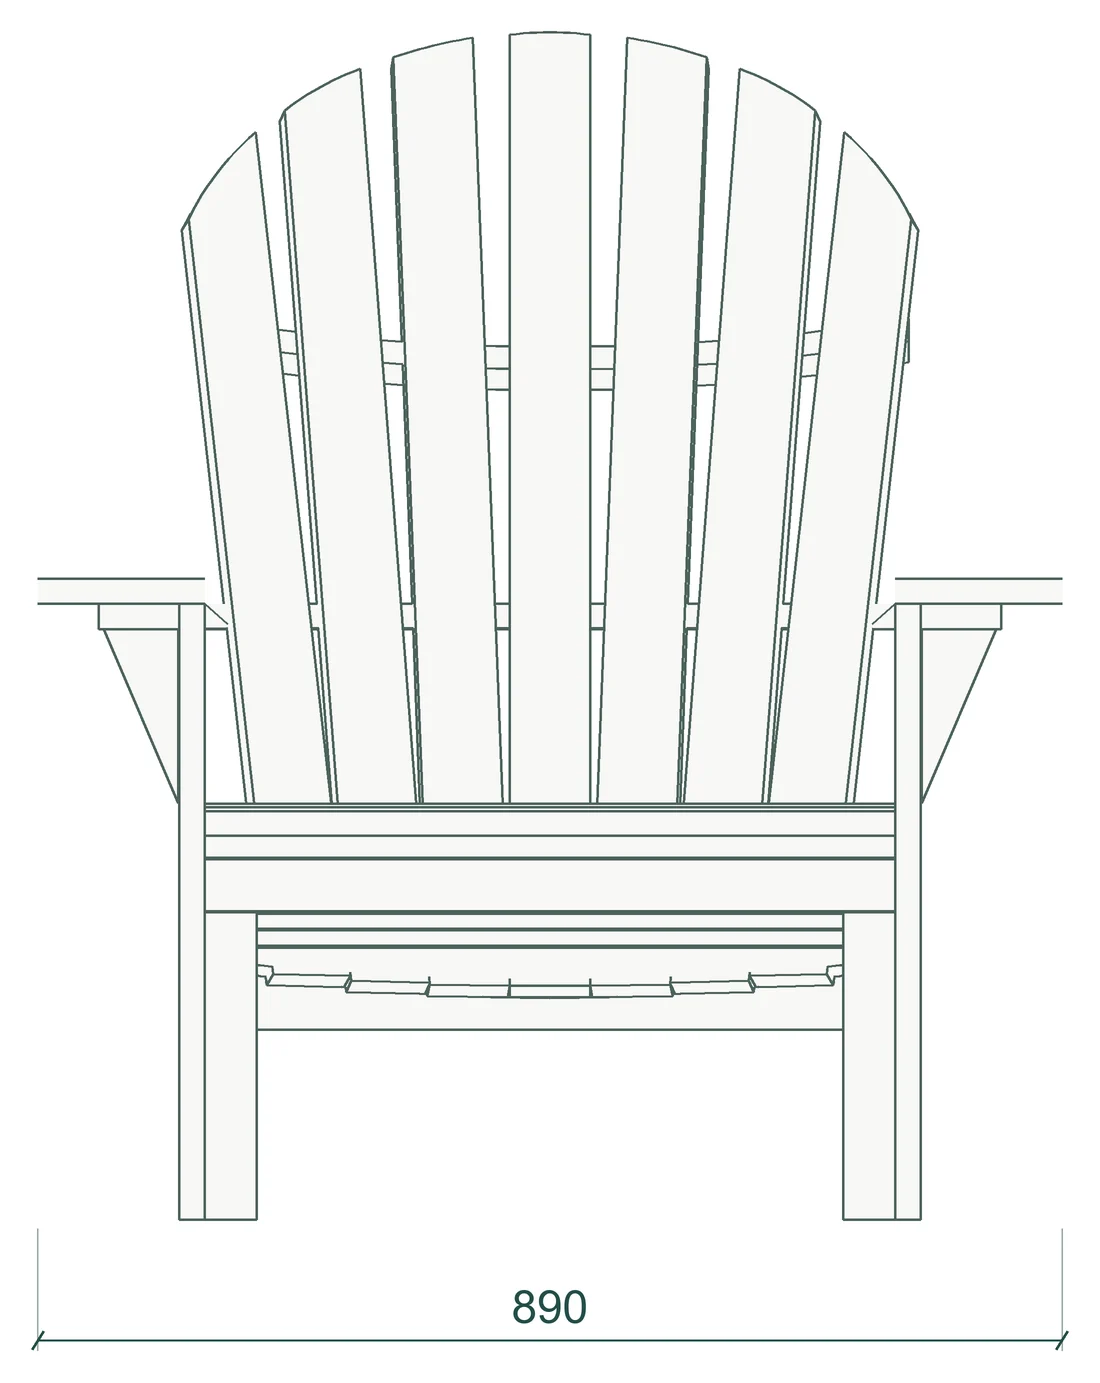
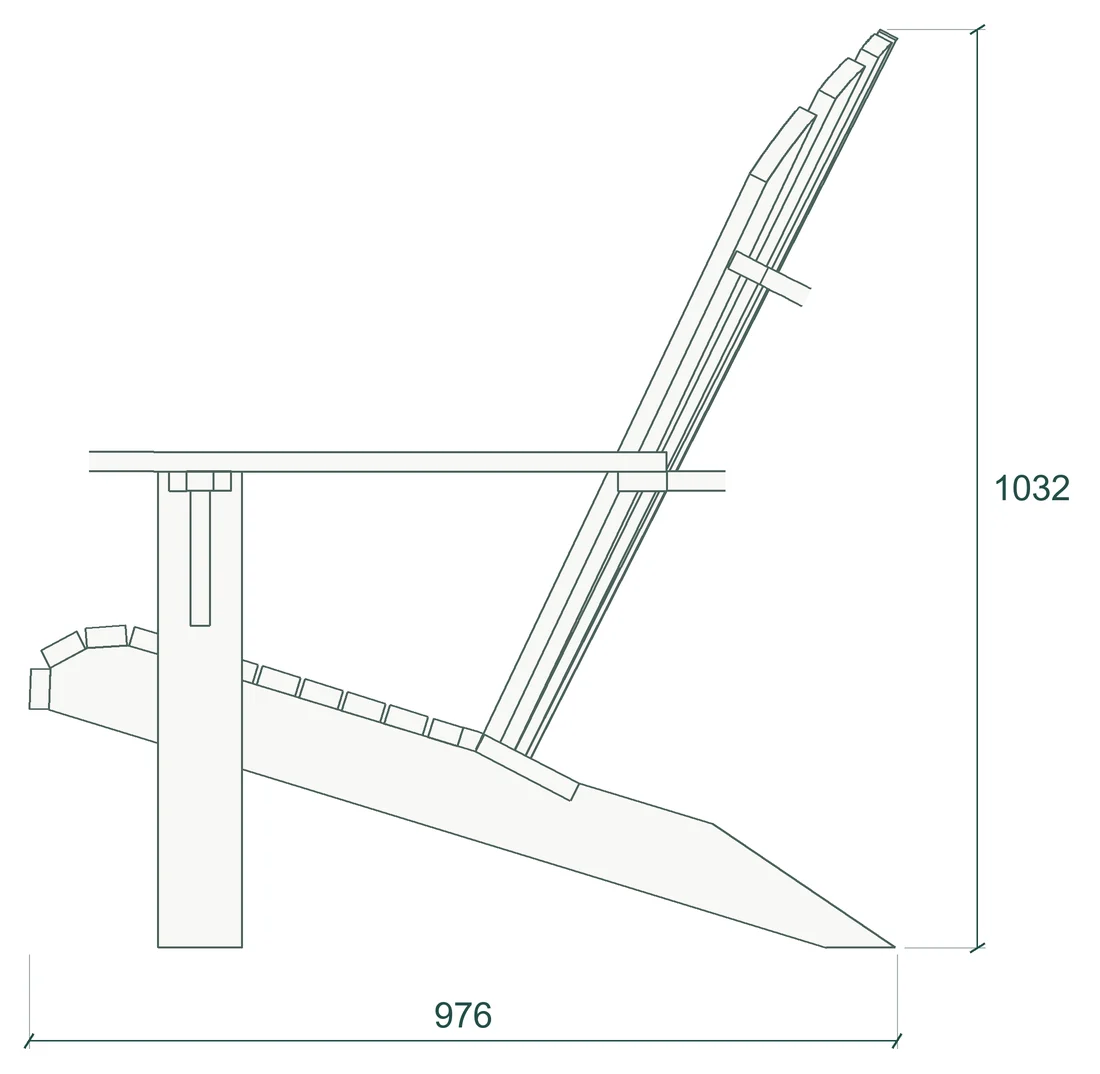
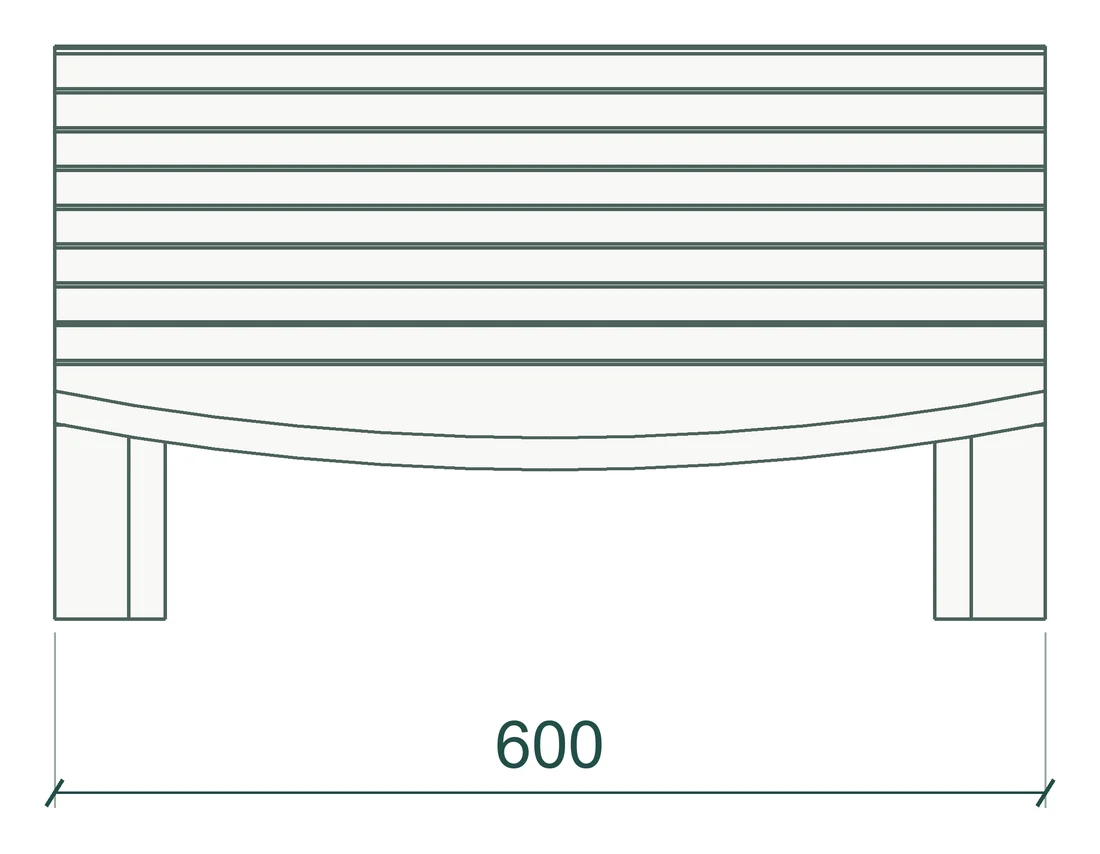
Dimensions
Adirondack Deck Chair
Adirondack Footstool
Building materials
Adirondack Deck Chair
Timber
22 × 120 mm
Timber
22 × 145 mm
Timber
22 × 45 mm
Timber
22 × 70 mm
Timber
22 × 95 mm
Timber
45 × 95 mm
Fasteners
Vagnsbult M8 × 80 · mutter och bricka
Fasteners
Skruv C4 4 × 40mm
Adirondack Footstool
Timber
22 × 45 mm
Timber
22 × 95 mm
Timber
45 × 95 mm
Fasteners
Skruv C4 4 × 40mm
Tools
Adirondack Deck Chair
Compound mitre saw
Jigsaw for profiles and backrest curve
Drill driver and suitable screwdriver bits
Drill bits for pilot holes, plus Ø8 and Ø20 wood drill bits
Rafter square
Tape measure and pencil
Spirit level
Clamps
Spanner for M8 nuts
Hacksaw and file if shortening the bolts
Knife for fitting
String or flexible drawing batten for curves
Sanding tools and sandpaper
Safety glasses and hearing protection
Adirondack Footstool
Compound mitre saw
Jigsaw for the profiles and the arc on C
Drill driver and suitable screwdriver bits
Drill bit for pilot holes
Rafter square
Tape measure and pencil
Spirit level
Clamps
Flexible batten or folding rule for the curve on C
Sanding tools and sandpaper
Safety glasses and hearing protection
What you get
Adirondack Deck Chair
PDF version
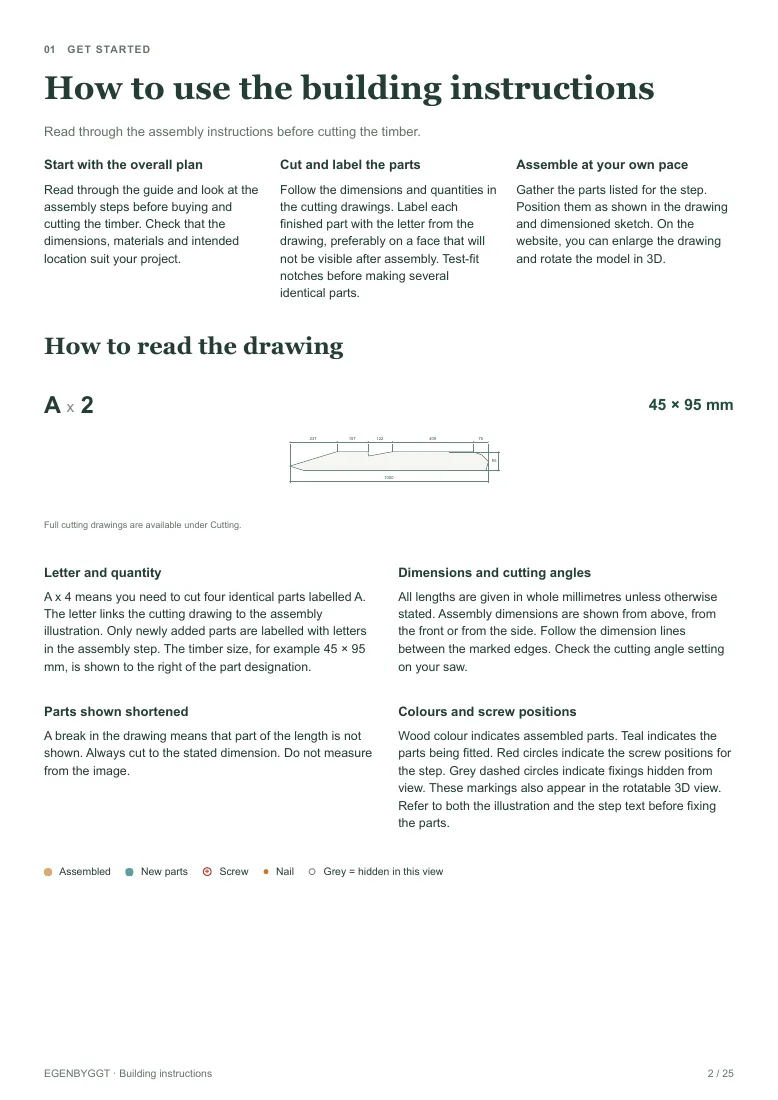
Drawings, a shopping list and step-by-step assembly. Read on screen or print out.
Page 1Page 2Page 3–25
Web version
Follow one assembly step at a time on screen. Try the first step’s 3D view here.
PreviewStep 1 / 9
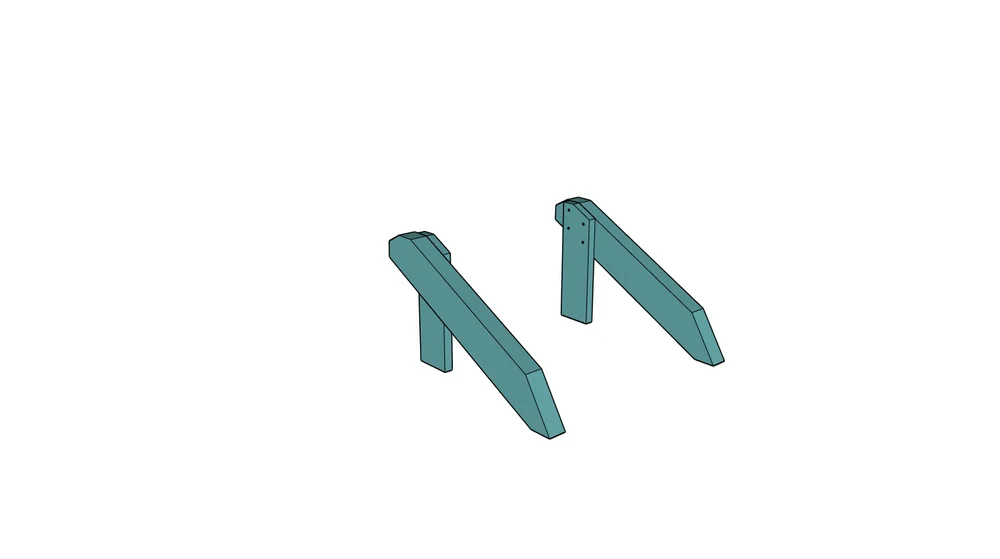
Build two mirror-image leg pairs
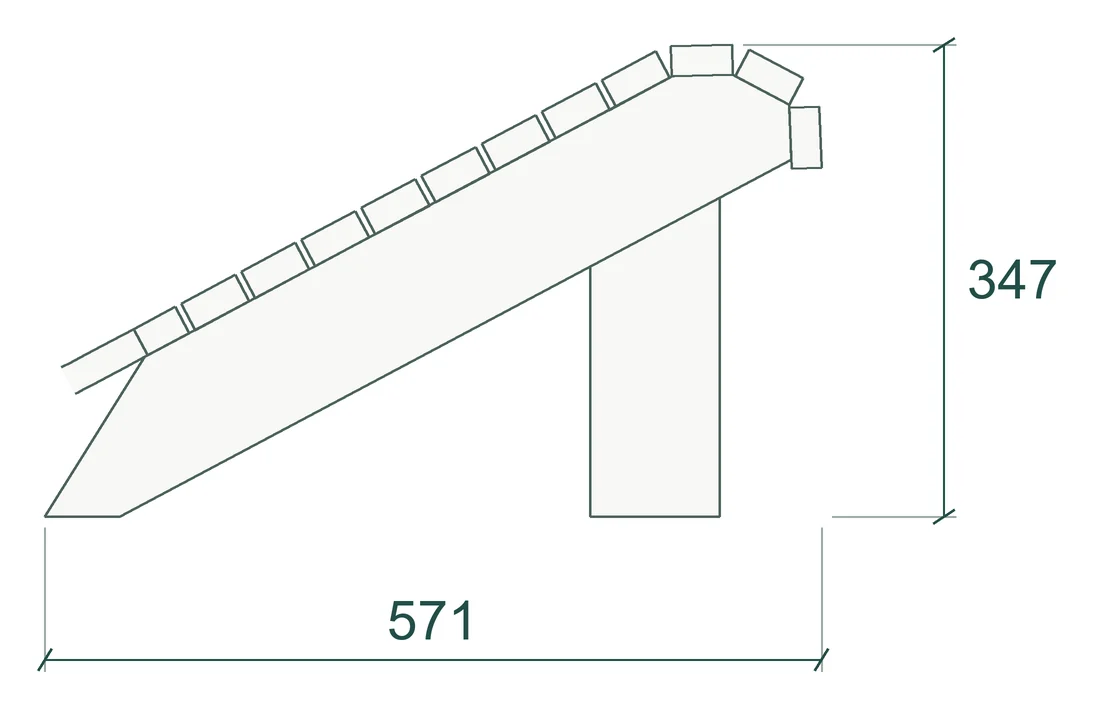
Lay the parts on a flat, level surface. Position A and B as shown in the side view. Check that B is at 90° to the ground and secure with clamps. Make a left-hand and a right-hand leg assembly.
Adirondack Footstool
PDF version
Drawings, a shopping list and step-by-step assembly. Read on screen or print out.
Page 1Page 2Page 3–15
Web version
Follow one assembly step at a time on screen. Try the first step’s 3D view here.
PreviewStep 1 / 3
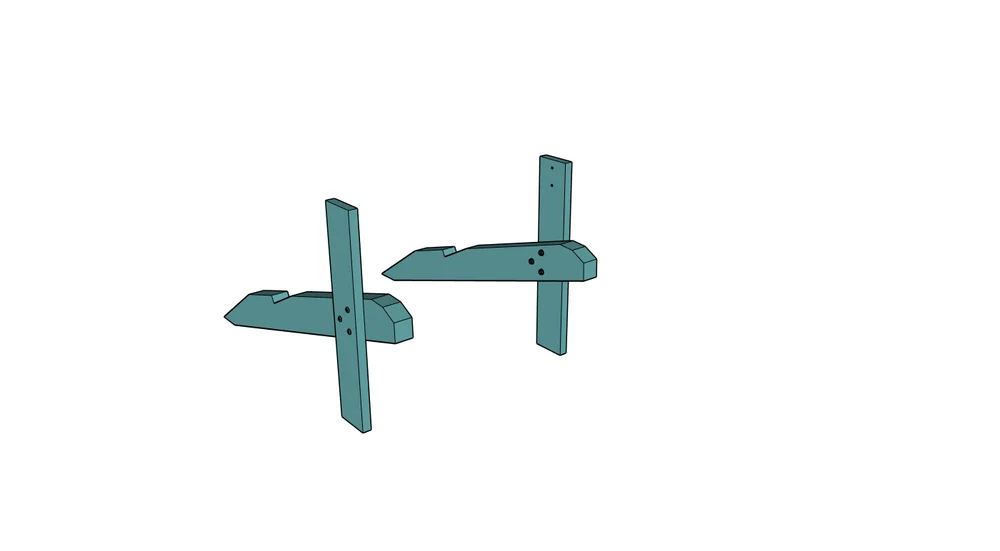
Build two mirror-image leg pairs
Position A and B as shown in the drawing and dimensioned view. Make a left-hand and a right-hand leg assembly. Clamp the parts on a flat, level surface.