

 1 / 7
1 / 7
Building instructions
Outdoor kitchen with built-in grill - DIY Plan
5 ratingsBuild a stylish and functional outdoor kitchen with space for a built-in grill (57 cm, e.g., Weber) and sink. You will receive measurements, drawings, and clear step-by-step instructions for the frame, formwork, as well as safe reinforcement and casting of the countertop. A medium-difficulty project that you can complete in 3–4 days.
Product number50102
Estimated time3-4 d
LevelMedium
MaterialCeramic tiles, Concrete, Grill, Stainless steel sink with faucet, Wood
UnitsMetric millimeter (mm)
23.9 GBPDigital building plan
About the project
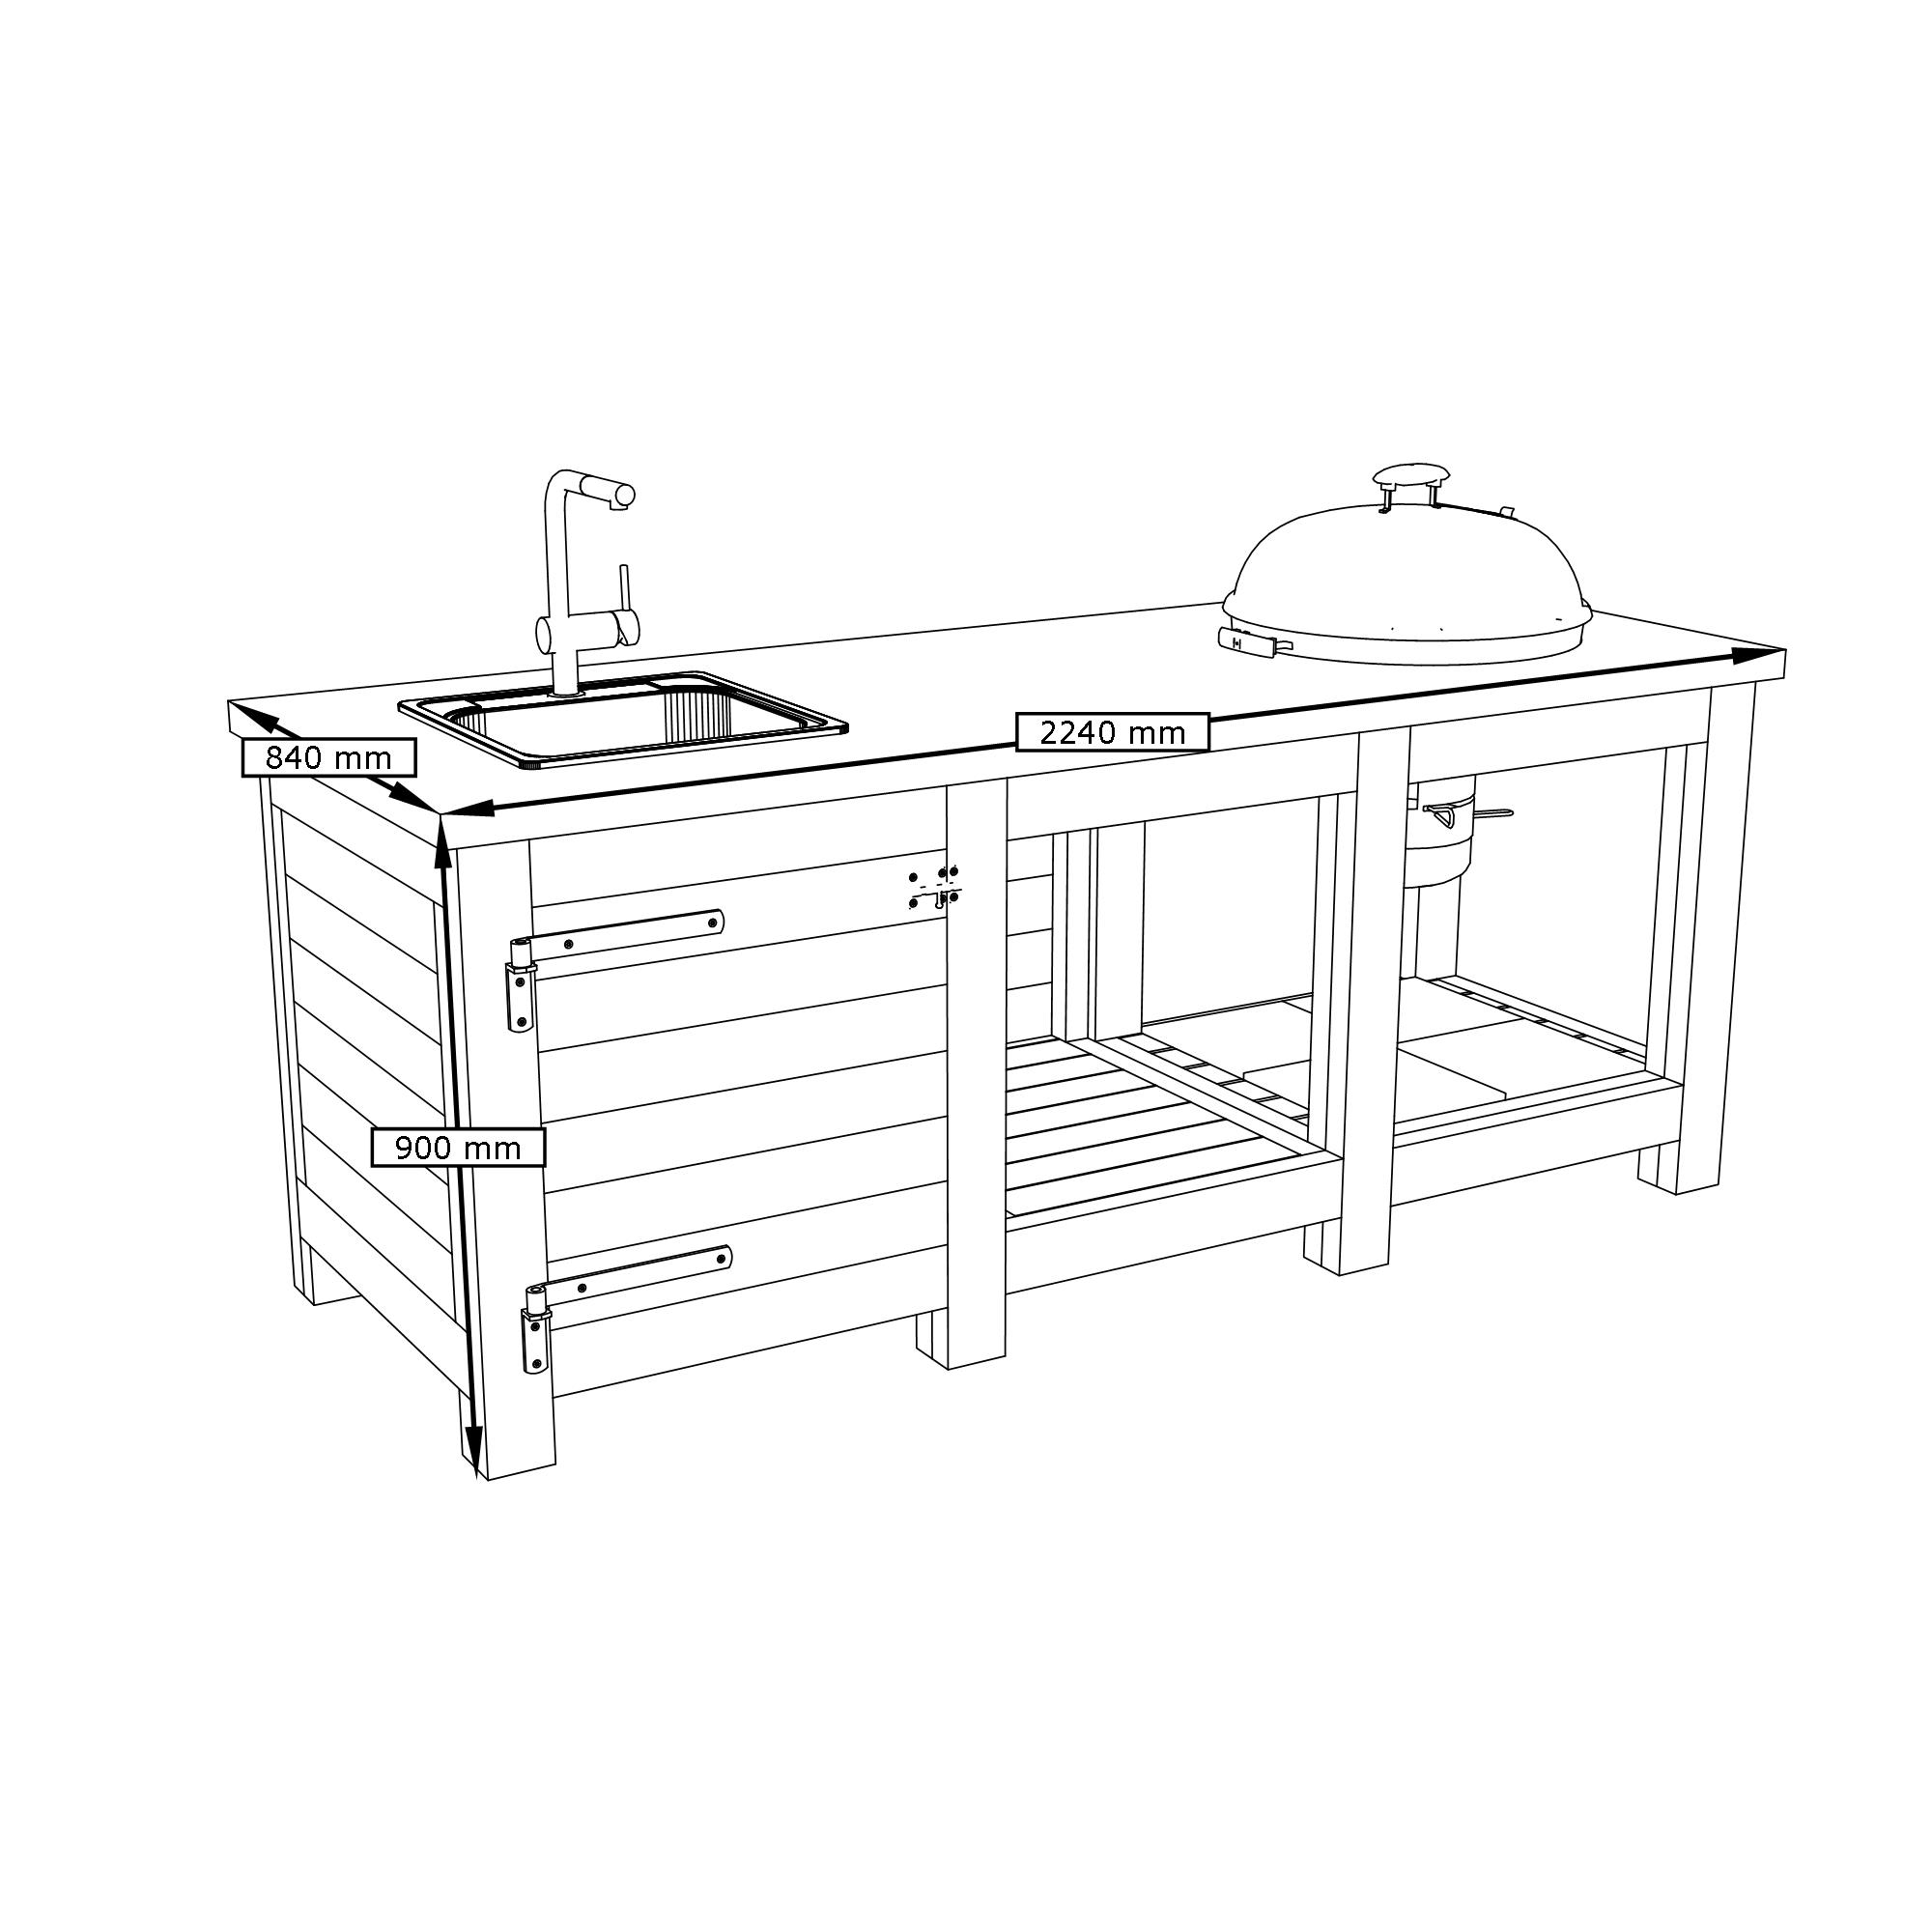
This DIY Plan shows how to build a stylish and functional outdoor kitchen with space for a built-in grill and sink. The model is designed for a grill with a diameter of 57 cm, such as a built-in model from Weber or similar.
The frame is built from sturdy beams that are cut according to the measurements and drawings included in the DIY Plan. Once the frame is complete, a mold is built directly on top, prepared with cutouts for the grill and sink. The description also includes clear instructions on how to reinforce and pour the countertop safely.
The DIY Plan is designed to be completed in 3–4 days, depending on your experience and work pace. The difficulty level is medium.
Dimensions
Digital delivery
This is a digital guide. The guide is delivered as a PDF that can be downloaded immediately after purchase or through the order email sent to the specified email address.
The guide contains the information needed to build the product illustrated on this page.
Table of contents of the guide:
- Introduction
- Tools
- Sawing
- Mounting
At Egenbyggt, we work hard to deliver high quality. Nevertheless, errors or omissions may creep into our guides and the information we provide on the site. We reserve the right to do so.
If you are not satisfied with a guide you have purchased, please contact us.
Read more: Terms of purchase .
How the guide works
Step 1

Get building materials
Bring the shopping list to your hardware store. In many places, you can borrow a trailer for free when you buy the material.
The shopping list includes:
- Lumber dimensions and lengths
- Fixing material
- Accessories (varies depending on project).
Step 2

Cut the parts
All parts are clearly drawn and marked with a letter.
This makes it easy to cut all the parts needed for the build.
Step 3

Assembly
Once the parts are cut, it's time for assembly.
The guide shows step-by-step how to assemble the parts through illustrations and concise information on each step.
Experience the magic when everything fits together perfectly.
Done
Building materials & tools
Below is a list of materials and suggestions for building tools. A complete shopping list with quantities and sawing instructions is available when you buy the DIY guide.
Building materials
Wood45x95 mm
Wood45x45 mm
Wood22x95 mm
Screw5x80 mm
Screw4x50 mm
Form board-
Fine concrete-
Reinforcement-
Steel wire-
Tools
Miter and Crosscut Saw
Circular saw
Jigsaw
Screwdriver
Spirit level
Measuring Tools
Clinker tile-
More building projects


Ratings and reviews
5 ratings
Only customers who have purchased this building plan can leave a review.
Toppen beskrivning, pedagogiskt snygg och enkelt för en nybörjare