This is a digital guide. The guide is delivered as a PDF that can be downloaded immediately after purchase or through the order confirmation email sent to the specified email address.
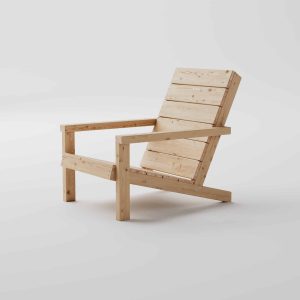
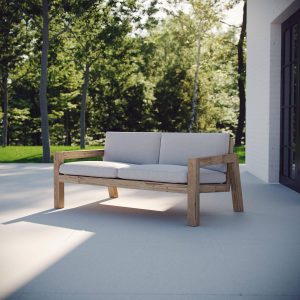
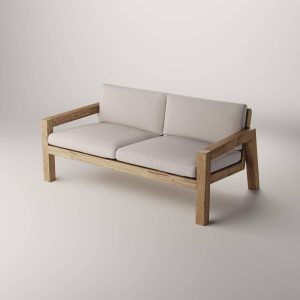
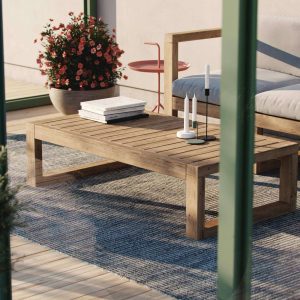
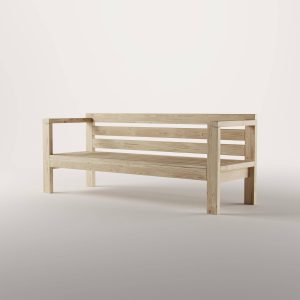
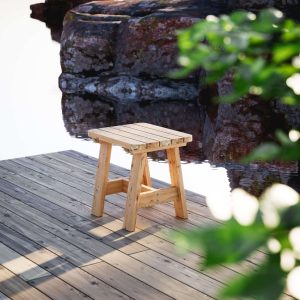
The guide contains all the information needed to build the product illustrated on this page.
Table of contents in the guide:
Introduction
Tools
Cutting
Assembly
At Egenbyggt, we work hard to deliver high quality. Despite this, errors or deficiencies may creep into our guides and the information we provide on the site. We reserve the right for this.
Contact us if you are not satisfied with a guide you have purchased.
Read more under Terms of Purchase.
How the guide works
Step 1
Get building materials
Take the shopping list to your building supplies store. Many places offer free trailer rental when you purchase the materials.
The shopping list included with the DIY guide contains:
Timber dimensions and lengths
Fasteners
Accessories (varies depending on building project).
Step 2
Cut the parts
All parts have a clear drawing and are marked with a letter.
This makes it easy to cut all the parts needed for the build.
Step 3
Assembly
When the parts are cut, it's time for assembly.
The guide shows step-by-step how the parts should be assembled through illustrations and brief information about each step.
Experience the magic when everything fits together perfectly and the final result takes shape.
Done
Building materials & tools
List of materials and suggested tools for the build. You will recieve a complete list with quantities and cutting diagrams when buying the DIY plan.
Materials
Wood70x70 mm
Wood95x95 mm
Wood45x70 mm
Wood45x95 mm
Wood45x170 mm
Wood45x195 mm
Screw6x160 mm
Screw6x140 mm
Screw5x120 mm
Screw5x100 mm
Screw5x80 mm
Screw4,5x60 mm
1 review for Stable outdoor table & bench – DIY Plan
Anonym (verified owner)–
(translated)
Rated 5 out of 5
Educational and well-made drawing, thoughtfully designed and easy to understand. Great that you show the material requirements
To provide a good experience, we use technologies like cookies to store and/or access device information. By consenting to these technologies, we may process data such as browsing behavior or unique IDs on this website. If you do not consent or withdraw your consent, this may negatively affect certain features.
Functional
Always active
The technical storage or access is strictly necessary for the purpose of enabling the use of a specific service requested by the user, or for the sole purpose of carrying out the transmission of a communication over an electronic communications network.
Options
The technical storage or access is necessary for the legitimate purpose of storing preferences not requested by the subscriber or user.
Statistics
The technical storage or access that is used exclusively for anonymous statistical purposes.The technical storage or access that is used exclusively for anonymous statistical purposes. Without a subpoena, voluntary compliance on the part of your Internet Service Provider, or additional records from a third party, information stored or retrieved for this purpose alone is typically not able to be used to identify you.
Marketing
The technical storage or access is required to create user profiles to send advertising or to track the user on a website or across multiple websites for similar marketing purposes.


Anonym (verified owner) –
Educational and well-made drawing, thoughtfully designed and easy to understand. Great that you show the material requirements