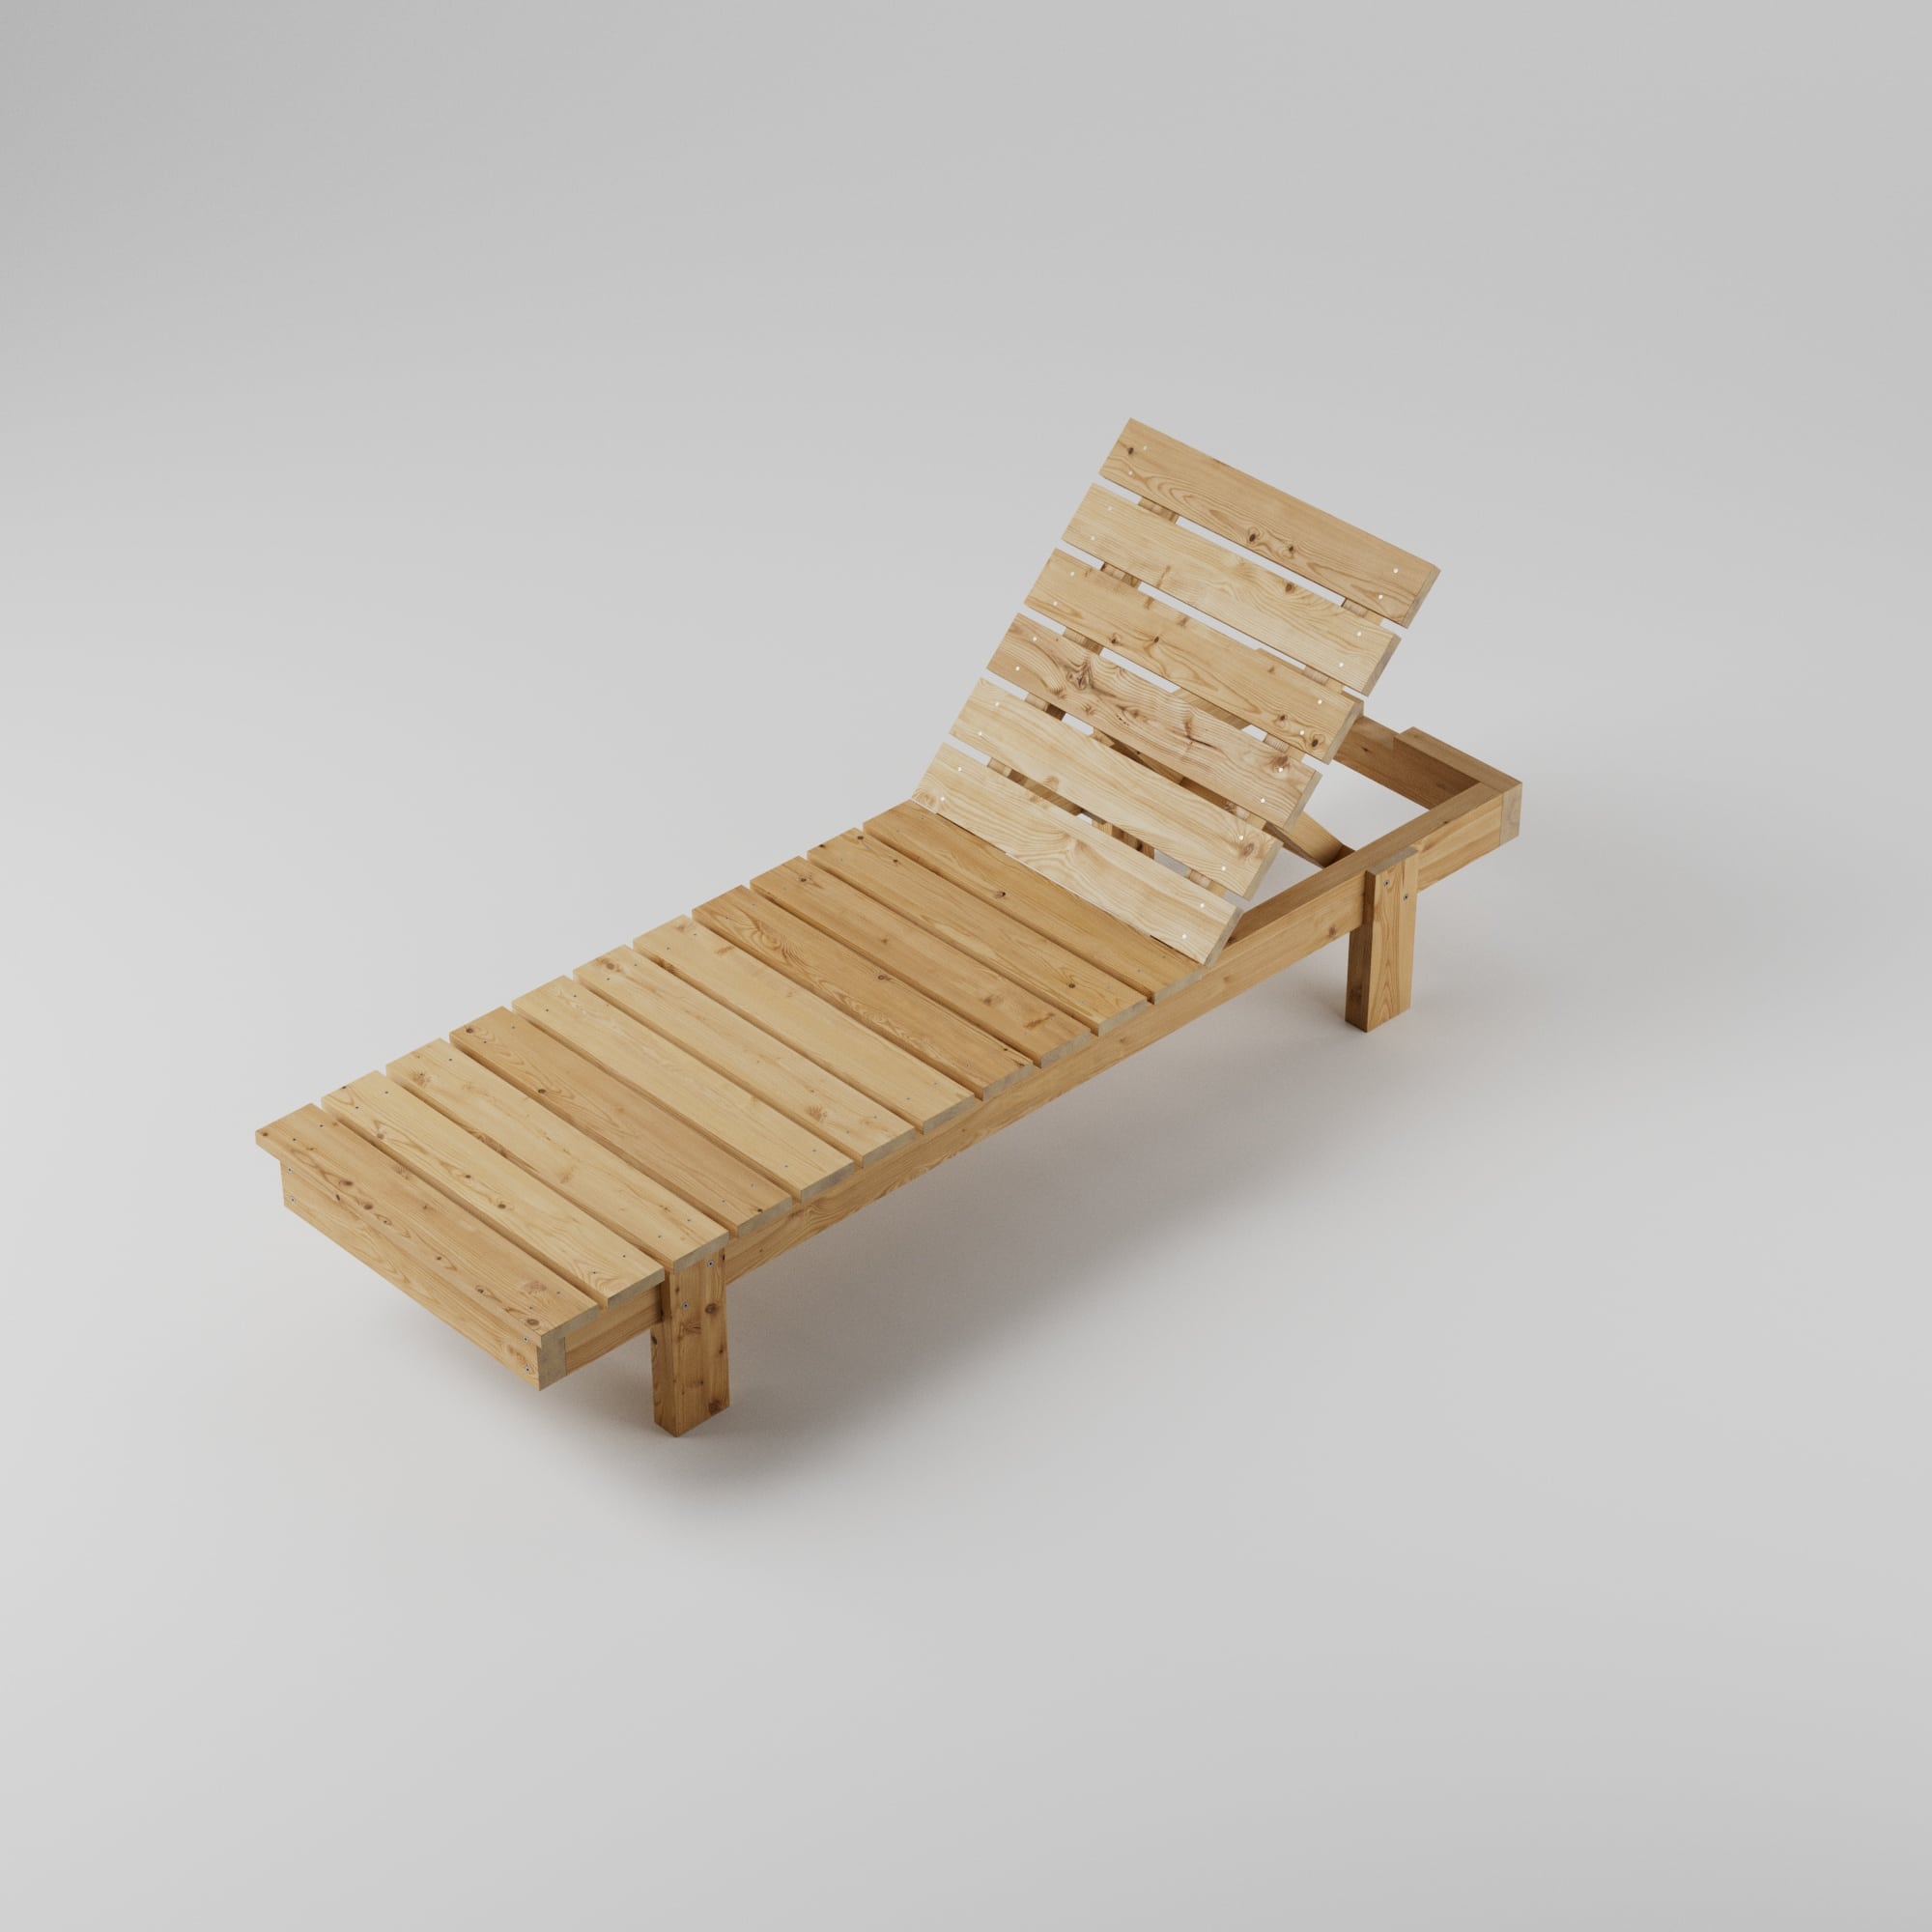
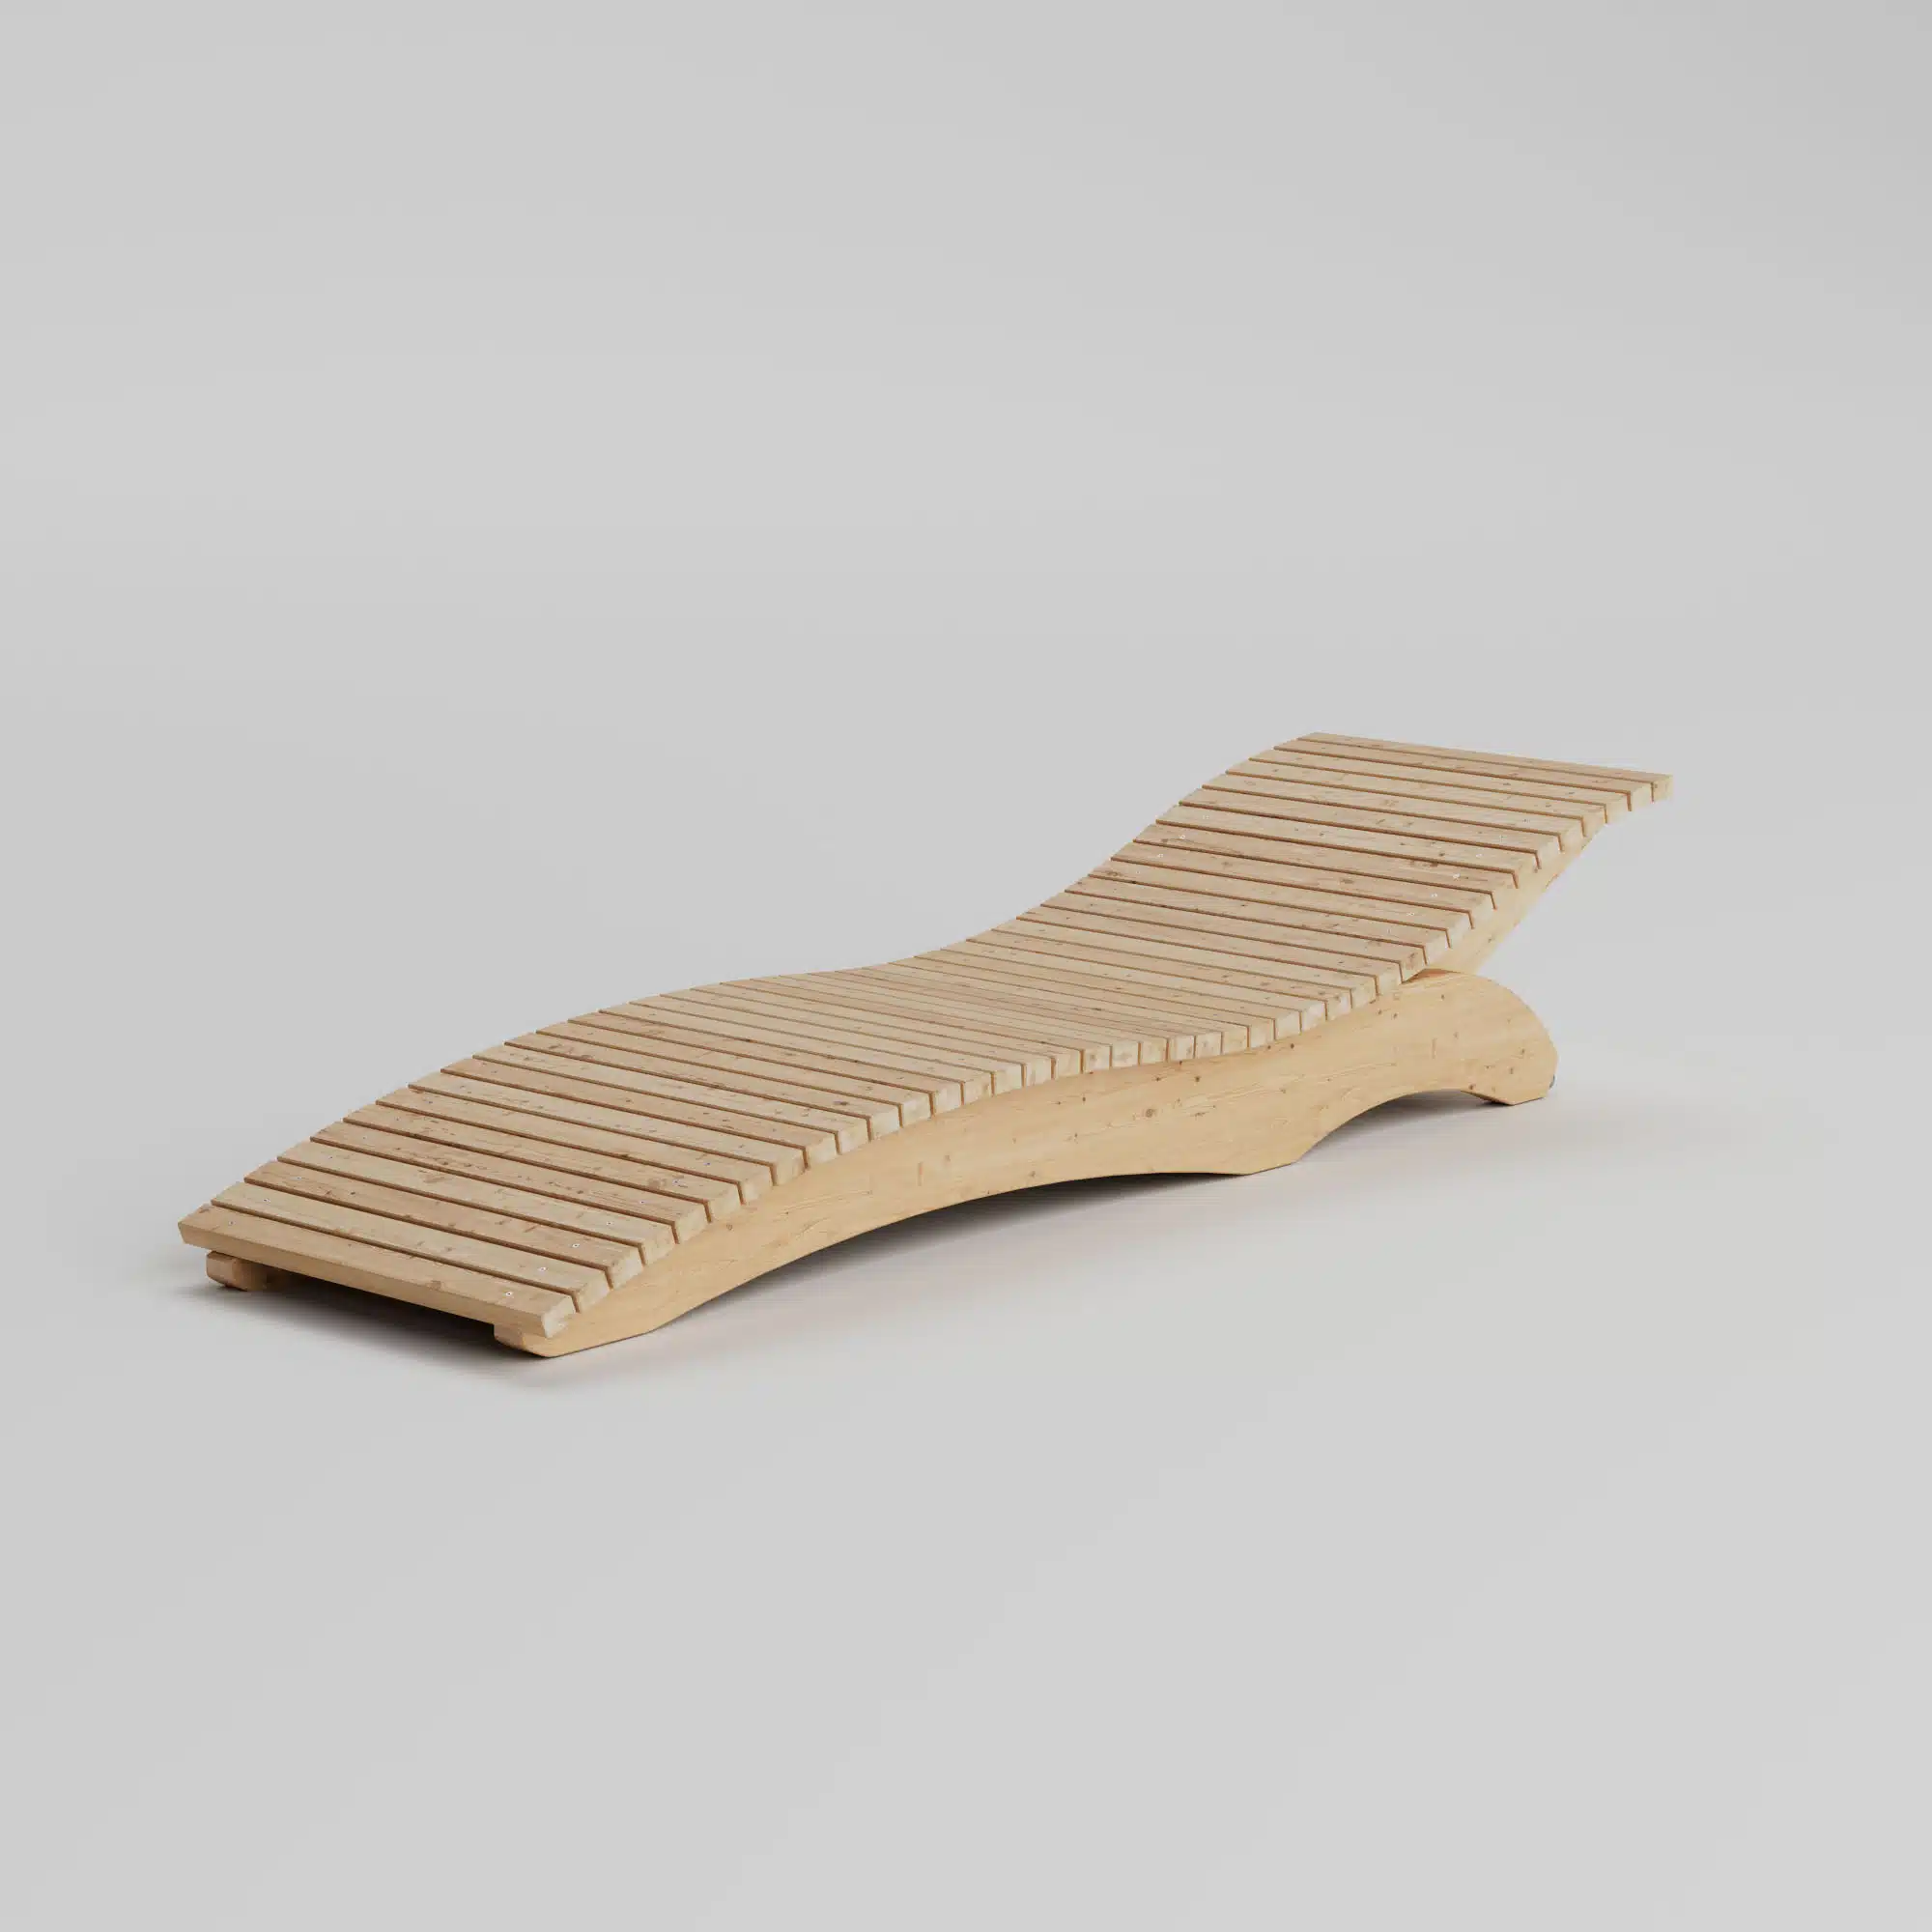
Build a minimalist and sturdy wooden sunbed with an adjustable backrest – perfect for a patio, garden, or poolside. With a lying area of 1880 × 600 mm, you get generous comfort that is still easy to move. The DIY Plan includes clear step-by-step instructions, scaled drawings, and a complete list of materials and tools.
Level
Easy
Estimated time
1-2 d
Material
Wood
Units
Metric millimeter (mm)
Included in the build plan
✓ Materials list – everything you need
✓ Cut list and clear cutting diagrams
✓ Step-by-step instructions
✓ Clear building illustrations
A minimalist and sturdy wooden sunbed with an adjustable backrest. With its straight design and stable construction, it is perfect for both the patio, garden, and poolside. Designed to last – and for you to be able to fully relax.
The lying surface is 1880 × 600 mm – generously sized for total relaxation, yet still easy to build yourself and move as needed. The backrest is adjustable in several positions, so you can easily find a comfortable position for reading, resting, or sunbathing.
The DIY Plan includes:
Clear step-by-step instructions
Scaled drawings
Complete list of materials and tools
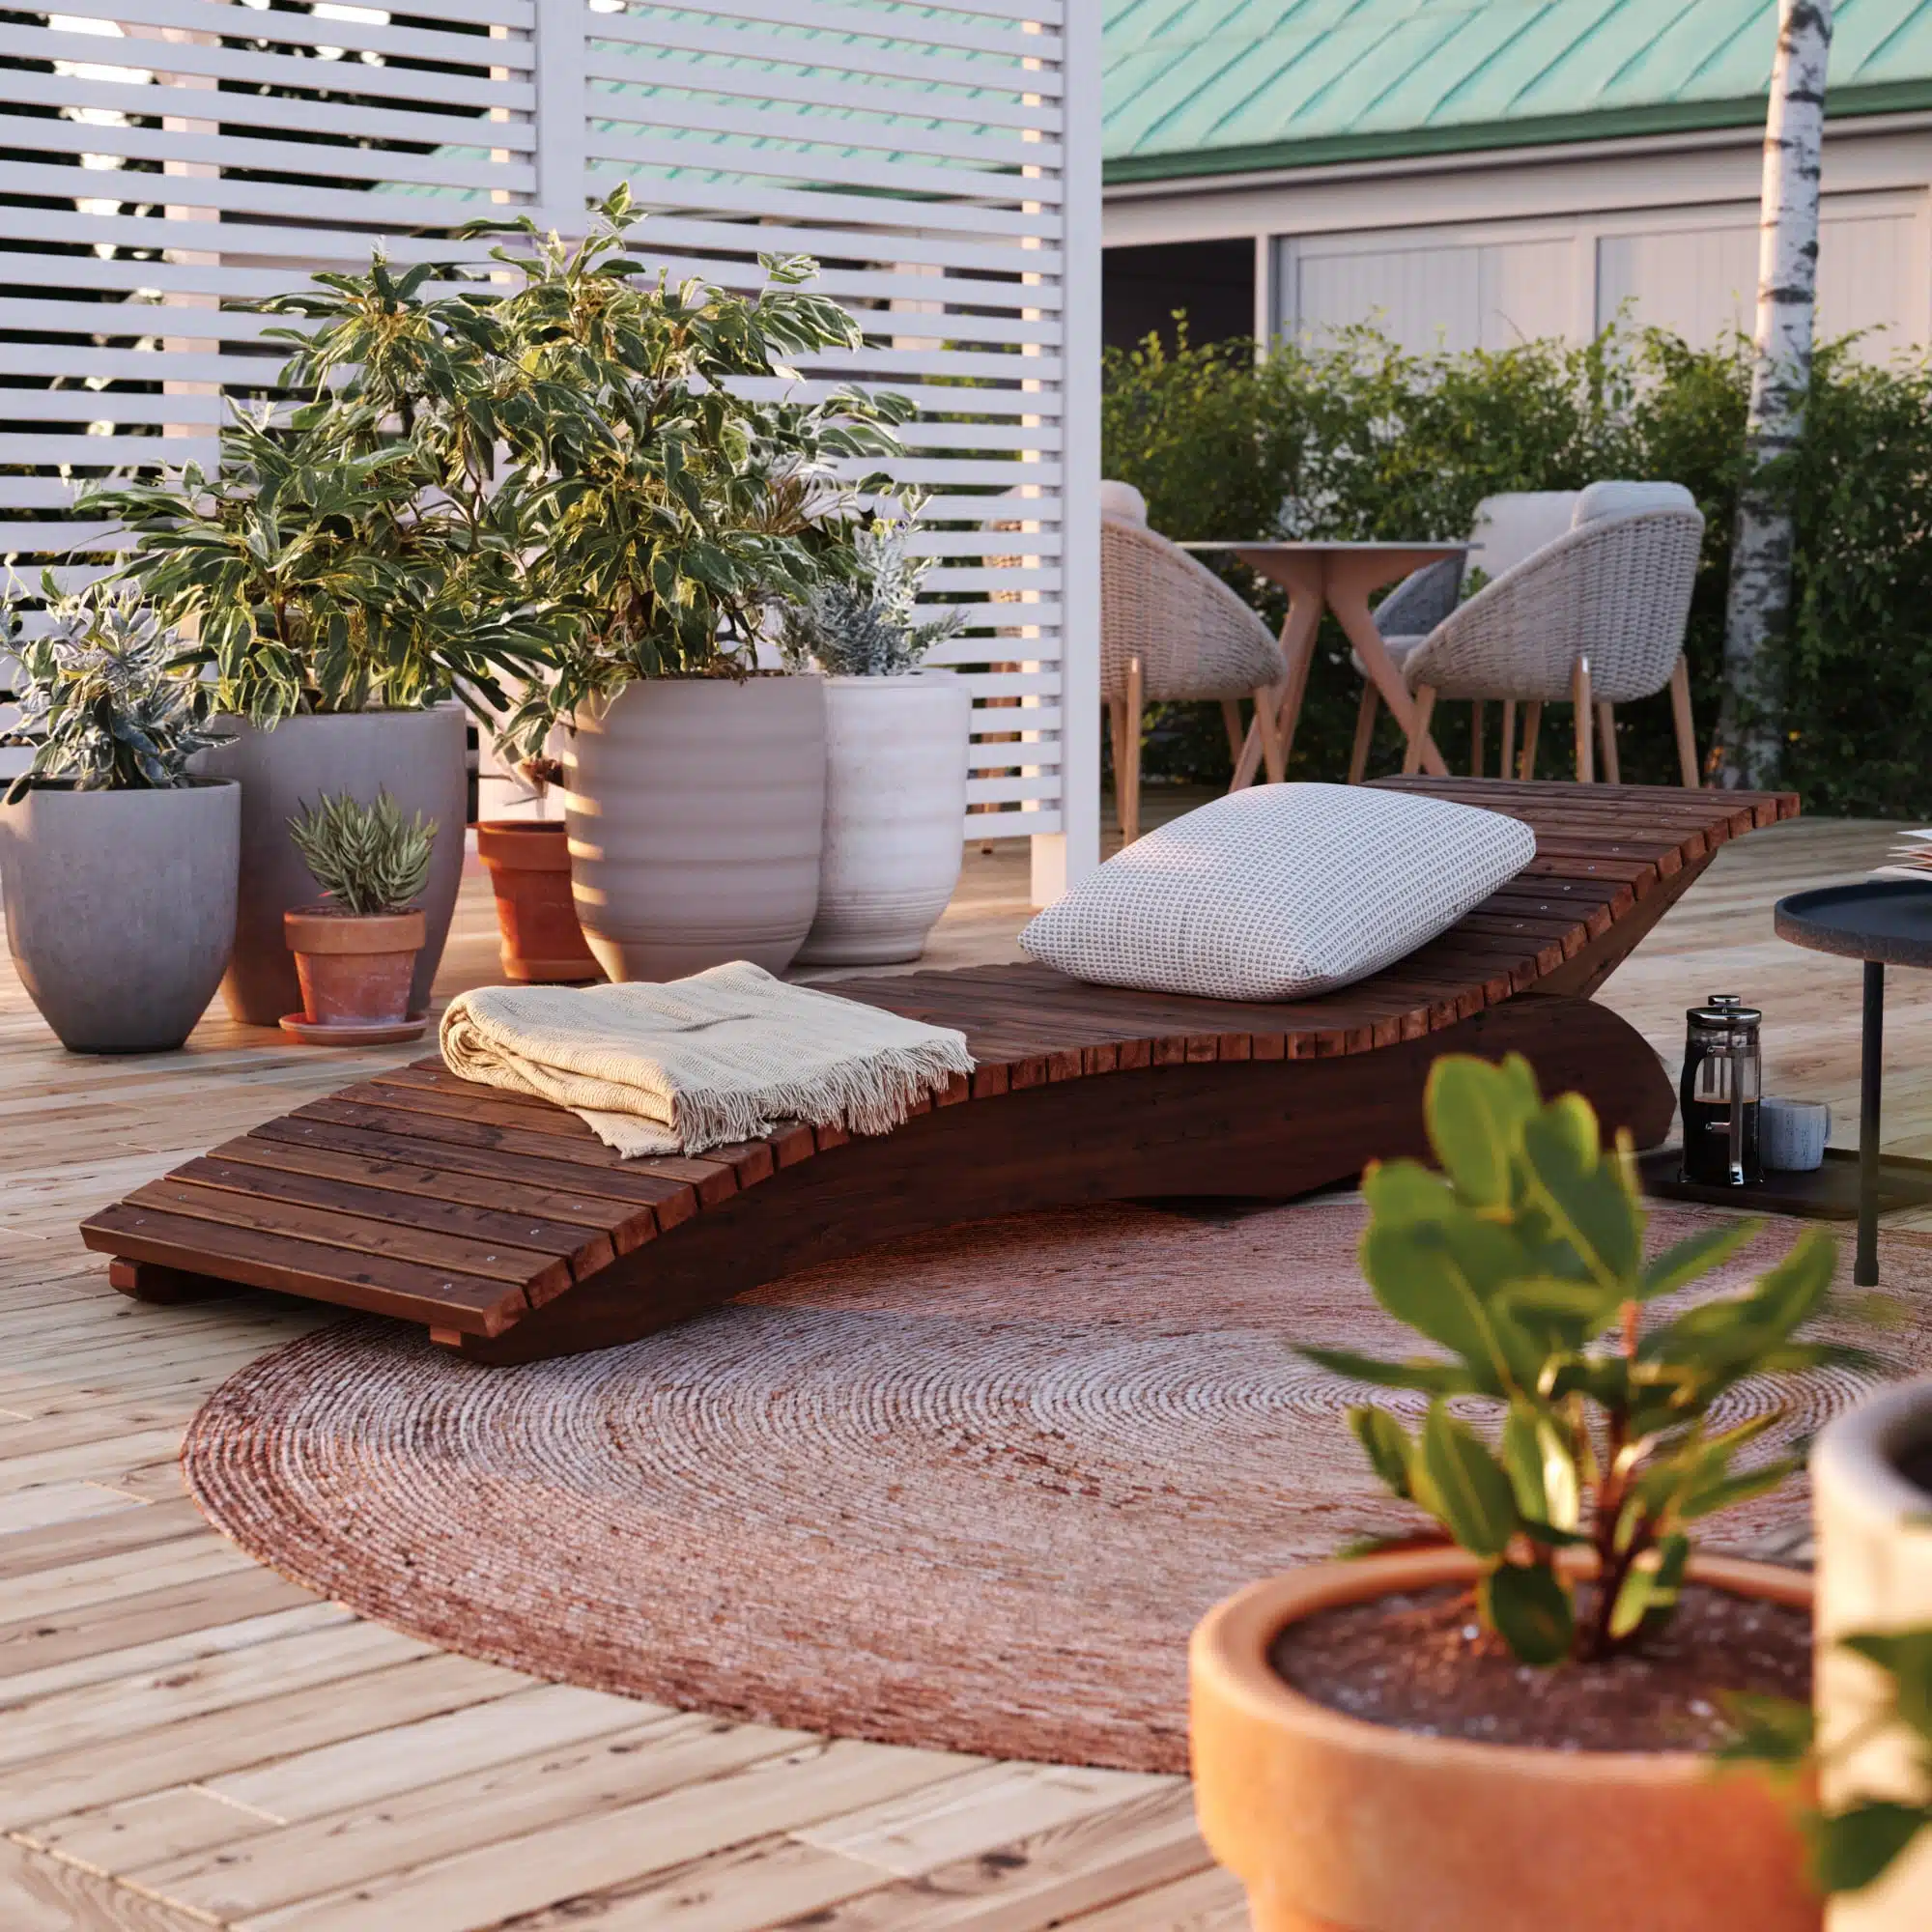
Choose, for example, pressure-treated wood for outdoor durability, or build in heat-treated wood and treat with oil for a natural expression. Place it where you feel best – on the patio with a soft cushion, by the pool, or right in the garden in the shade of a tree.
Dimensions
Digital delivery
This is a digital guide. The guide is delivered as a PDF that can be downloaded immediately after purchase or through the order email sent to the specified email address.
The guide contains the information needed to build the product illustrated on this page.
Table of contents of the guide:
Introduction
Tools
Sawing
Mounting
At Egenbyggt, we work hard to deliver high quality. Nevertheless, errors or omissions may creep into our guides and the information we provide on the site. We reserve the right to do so.
If you are not satisfied with a guide you have purchased, please contact us.
Bring the shopping list to your hardware store. In many places, you can borrow a trailer for free when you buy the material.
The shopping list includes:
Lumber dimensions and lengths
Fixing material
Accessories (varies depending on project).
Step 2
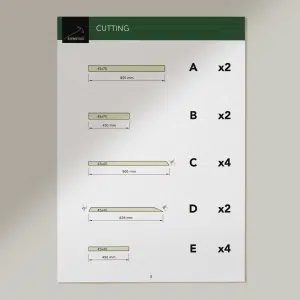
Cut the parts
All parts are clearly drawn and marked with a letter.
This makes it easy to cut all the parts needed for the build.
Step 3
Assembly
Once the parts are cut, it's time for assembly.
The guide shows step-by-step how to assemble the parts through illustrations and concise information on each step.
Experience the magic when everything fits together perfectly.
Done
Building materials & tools
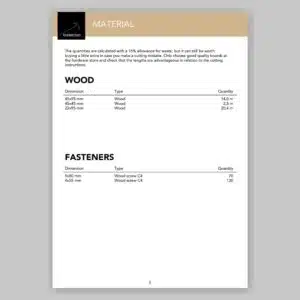
Below is a list of materials and suggestions for building tools. A complete shopping list with quantities and sawing instructions is available when you buy the DIY guide.
Mycket bra byggbeskrivning som gjorde det enkelt att följa steg för steg.
Anonym
Verified owner
Enkelt att bygga och bra ut
ørnulf
Verified owner
Jeg tror sengen ville bli mindre “kompakt” ved å benytte tynnere materialer i selve sarge, 28×120,- terassebord. Bunnen med de 17 bordene stikker ut på hver side og kan være noe en kan komme borti når en skal ut/inn av senga. Tror en bedre idé er å lage en liten inner-ramme med lister for å legge bunnbordene ned i senga slik at bordene og sargen “flusher”. Disse skrus på lister som passer de innvendige målene og dermed kan hele bunnen være løs og tas lettvint vekk når en skal lagre solsengen.
Bein: Ved halvfelling så krevs det litt utstyr og en del arbeid. Ved å lage ben i tre deler en lim og skrur sammen blir det lettere. 1 “frontben” 30cm. 1 mellomstykke som er rundt 10 cm og et bakstykke lik fronten. Da får en et ben som bare må tres innpå rammeverket og enklere å lage. Eventuelt kan det siste bakstykket kappes slik at den ovenente listen som bunnbordene skrus til , kan monteres uten å kappe dem der bena skal monteres
Ved å bryke 28×120 med en list skrudd fast på innsiden av sargen kan den “løse” bunnplaten hvile på den og listene vil stive av sargen slik at en ikke behøver 2″x4″ .
Du oppgir målene som er litt mindre enn trykkimpregnerte mål. Jeg tror at impregnert materiale vil være en god løsning for en seng som skal stå ute i vær og vind.
Hvis en velger å ha bunnplankene stikkende ut fra sargen, så tror jeg det ville være lurt å skru/lime en dekklist som dekket alle de utstikkende plankene. Tror også det ville se litt mer profft ut.
Håper dette var til noe hjelp.
Ørnulf Martinsen
Paul
Verified owner
Great setup, easy to follow, will definitely buy again.
To provide a good experience, we use technologies like cookies to store and/or access device information. By consenting to these technologies, we may process data such as browsing behavior or unique IDs on this website. If you do not consent or withdraw your consent, this may negatively affect certain features.
Functional
Always active
The technical storage or access is strictly necessary for the purpose of enabling the use of a specific service requested by the user, or for the sole purpose of carrying out the transmission of a communication over an electronic communications network.
Options
The technical storage or access is necessary for the legitimate purpose of storing preferences not requested by the subscriber or user.
Statistics
The technical storage or access that is used exclusively for anonymous statistical purposes.The technical storage or access that is used exclusively for anonymous statistical purposes. Without a subpoena, voluntary compliance on the part of your Internet Service Provider, or additional records from a third party, information stored or retrieved for this purpose alone is typically not able to be used to identify you.
Marketing
The technical storage or access is required to create user profiles to send advertising or to track the user on a website or across multiple websites for similar marketing purposes.













Mycket bra byggbeskrivning som gjorde det enkelt att följa steg för steg.
Enkelt att bygga och bra ut
Jeg tror sengen ville bli mindre “kompakt” ved å benytte tynnere materialer i selve sarge, 28×120,- terassebord. Bunnen med de 17 bordene stikker ut på hver side og kan være noe en kan komme borti når en skal ut/inn av senga. Tror en bedre idé er å lage en liten inner-ramme med lister for å legge bunnbordene ned i senga slik at bordene og sargen “flusher”. Disse skrus på lister som passer de innvendige målene og dermed kan hele bunnen være løs og tas lettvint vekk når en skal lagre solsengen.
Bein: Ved halvfelling så krevs det litt utstyr og en del arbeid. Ved å lage ben i tre deler en lim og skrur sammen blir det lettere. 1 “frontben” 30cm. 1 mellomstykke som er rundt 10 cm og et bakstykke lik fronten. Da får en et ben som bare må tres innpå rammeverket og enklere å lage. Eventuelt kan det siste bakstykket kappes slik at den ovenente listen som bunnbordene skrus til , kan monteres uten å kappe dem der bena skal monteres
Ved å bryke 28×120 med en list skrudd fast på innsiden av sargen kan den “løse” bunnplaten hvile på den og listene vil stive av sargen slik at en ikke behøver 2″x4″ .
Du oppgir målene som er litt mindre enn trykkimpregnerte mål. Jeg tror at impregnert materiale vil være en god løsning for en seng som skal stå ute i vær og vind.
Hvis en velger å ha bunnplankene stikkende ut fra sargen, så tror jeg det ville være lurt å skru/lime en dekklist som dekket alle de utstikkende plankene. Tror også det ville se litt mer profft ut.
Håper dette var til noe hjelp.
Ørnulf Martinsen
Great setup, easy to follow, will definitely buy again.